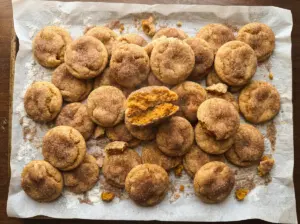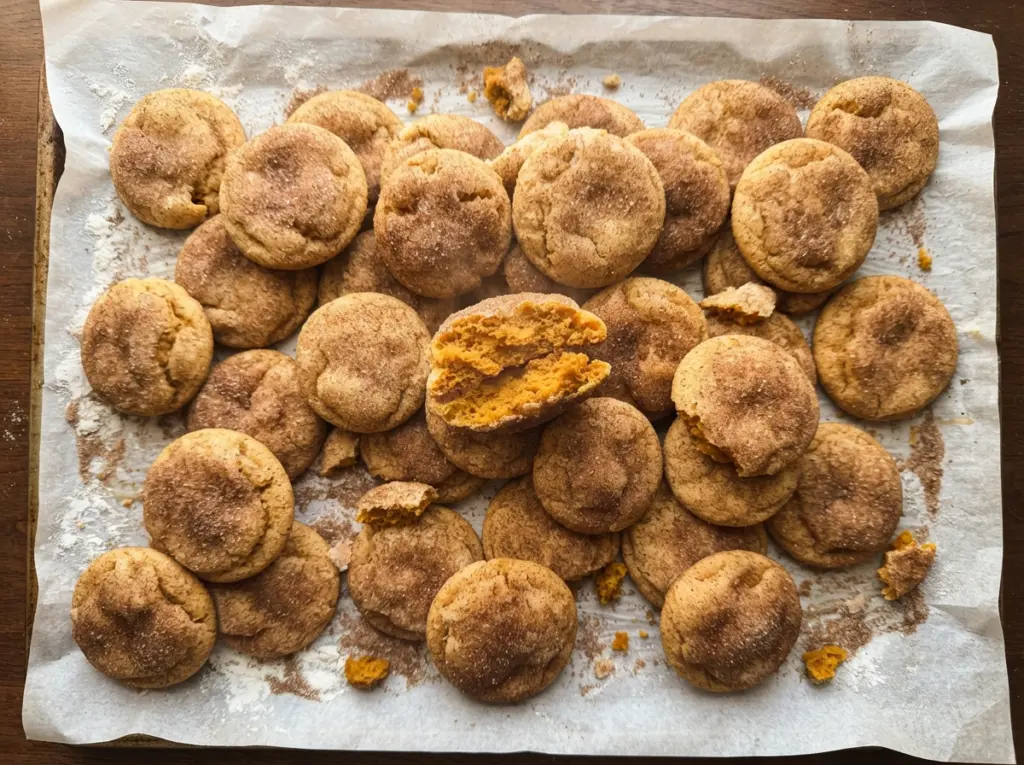
Brown Butter Pumpkin Snickerdoodles have the cinnamon-sugar crackle of a classic snickerdoodle, with browned butter and pumpkin giving the centers a tender, almost plush bite. The browned butter brings a nutty depth that keeps these from tasting like ordinary pumpkin cookies, while cream of tartar gives them that familiar snickerdoodle tang. They make 24 cookies, and the dough is easy to handle once it’s had its hour in the refrigerator.
The important bit is getting the pumpkin thick before it goes into the dough. Pumpkin puree holds a lot of moisture, and blotting it until no liquid pools helps the cookies bake up with defined edges instead of turning cakey. The butter also needs a little attention: watch the milk solids closely, pour it into a heatproof bowl as soon as they’re amber, and let it cool before mixing.
Below, I’ll walk through the cues for browning the butter, shaping and baking the dough, and getting ahead without sacrificing the cookies’ texture.
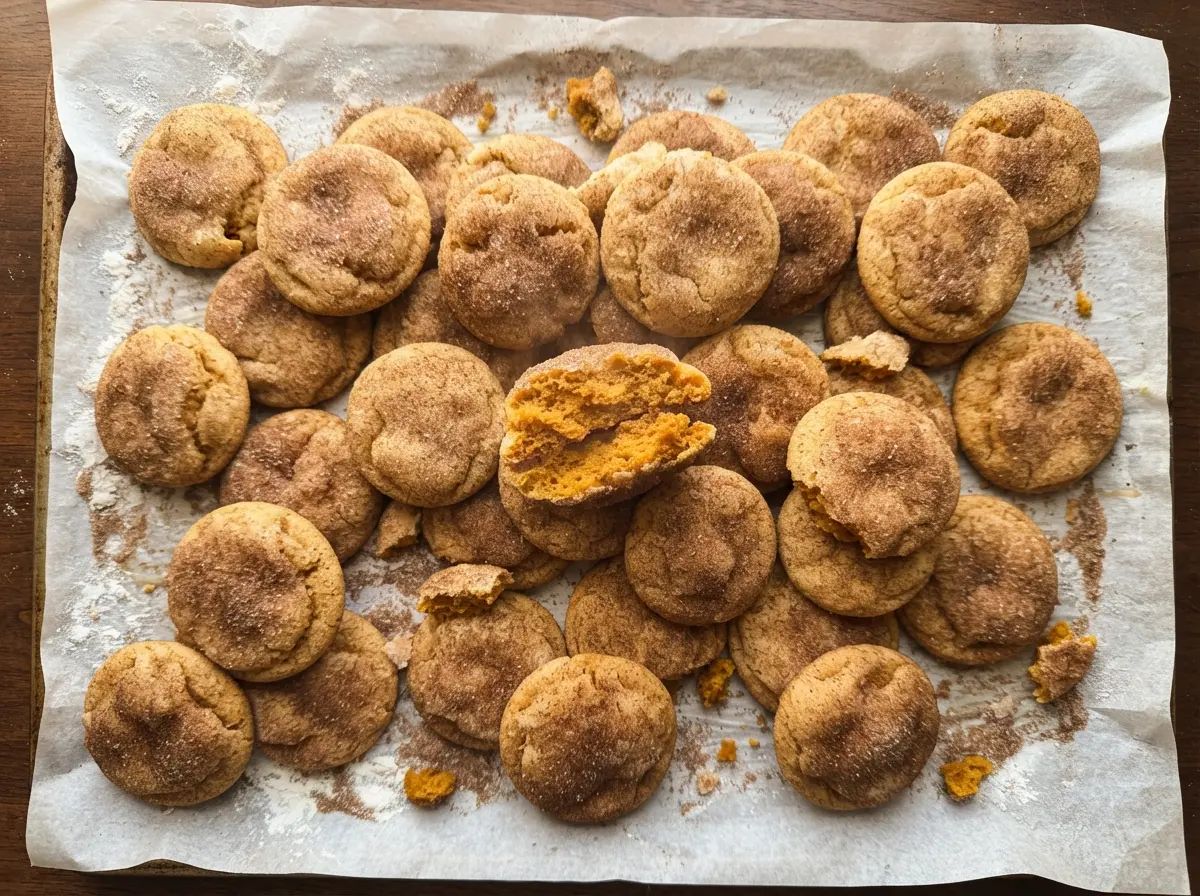
Kitchen Note
Blot the pumpkin until it’s thick and there’s no liquid pooling on the paper towels; this is the texture cue that matters most for the dough. And don’t wait for the browned butter to cool completely before adding the water—let it sit for 5 minutes first, then give it another 10–15 minutes until it’s warm, not hot.
Save these Brown Butter Pumpkin Snickerdoodles for a batch with nutty browned butter, tender pumpkin centers, and a crisp cinnamon-sugar coating.
The Pumpkin Has to Be Blotted Before It Goes Anywhere Near the Butter
Pumpkin puree adds flavor and moisture, but too much free moisture can shift the texture of a cookie dough. That’s why the puree gets spread over several layers of paper towels and blotted or pressed until it’s thick, with no liquid pooling. Measure the half cup after blotting, not before; the recipe depends on that thicker consistency.
There’s another small detail that’s easy to overlook: the browned butter is followed by water. Browning butter cooks off some of its water as the milk solids toast, so the recipe adds water back after the butter cools for 5 minutes. Stir it in carefully, then wait until the mixture is warm rather than hot before combining it with the sugars and pumpkin. Hot butter can make the wet mixture harder to handle and may affect how the egg yolk combines.
Once the flour mixture goes in, stop stirring as soon as the dry flour disappears. The dough then needs a full hour in the refrigerator to become firm enough to scoop and roll. That chill isn’t a fussy extra: it’s what gives you dough balls that hold their shape when you coat them and arrange them on the baking sheet.
Why Brown Butter Needs Water Back—and Pumpkin Needs Water Out
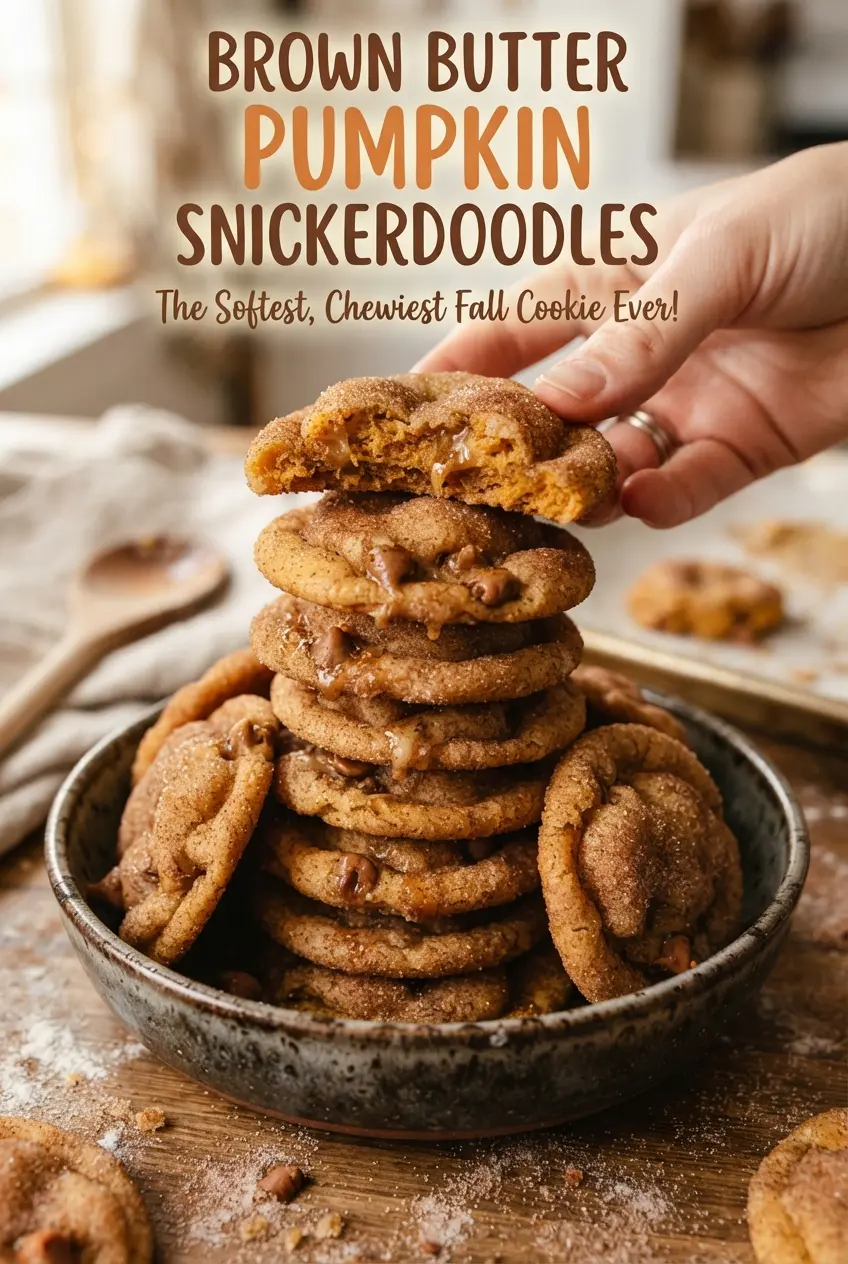
- Unsalted butter — Browning it gives the cookies their nutty base; the amber milk solids and toasted aroma are the cues to stop cooking. Use a saucepan you can watch closely, and pour the butter into a heatproof bowl right away so the solids don’t keep darkening in the hot pan.
- Pumpkin puree — Plain puree adds pumpkin flavor without the extra sugar and spices in pumpkin pie filling. Blot it before measuring, and don’t skip this prep. Canned puree works well; homemade puree can vary in moisture, so judge it by the thick, no-pooling cue.
- Brown sugar and granulated sugar — The packed brown sugar brings moisture and a deeper sweetness, while granulated sugar also appears in the coating for a crisp, sparkling finish. Keep the brown sugar packed when measuring so the dough has the balance intended here.
- Egg yolk — The yolk helps bind the dough and adds richness without bringing in the extra liquid of a whole egg. Separate it carefully so no egg white slips into the mixture.
- Cream of tartar — This is part of what gives a snickerdoodle its characteristic gentle tang. It works alongside the baking soda, so don’t leave it out or swap in baking powder without changing the recipe’s balance.
- All-purpose flour — It gives the dough enough structure to roll and hold a craggy top. Whisk it with the cream of tartar, baking soda, and salt first, then stir the dry mixture into the pumpkin mixture only until no dry flour remains.
The Brown Butter-to-Baking Sequence That Keeps These Cookies Tender
Watch for Amber Solids, Then Stop the Heat
Melt the butter in a medium saucepan over medium heat, stirring often as it cooks for 5–8 minutes. The milk solids will turn amber and the butter will smell nutty; those are the signs to move quickly. Pour it immediately into a heatproof mixing bowl, because leaving it in the warm saucepan can carry the browning too far. Let it cool for 5 minutes, carefully stir in the water, and then wait 10–15 minutes until it’s warm but not hot.
Thicken the Pumpkin and Build the Wet Mixture
Spread the puree across several layers of paper towels and blot or press until it’s thick and no liquid pools, then measure the half cup. Whisk the brown and granulated sugars into the butter until combined. Whisk in the pumpkin, egg yolk, and vanilla until the mixture looks smooth, rather than streaky or lumpy. If the butter still feels hot, give it more cooling time before adding the egg yolk.
Fold in the Dry Ingredients and Chill
In a separate bowl, whisk together the flour, cream of tartar, baking soda, and salt so the leavening is distributed evenly. Stir that mixture into the pumpkin mixture just until the last dry patches disappear; prolonged mixing isn’t needed. Cover the dough and refrigerate it for 1 hour. It’s ready when it’s firm enough to scoop and roll without slumping immediately in your hands.
Coat, Bake, and Let the Centers Set
Heat the oven to 350°F and line two 18×13-inch baking sheets with parchment paper. Mix the coating sugar and cinnamon in a small bowl, scoop the dough into 2-tablespoon portions, roll each portion into a ball, and coat it. Arrange 12 balls at least 2 inches apart on one sheet and bake on the center rack for 10–12 minutes, until the edges are set and the tops are puffed and cracked; bake the rest in a second batch. Cool each batch on the baking sheet for 5 minutes so the cookies hold their shape, then transfer them to a wire rack.
How to Change the Cinnamon Finish Without Losing the Snickerdoodle Bite
Make a gluten-free batch
Replace the all-purpose flour with a cup-for-cup gluten-free baking blend intended to replace wheat flour, ideally one that includes a binder. Keep the other ingredients and the one-hour chill the same, but expect the dough and finished cookies to feel a little different; gluten-free blends vary, so use the visual cues in the method rather than assuming the texture will match exactly.
Give the coating a pumpkin-spice note
For a different aromatic finish, use pumpkin pie spice in place of the ground cinnamon in the coating, keeping the same amount. The coating will taste more layered and less purely cinnamon-forward; the dough itself stays unchanged, so the snickerdoodle tang still comes through.
Storage and Reheating
- Refrigerator: Refrigeration isn’t necessary for fully baked cookies. For a longer hold, keep them airtight in the refrigerator for up to 1 week; they’ll firm up, so room temperature is better for their tender texture.
- Freezer: Freeze completely cooled cookies in an airtight container for up to 2 months, separating layers with parchment. Thaw at room temperature before serving.
- Reheating: Warm cookies in a 300°F oven for a few minutes, just until soft and warm. Don’t leave them in too long or the edges can dry out; let frozen cookies thaw first for the most even result.
Questions That Come Up With Pumpkin Snickerdoodles
Brown Butter Pumpkin Snickerdoodles
Ingredients
Equipment
Method
- Melt the butter in a medium saucepan over medium heat, then cook for 5–8 minutes, stirring often, until the milk solids are amber and smell nutty; immediately pour into a heatproof mixing bowl.
- Let the butter cool for 5 minutes, carefully stir in the water, then let it cool until warm but not hot, about 10–15 minutes.
- Spread the pumpkin puree on several layers of paper towels and blot or press it until thick and no liquid pools; measure 1/2 cup after blotting.
- Whisk the brown sugar and granulated sugar into the butter until combined.
- Whisk in the pumpkin, egg yolk, and vanilla until smooth.
- In a separate bowl, whisk together the flour, cream of tartar, baking soda, and salt.
- Stir the dry mixture into the pumpkin mixture just until no dry flour remains.
- Cover the dough and refrigerate for 1 hour, until firm enough to scoop and roll.
- Heat the oven to 350°F.
- Line two 18x13-inch baking sheets with parchment paper.
- Stir the coating sugar and cinnamon together in a small bowl.
- Scoop the dough into 2-tablespoon portions and roll each into a ball.
- Coat each dough ball in the cinnamon sugar.
- Arrange 12 dough balls at least 2 inches apart on one baking sheet.
- Bake on the center rack for 10–12 minutes, until the edges are set and the tops are puffed and cracked; bake the remaining cookies in a second batch.
- Cool the cookies on the baking sheet for 5 minutes, until they hold their shape.
- Transfer the cookies to a wire rack to cool.