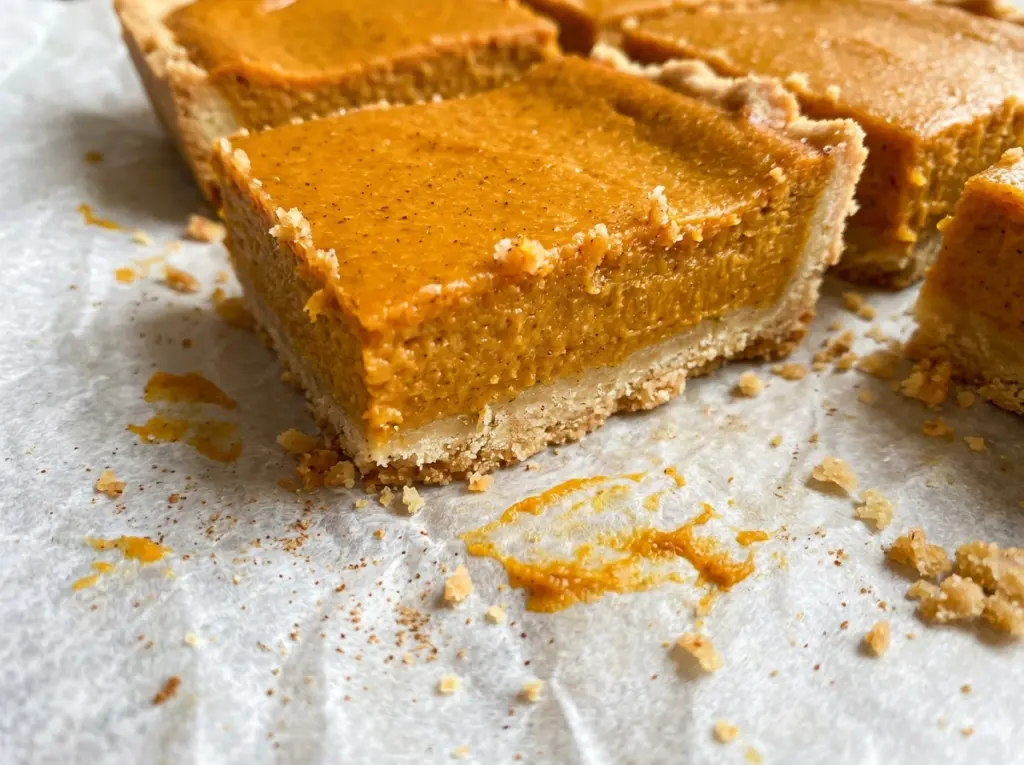
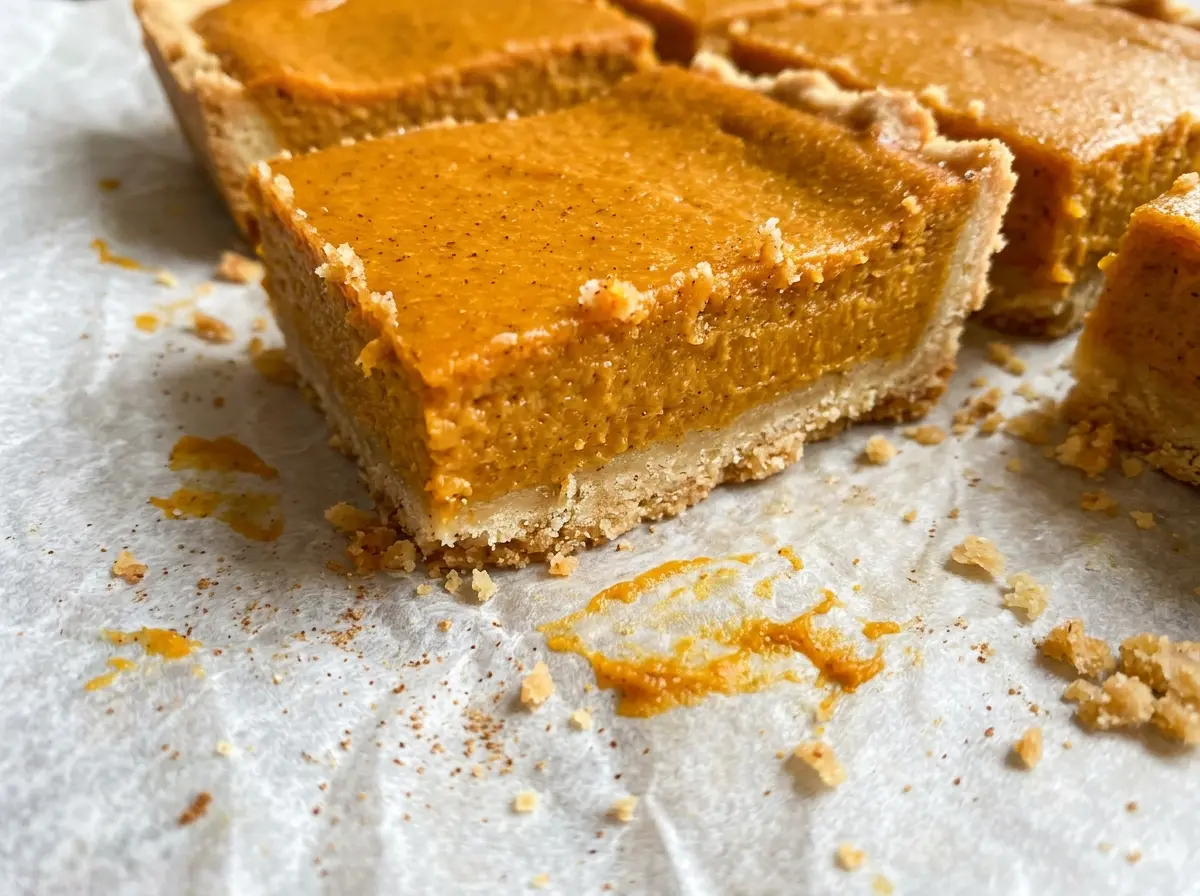
The first cut through one of these bars tells you what makes the dessert worth baking: the knife meets a buttery, tender shortbread base, then slides into a cool pumpkin layer that holds its shape without feeling stiff. I wanted pumpkin pie flavor in a bar that could be portioned cleanly, with a crust sturdy enough to support the filling.
These pumpkin pie bars with shortbread crust have the familiar cinnamon, ginger, and clove warmth of pumpkin pie, but the base is simpler and more buttery than pastry. Pure pumpkin keeps the filling tasting like pumpkin instead of a pre-sweetened spice blend, and the evaporated milk gives it a smooth, custardy texture.
I like that the layers can be baked ahead and cut into 24 neat squares once they’re cold. Each bite brings a little crispness from the golden shortbread edge and a soft, chilled center that tastes unmistakably like pumpkin pie.
Kitchen Note
I set the crust salt and filling salt out separately before I start. They’re easy to mix up once the bowls are moving, and the crust needs its own measured portion.
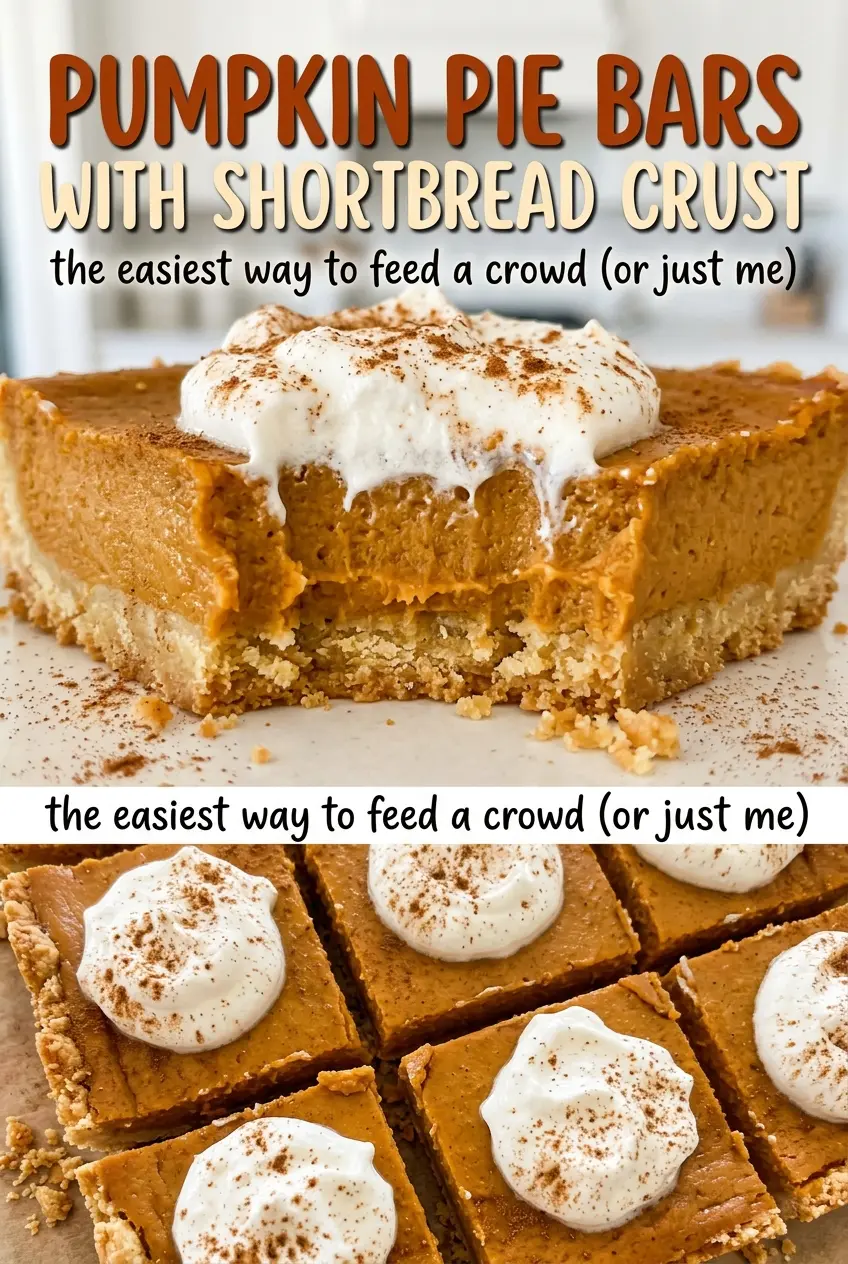
Save these pumpkin pie bars with shortbread crust for a make-ahead dessert with a buttery base and a chilled, sliceable pumpkin filling.
Why the Shortbread Has to Bake Before the Pumpkin Goes In
Pumpkin filling is wet and heavy, so putting it straight onto raw shortbread would leave the bottom layer with little chance to bake through before the custard sets. Giving the crust its own bake first creates a firm base that can support the filling. It also gives the shortbread a head start on browning, which is where its buttery flavor becomes most noticeable.
The timing between the layers matters, too. Pour the filling over the crust while the crust is still hot, rather than letting it cool on the counter first. The warm base helps the two layers bake together without turning the shortbread into a separate, dry slab under the pumpkin. Look for the crust edges to be just beginning to turn golden; if they’re already dark, they’ll spend another long bake beneath the filling and can taste overdone.
This two-stage approach gives you a clear visual cue before the custard goes in, then a separate cue for when the bars are ready to chill. You’re not guessing whether a pale bottom has cooked underneath a finished-looking top.
What Pumpkin, Evaporated Milk, and Shortbread Each Bring
- Pure pumpkin — Use plain canned pumpkin, not pumpkin pie filling. The pie-filling version is already sweetened and spiced, so it changes the flavor and sweetness of the custard. Canned pure pumpkin is dependable here; homemade puree can carry more water and may leave you with a softer set.
- Evaporated milk — This concentrated milk makes the pumpkin layer creamy without adding as much water as regular milk. Half-and-half is the most practical substitute in the same volume; expect a slightly richer filling with a different consistency.
- Unsalted butter — Butter gives the shortbread its tender, sandy bite, and unsalted butter lets the measured salt stay in control. A standard grocery-store butter works well; there’s no need to seek out a specialty brand.
- All-purpose flour — It gives the crust enough structure to hold the custard. For a gluten-free adaptation, use a cup-for-cup gluten-free baking flour blend in place of the all-purpose flour; the crust may have a slightly more delicate, sandy texture. Almond flour isn’t a direct swap because it behaves differently in this pressed crust.
- Granulated sugar — The crust gets a smaller share for sweetness and tenderness, while the filling needs enough to balance the earthy pumpkin and spices. Keep the two portions separate so each layer gets the intended amount.
- Warm spices — Cinnamon, ginger, and cloves give the filling its recognizable pumpkin-pie warmth. Fresh, fragrant spices make the most difference; older spices will still work, but their aroma won’t come through as clearly.
- Eggs — Eggs set the pumpkin filling into a sliceable custard as it bakes and chills. They’re doing more than adding richness, so I wouldn’t replace them if you want bars with this same firm, clean-cut texture.
Building the Crust and Pumpkin Layers Without Guesswork
Press and pre-bake the shortbread
Heat the oven to 350°F and line a 9×13-inch metal baking pan with parchment, leaving overhang on two sides. Grease the parchment and exposed sides with the teaspoon of butter. Beat the remaining butter with the crust sugar until smooth, about 1 to 2 minutes, then mix in the flour and crust salt until crumbly. Press it firmly and evenly into the pan, and bake for 18 to 22 minutes, until the edges are just beginning to turn golden.
Whisk the pumpkin filling smooth
In a large bowl, whisk the pumpkin with the remaining sugar, cinnamon, ginger, cloves, and filling salt. Whisk in the eggs until the mixture looks even, then gradually whisk in the evaporated milk. Keep whisking until the filling is smooth, with no visible streaks of egg or milk. Pour it over the hot crust so the layers go into the oven together.
Bake until the center still has a little movement
Keep the oven at 350°F and bake the filled pan for 50 to 65 minutes. The edges should look set, while the center should have only a slight jiggle rather than moving like liquid. Check the middle with an instant-read thermometer; it should reach 160°F. Don’t wait for the center to look completely motionless, because it continues to firm as the bars cool.
Cool fully before lifting and slicing
Set the pan on a rack and let the bars cool in the pan for 1 hour. Refrigerate them for at least 3 hours, until the filling is chilled and firm all the way through. Use the parchment overhang to lift the slab from the pan once it’s cold. Cut it into 24 pieces with a sharp knife.
Two Easy Ways to Change the Flavor or Fit a Dairy-Free Table
Use a pumpkin pie spice blend
Replace the separate cinnamon, ginger, and cloves with 3 1/2 teaspoons of pumpkin pie spice. Most blends bring in additional warm spices, including nutmeg, so the filling tastes rounder and less sharply ginger-and-clove forward.
Make the bars dairy-free
Use unsalted plant-based baking sticks in place of the butter and unsweetened canned coconut milk in the same volume as the evaporated milk. The pumpkin layer will have a mild coconut note and may feel a little softer, but the eggs still provide the custard’s structure.
Make-Ahead and Cold Storage
- Refrigerator: Cover and refrigerate within 2 hours. The bars keep for 3 to 4 days; the shortbread gradually softens beneath the custard.
- Freezer: Once chilled, cut the bars and wrap the pieces individually before sealing them in a freezer-safe container. Freeze for up to 2 months; thaw overnight in the refrigerator, knowing the crust may soften slightly.
- Serving: Serve cold, straight from the refrigerator. Don’t reheat them; warmth loosens the custard and takes away the clean bar texture.
Questions That Come Up When Baking Pumpkin Pie Bars
Pumpkin Pie Bars with Shortbread Crust
Ingredients
Equipment
Method
- Heat the oven to 350°F.
- Line a 9x13-inch metal baking pan with parchment paper, leaving overhang on two sides, and grease the parchment and exposed sides with 1 teaspoon butter.
- In a medium bowl, beat the remaining 1 cup butter with 1/2 cup of the sugar until smooth, about 1 to 2 minutes.
- Mix in the flour and 1/2 teaspoon of the salt until crumbly.
- Press the mixture firmly and evenly into the prepared pan.
- Bake for 18 to 22 minutes, until the edges are just beginning to turn golden.
- In a large bowl, whisk together the pumpkin, remaining 1 1/2 cups sugar, cinnamon, ginger, cloves, and remaining 1 teaspoon salt.
- Whisk in the eggs.
- Gradually whisk in the evaporated milk until smooth.
- Pour the filling over the hot crust.
- Bake at 350°F for 50 to 65 minutes, until the edges are set, the center reaches 160°F on an instant-read thermometer, and the center has only a slight jiggle.
- Cool the bars in the pan on a rack for 1 hour.
- Refrigerate for at least 3 hours, until chilled and firm.
- Lift the bars out using the parchment overhang.
- Cut into 24 pieces.


