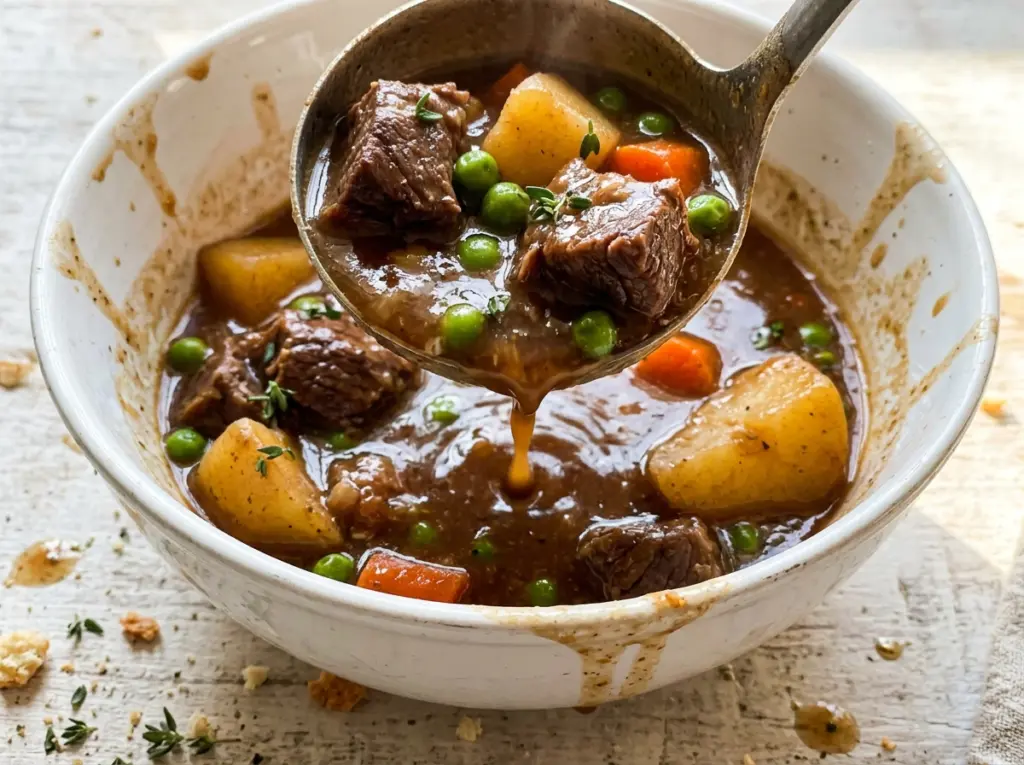
When the beef hits the hot oil, give it room: crowded cubes release moisture and steam instead of developing those dark, browned edges. That first sear is where Dutch oven beef stew starts building its deep, savory flavor, and working in batches is worth the extra few minutes.
After the beef is browned, the onion softens in the same pot, picking up the flavorful bits on the bottom. Tomato paste and flour cook briefly with it before red wine loosens those browned bits, and the covered pot moves to the oven for a slow braise. I add the carrots and Yukon Gold potatoes later, so they have time to become tender without spending the entire cook in the broth. The finished stew has fork-tender beef, vegetables that still hold their shape, and a rich broth that clings to the spoon.
Kitchen Note
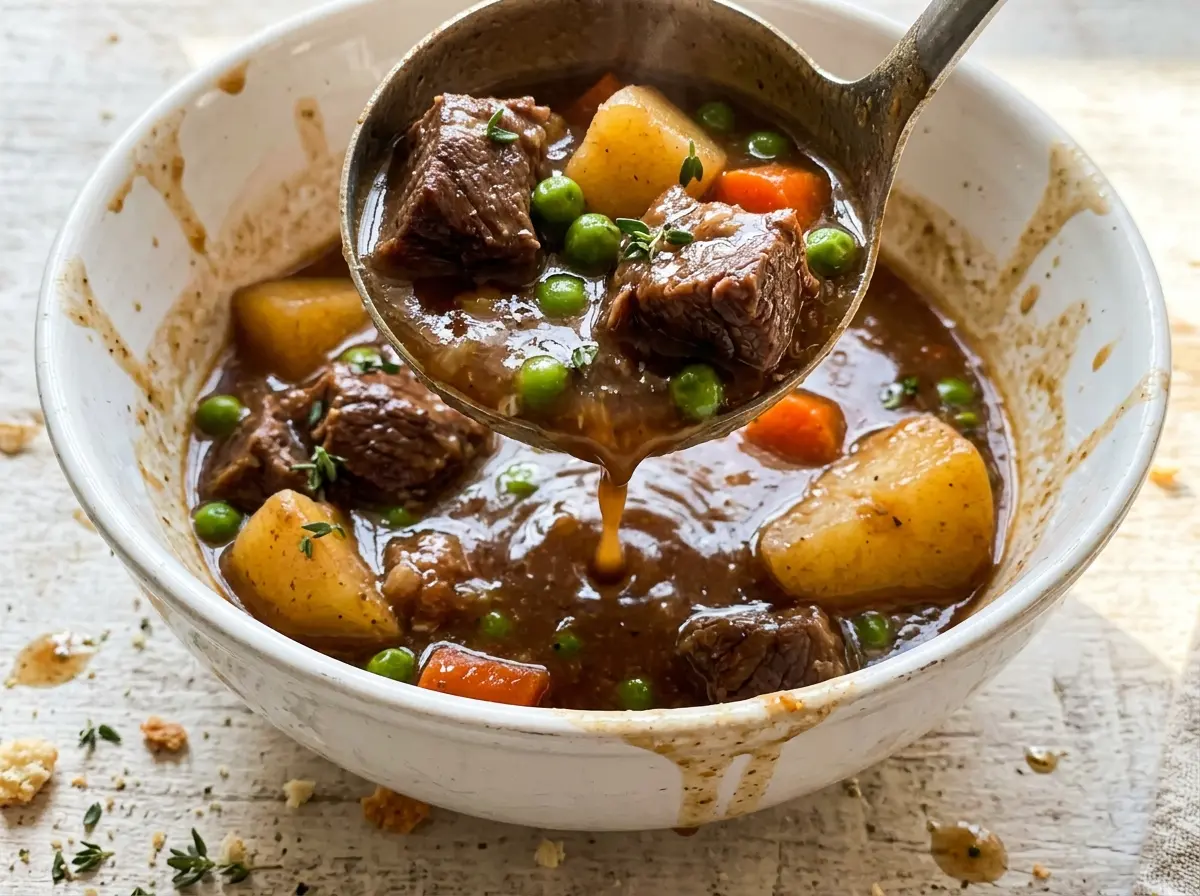
Give the stew its full 10-minute rest after it comes out of the oven. The broth settles and thickens slightly as the pot stands, so it’s easier to ladle without rushing the first serving.
Save this Dutch oven beef stew for a cozy dinner with tender chuck, soft Yukon Gold potatoes, and a broth built right in the pot.
Why the Carrots and Potatoes Don’t Go In With the Beef
The beef needs a long, covered stretch in the oven to turn chuck tender, but carrots and potatoes don’t need nearly as much time. Adding them at the start may leave you with vegetables that are overly soft by the time the beef is ready. I wait until the beef has baked for 1 1/2 hours, then stir in the vegetables and return the covered pot to the oven for another 45 to 60 minutes.
That timing gives the vegetables enough time to absorb the savory broth while helping them keep their shape. Yukon Gold potatoes are especially useful here: they turn tender and creamy but are less likely to collapse into the stew than a floury potato. Cut the carrots and potatoes into the specified sizes so they cook at a similar pace; much smaller pieces can become soft before the beef is fork-tender. At the end, check both the meat and vegetables, not just the clock. The beef should yield easily to a fork, and the potatoes should be tender through the center.
The Ingredients That Build a Deep, Balanced Broth

- Beef chuck — Chuck has enough connective tissue and marbling to become tender during a long braise, while adding body to the broth. Choose evenly sized cubes so they cook at a similar rate. If you buy a whole chuck roast, cut it into 1 1/2-inch pieces yourself and trim away any especially thick, hard pieces of fat.
- Dry red wine — Wine loosens the browned bits after the onions and beef have cooked, and its acidity keeps the broth from tasting flat. An inexpensive dry table wine works; skip sweet wine, which can make the finished stew taste too sweet. For a wine-free version, use the broth swap in the variations below.
- Yukon Gold potatoes — Their creamy texture suits a long stew, and they hold their shape better than a softer, starchier potato. Choose firm potatoes without green patches. There’s no need to peel them; the skins help the pieces stay intact and save a bit of prep.
- Tomato paste and flour — Tomato paste adds concentrated savory depth, while the flour gives the broth a little body. Cook both with the softened onion before adding liquid; flour that remains dry or clumped won’t blend as smoothly into the stew.
- Low-sodium beef broth — A lower-sodium broth leaves room for the Worcestershire sauce and the liquid’s gradual concentration without making the stew taste overly salty. A basic store-brand broth is fine here; the browned beef, tomato paste, herbs, and wine do much of the flavor-building.
How to Build the Stew in the Dutch Oven
Brown the Beef Without Crowding the Pot
Heat the oven to 325°F, then pat the beef dry and season it with kosher salt and black pepper. Heat the olive oil in a 6-quart Dutch oven over medium-high until it shimmers. Brown the beef in batches for 2 to 3 minutes per side, then move each batch to a plate. If the cubes are pale and wet-looking, the pot is too crowded; leave space around each piece so the surfaces brown.
Soften the Onion and Cook the Flour
Add the chopped onion to the pot and cook it over medium heat for 5 to 7 minutes, stirring occasionally, until softened. Stir in the minced garlic and tomato paste and cook for 1 minute, then sprinkle the flour over the onion mixture. Stir for 1 to 2 minutes, until you can’t see dry flour. Keep the mixture moving across the bottom so the paste and flour don’t scorch.
Deglaze and Start the Covered Braise
Pour in the dry red wine and scrape the bottom of the pot to loosen the browned bits. Let it simmer for 2 to 3 minutes, then stir in the beef broth, Worcestershire sauce, dried thyme, and bay leaves. Return the beef and any juices from the plate, and bring the liquid to a simmer before covering the pot. Scraping thoroughly matters; those browned bits should dissolve into the broth rather than stay stuck to the bottom.
Add the Vegetables and Finish Until Tender
Cover the Dutch oven and bake for 1 1/2 hours before stirring in the carrots and potatoes. Cover again and bake for 45 to 60 minutes, until the beef is fork-tender and the vegetables are tender. If the beef still resists a fork, it needs more time in the covered pot; don’t judge tenderness by the vegetables alone. Remove the bay leaves and let the stew rest for 10 minutes before serving.
Two Practical Ways to Adapt This Beef Stew
Make It Without Red Wine
Replace the wine with an equal amount of beef broth. Pour it into the pot after the flour has cooked, scrape up the browned bits, and let it simmer for 2 to 3 minutes before adding the remaining broth and seasonings. The stew will lose the wine’s acidity and layered aroma, but the browned beef and tomato paste still make a savory base.
Make the Stew Gluten-Free
Use a measure-for-measure gluten-free flour blend in place of the all-purpose flour, keeping the same amount and cooking it with the onion mixture as usual. The broth may be a little less silky because gluten-free blends thicken differently, but the stew keeps its familiar, hearty texture. Check that the Worcestershire sauce and beef broth you choose are also labeled gluten-free.
Storage and Reheating
- Refrigerator: Store cooled leftovers in a covered container for 3 to 4 days. The potatoes may soften a little as they sit in the broth.
- Freezer: Freeze in airtight containers for up to 3 months. The stew is safe to freeze, though the potatoes can turn softer or slightly grainy after thawing.
- Reheating: Warm it gently in a covered saucepan over medium-low heat, stirring occasionally, until it reaches 165°F. Avoid a hard boil, which can break up the potatoes and make the beef seem stringy.
Questions That Come Up While the Stew Bakes
Dutch Oven Beef Stew
Ingredients
Equipment
Method
- Heat the oven to 325°F.
- Pat the beef dry and season it with the kosher salt and black pepper.
- Heat the olive oil in a 6-quart Dutch oven over medium-high heat until shimmering.
- Brown the beef in batches for 2 to 3 minutes per side, then transfer it to a plate.
- Add the onion to the pot and cook over medium heat for 5 to 7 minutes, stirring occasionally, until softened.
- Stir in the garlic and tomato paste and cook for 1 minute.
- Sprinkle the flour over the onion mixture and stir for 1 to 2 minutes, until no dry flour remains.
- Pour in the wine and scrape up the browned bits.
- Simmer for 2 to 3 minutes.
- Stir in the beef broth, Worcestershire sauce, dried thyme, and bay leaves.
- Return the beef and any accumulated juices to the pot.
- Bring the mixture to a simmer.
- Cover the pot and bake for 1 1/2 hours.
- Stir in the carrots and potatoes.
- Cover the pot and bake for 45 to 60 minutes, until the beef is fork-tender and the vegetables are tender.
- Remove the bay leaves.
- Let the stew rest for 10 minutes before serving.


