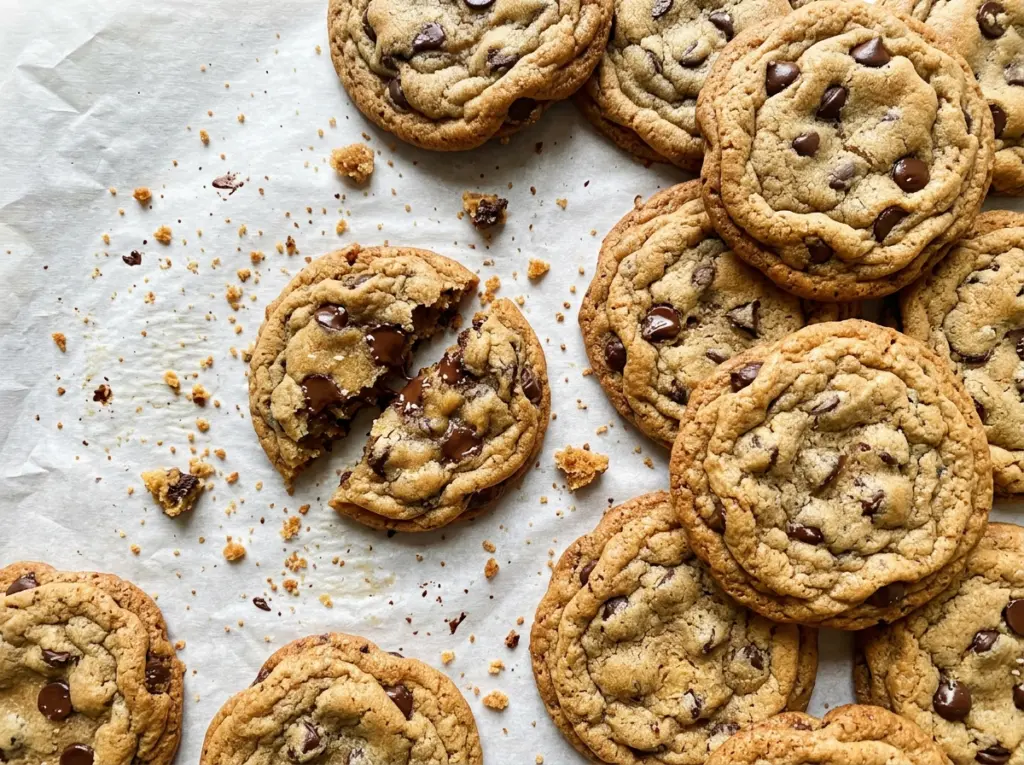
The edges of these cookies turn golden before the centers look fully baked, and that’s exactly when I pull the pan from the oven. The cookies finish setting as they cool, leaving you with crisp edges and a soft, chewy middle instead of a dry, uniformly crunchy cookie. I make these chocolate chip cookies when I want both textures in the same bite.
Melted butter makes the dough easy to mix by hand, while an extra egg yolk gives the centers a richer, chewier texture. A short rest in the refrigerator firms the dough before it goes onto the baking sheet, so the cookies bake up thick enough to keep that soft middle. Let them cool until the chocolate is glossy and the edges hold their shape.
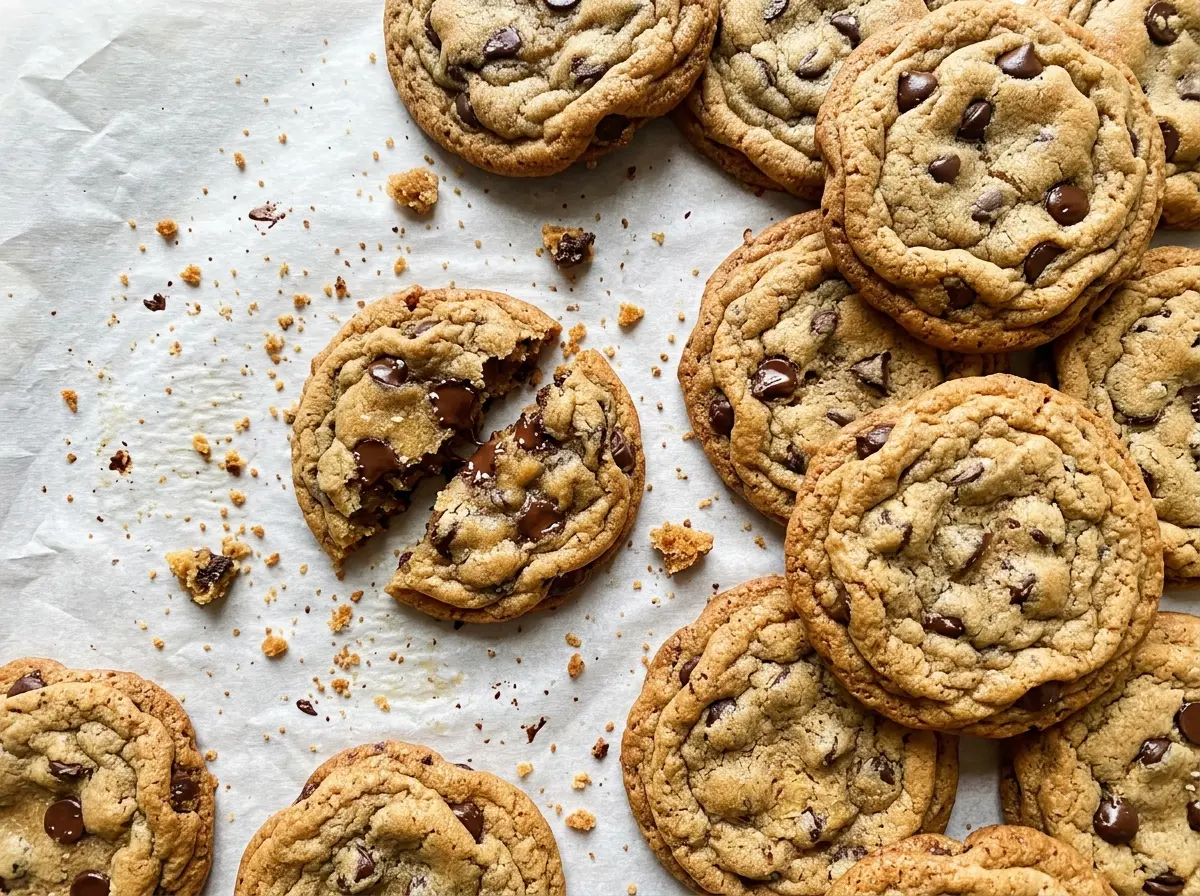
Kitchen Note
Let the baking sheet cool completely before you load the remaining dough. A warm sheet starts softening the butter before the cookies reach the oven, and the next batch can spread more than the first.
Save these crispy and chewy chocolate chip cookies for the next time you want golden edges, soft centers, and plenty of semisweet chocolate in every bite.
How Brown Sugar and Granulated Sugar Build Two Textures in One Cookie
Chewy and crispy aren’t competing goals here; they come from different parts of the dough. Brown sugar holds more moisture than granulated sugar, which helps the middle stay tender. Granulated sugar encourages the edges to spread and brown, giving them that delicate crispness. Keeping both in the dough lets the cookies develop a contrast instead of leaning all the way toward soft or crunchy.
The extra yolk matters, too. It adds richness and tenderness without the additional white, which would bring more water and encourage a firmer, more structured cookie. The balance is easy to lose if you change several ingredients at once, so I’d keep the butter and eggs as written when you’re after the recipe’s signature texture. The result is a cookie with a slightly crisp rim and a center that stays pleasantly soft after cooling.
What to Choose for Chocolate, Butter, and the Flour Base

- Unsalted butter — Butter is the main source of richness, and melting it makes the dough straightforward to whisk together. Let it cool before mixing in the egg so the egg stays intact. A standard grocery-store butter works well; unsalted butter also lets the measured table salt stay in control.
- Brown and granulated sugars — Use brown sugar that’s soft and moist enough to pack without hard lumps. Granulated sugar doesn’t need a specialty brand. If you only have dark brown sugar, it can stand in for light brown sugar; expect a deeper molasses note.
- Egg and extra yolk — Use a large egg and a separate large yolk for the intended balance of structure and richness. The yolk is not a spare ingredient: leaving it out changes the soft, chewy center.
- All-purpose flour — This gives the cookies their familiar structure. For a gluten-free version, use a cup-for-cup gluten-free baking flour blend intended to replace all-purpose flour; the texture may be a little more delicate, depending on the blend.
- Semisweet chocolate chips — Semisweet chocolate keeps the cookies from tasting overly sweet. A good-quality bag is worth choosing if you have one, though a standard brand works. Bittersweet or milk chocolate chips can replace them measure-for-measure for a darker or sweeter result.
Mixing and Baking for Crisp Edges and Chewy Centers
Whisk the Sugars Into the Melted Butter
Heat the oven to 350°F and line a large baking sheet with parchment paper. In a large bowl, whisk the melted, cooled butter with the brown sugar and granulated sugar until the mixture looks smooth. Break up any stubborn brown-sugar lumps as you whisk so they don’t leave pockets in the dough. The mixture will be glossy rather than fluffy; that’s expected with melted butter.
Add the Egg, Yolk, and Vanilla
Whisk in the large egg, extra yolk, and vanilla extract until they’re evenly combined with the butter and sugar. The mixture should look cohesive, without streaks of egg white or pools of butter around the edge of the bowl. If the butter is still hot, pause and let it cool further before adding the eggs. This helps prevent the egg from turning into little cooked strands.
Bring the Dough Together and Chill
In a medium bowl, whisk the flour, baking soda, and table salt together so the leavening and salt are distributed. Stir this dry mixture into the butter mixture just until no dry flour remains; stop there rather than continuing to beat the dough. Fold in the chocolate chips, cover the bowl, and refrigerate the dough for 30 minutes. It will be firmer and easier to scoop after its rest.
Scoop, Bake, and Let the Cookies Set
Scoop the dough into 2-tablespoon portions and arrange 12 portions about 2 inches apart on the prepared sheet. Bake for 10 to 12 minutes, watching for golden edges while the centers still look slightly underdone. If the centers look fully firm in the oven, the cookies are likely to be less chewy once cool. Leave them on the baking sheet for 5 minutes, then transfer them to a wire rack; cool the sheet completely before baking the rest of the dough.
Simple Swaps That Change the Cookie Without Changing Its Shape
Use bittersweet chips for a less-sweet bite
Replace the semisweet chips measure-for-measure with bittersweet chocolate chips. The dough stays the same, but the finished cookies have a more pronounced cocoa flavor and less sweetness. Milk chocolate chips work too if you prefer a sweeter, creamier chocolate taste.
Make the batch gluten-free
Replace the all-purpose flour with the same amount of a cup-for-cup gluten-free baking flour blend that includes a binder and is designed for cookies. The dough should still come together in the same way, though the cookies may be a little more fragile or sandy depending on the blend. Let them cool fully before moving them so the centers have time to set.
Storage and Reheating
- Refrigerator: These don’t need refrigeration. Keep cooled cookies in an airtight container at room temperature for up to 5 days; the edges gradually soften as they sit.
- Freezer: They freeze well once completely cool. Store them in an airtight freezer-safe container for up to 2 months, with parchment between layers, and thaw at room temperature.
- Reheating: Warm cookies in a 300°F oven for 4 to 5 minutes. Avoid leaving them in until the centers are hot all the way through, which can dry them out.
Questions That Come Up While Baking These Cookies
Crispy and Chewy Chocolate Chip Cookies
Ingredients
Equipment
Method
- Heat the oven to 350°F.
- Line a large baking sheet with parchment paper.
- Whisk the melted and cooled butter, brown sugar, and granulated sugar in a large bowl until smooth.
- Whisk in the egg, egg yolk, and vanilla until combined.
- In a medium bowl, whisk together the flour, baking soda, and salt.
- Stir the dry ingredients into the butter mixture just until no dry flour remains.
- Fold in the chocolate chips.
- Cover the bowl and refrigerate the dough for 30 minutes.
- Scoop the dough into 2-tablespoon portions.
- Arrange 12 portions about 2 inches apart on the prepared baking sheet.
- Bake for 10 to 12 minutes, until the edges are golden and the centers still look slightly underdone.
- Cool the cookies on the baking sheet for 5 minutes.
- Transfer the cookies to a wire rack.
- Let the baking sheet cool completely before baking the remaining dough.


