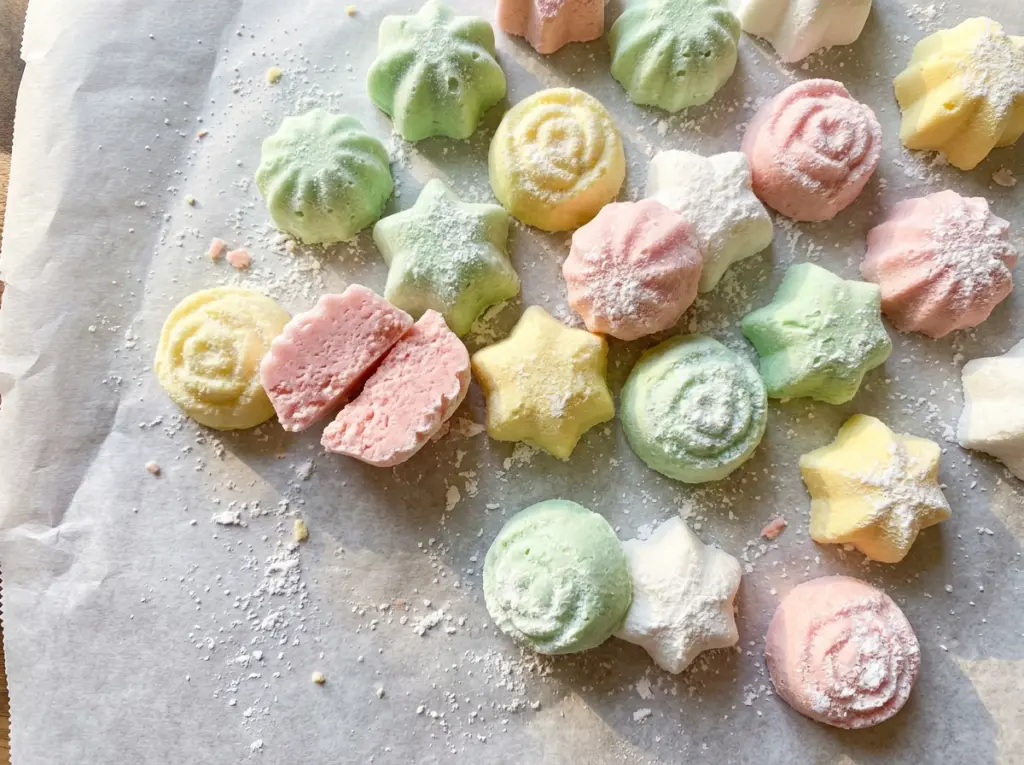
The dough should feel soft enough to press, but not tacky enough to cling to your fingers. That balance is what makes cream cheese mints easy to shape and keeps them tender after chilling. I beat the softened cream cheese and butter until there are no lumps, then work in the peppermint and powdered sugar until the dough turns smooth.
Adding the powdered sugar gradually gives you a better read on the dough as it comes together. Once it’s kneaded until it’s no longer sticky, you can roll the little portions without coating your hands in extra sugar. The granulated sugar on the outside adds a light crunch, and the fork gives each mint its familiar pressed top.
After an hour in the refrigerator, the mints are firm enough to transfer to a container and keep chilled. They’re small, cool, and clearly peppermint, with a creamy center and a sparkling sugar finish.

Kitchen Note
Dip the fork into the granulated sugar before pressing each mint. It keeps the dough from sticking to the tines and leaves a neat, sugared finish.
Save these Cream Cheese Mints for a make-ahead treat with a smooth peppermint center and a crisp sugar finish.
Why Softened Cream Cheese Makes Smoother Mints
Cream cheese and butter need to be soft before they go into the mixing bowl. If either one is cold, it won’t blend evenly; small firm bits can stay in the base even after the sugar is added. Those lumps are hard to work out once the dough thickens, so let both ingredients soften until they yield easily when pressed.
Beat the two together until the mixture looks smooth before adding the peppermint extract or coloring. That smooth starting point matters because the finished dough is too firm for a mixer to correct uneven dairy later. It also keeps you from trying to fix a lumpy batch by kneading in extra powdered sugar, which can leave the mints dry and crumbly.
The goal isn’t a whipped or fluffy mixture. Stop once the cream cheese and butter are blended evenly, then move on to the flavoring. That gives the peppermint a consistent base without changing the soft, dense texture these little candies should have.
What Gives These Mints Their Smooth Center and Peppermint Finish

- Cream cheese — It provides the tang and creamy body that distinguish these from hard mints. Use softened block cream cheese rather than a whipped spread; a looser product can change how much sugar the dough needs. There isn’t a dependable dairy-free swap that gives the same texture.
- Unsalted butter — Butter rounds out the cream cheese and helps the dough feel pliable enough to shape. Softening it along with the cream cheese makes the mixture easier to beat smooth. Keep the unsalted butter; salted butter would add salt that isn’t part of this recipe.
- Peppermint extract — Extract gives the mints their clear, familiar mint taste without adding liquid in the way a larger amount of another ingredient would. Use peppermint extract, not peppermint oil, which is much more concentrated and isn’t a direct swap.
- Powdered sugar — This sweetens and firms the dough while keeping its texture finer than granulated sugar could. The granulated sugar has a separate job: it coats the outside and gives the pressed mints a lightly crunchy finish. Gel food coloring is optional and adds color without much extra moisture.
From Soft Dough to Firm, Sugar-Coated Mints
Blend the Cream Cheese and Butter
Beat the softened cream cheese and butter in a large bowl with an electric mixer on medium speed until smooth. Scrape down the bowl if you see a thick patch clinging to the sides. Beat in the peppermint extract and the gel food coloring, if you’re using it. The mixture should look even in color and texture before you add the sugar.
Build and Knead the Dough
Add the powdered sugar one cup at a time, mixing on low speed. Keeping the mixer low limits the cloud of sugar that can escape the bowl. Once it’s incorporated, knead the dough until it feels smooth and no longer sticky. If it still clings to your fingers, keep kneading rather than adding extra sugar.
Roll, Coat, and Press
Pour the granulated sugar into a shallow bowl, then roll the dough into 48 small balls. Coat each ball in the sugar and arrange them on a parchment-lined 18-by-13-inch baking sheet. Dip a fork into the sugar before pressing each ball flat; the dough should release cleanly from the tines. Keep the balls small and similar in size so they firm up at the same pace.
Chill Until Firm
Refrigerate the baking sheet of mints for 1 hour, until the centers feel firm when lightly touched. Leave them on the sheet during this chill so they hold their flattened shape. Once firm, transfer them to an airtight container and keep them refrigerated. Don’t stack them while they’re still soft, or the tops can get pressed out of shape.
Small Changes That Keep the Peppermint Mints Familiar
Leave Them White
Skip the optional gel food coloring for classic white mints. The peppermint taste and creamy texture stay the same, and you don’t need to change the mixing or shaping method.
Press a Crosshatch on Top
For a different finish, press each sugared ball with the fork once, turn the fork, then press again. The crossed lines make a more defined pattern without changing the dough or its peppermint flavor.
Make-Ahead and Serving
- Refrigerator: Keep the mints in an airtight container for up to 4 days. The sugar coating may soften a little as they sit.
- Freezer: Freeze them in an airtight container for up to 2 months, separating layers with parchment. Thaw them in the refrigerator while still covered to limit condensation on the sugar.
- Serving: Serve them chilled. They don’t need reheating; warming can soften the cream cheese-based dough.
Questions That Come Up When Making Cream Cheese Mints
Cream Cheese Mints
Ingredients
Equipment
Method
- In a large bowl, beat the cream cheese and butter with an electric mixer on medium speed until smooth.
- Beat in the peppermint extract and food coloring, if using.
- Beat in the powdered sugar 1 cup at a time on low speed.
- Knead the dough until smooth and no longer sticky.
- Pour the granulated sugar into a shallow bowl.
- Roll the dough into 48 small balls.
- Coat each ball in sugar.
- Arrange the balls on a parchment-lined 18x13-inch baking sheet.
- Flatten each ball with a fork dipped in the sugar.
- Refrigerate the mints on the baking sheet for 1 hour, until firm.
- Transfer the mints to an airtight container and keep refrigerated.


