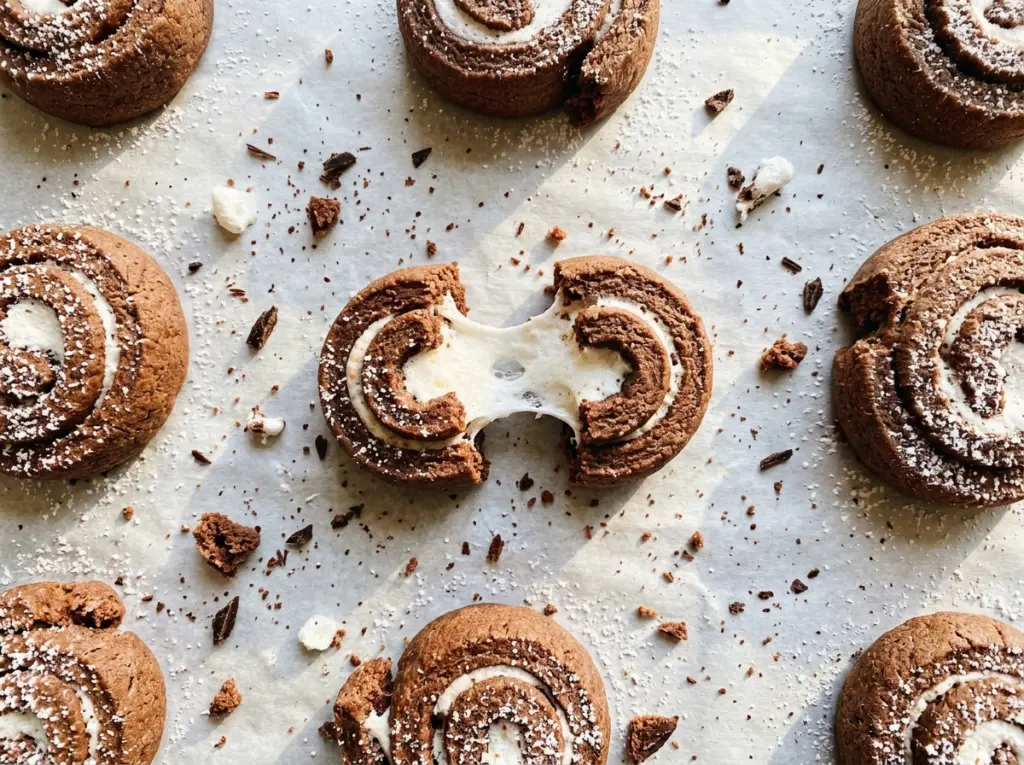
The edges of these cookies turn firm before the chocolate tops lose their soft look, and that’s exactly when I pull them from the oven. Break one open after it cools and there’s a marshmallow tucked right in the middle, instead of sitting on top where it can melt away. That hidden center is what makes Marshmallow Roll Cookies feel different from an ordinary chocolate cookie.
I like the balance here: the cocoa dough is rich but not overly sweet, and the marshmallow brings a soft, chewy middle. Each portion gets wrapped around one standard-size marshmallow, so the filling stays inside the cookie as it bakes. Once cooled, the cookies are easy to pick up, with a tender chocolate shell around that sweet center.
Kitchen Note
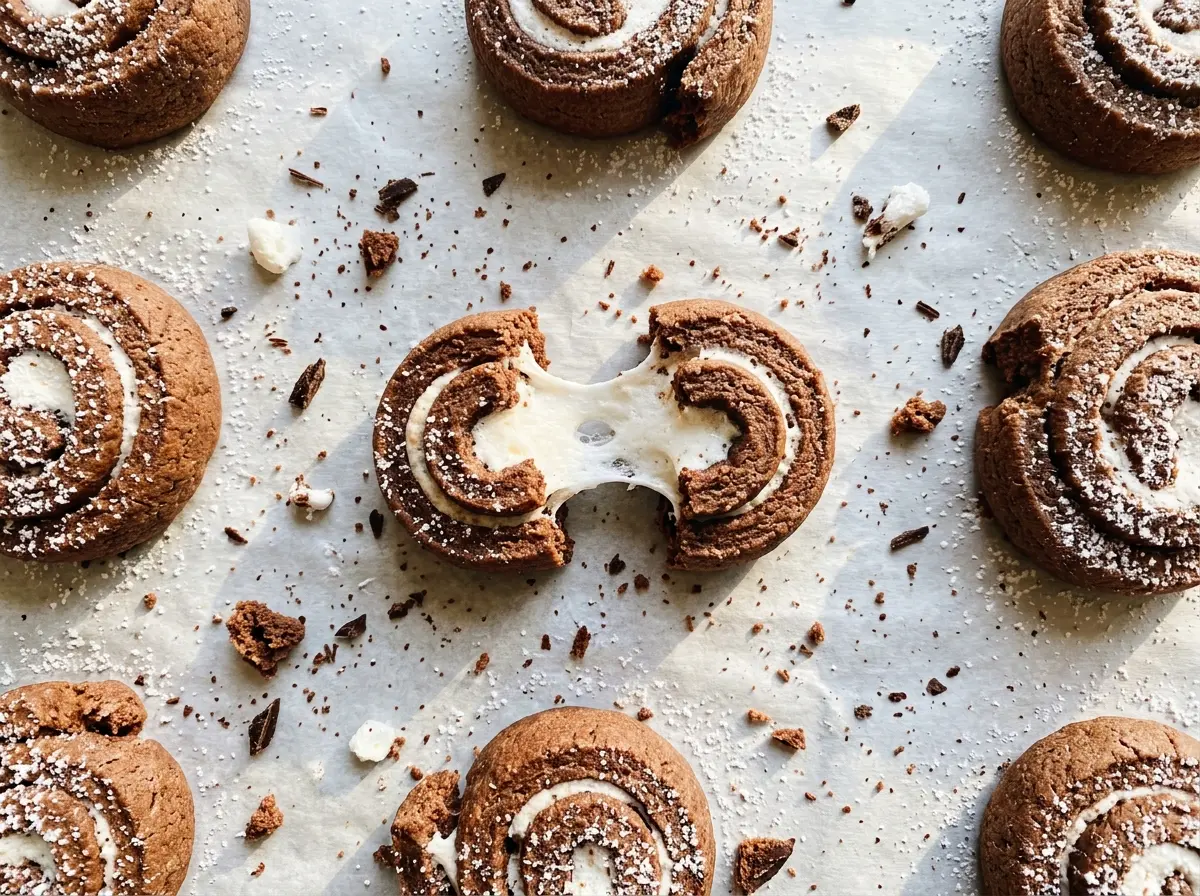
Let the cookies sit on the baking sheets for the full 10 minutes before moving them. The chocolate shell is delicate while warm, and the marshmallow center stays hot after the edges have set.
Save these Marshmallow Roll Cookies for a chocolate cookie with a soft, sweet center tucked inside.
Why a Thin Spot in the Dough Is Where the Marshmallow Escapes
The marshmallow softens as the cookies bake, so it needs a complete layer of dough around it. If one side is paper-thin, or the edges don’t meet, the filling can push through that weak spot and spread onto the pan. You don’t need a thick lump of dough around the center; aim for an even cover that reaches all the way around.
Flatten each portion enough to make a small pocket, then place the marshmallow in the middle and bring the dough edges up around it. If the dough tears as you wrap, press it back together before setting the cookie down. Pinching the seam closed gives the filling fewer places to escape, and putting that seam on the bottom keeps the top of each cookie smooth. Consistent portions help, too: dividing the dough into 18 pieces gives each marshmallow a similar shell instead of leaving a few cookies with too little dough to cover their centers.
That little bit of care at the wrapping stage is what gives you a cookie with a chocolate outside and a contained marshmallow middle, rather than a puddle of filling on the parchment.
Why Unsweetened Cocoa and Standard Marshmallows Matter Here

- Unsweetened cocoa powder — This gives the dough its chocolate flavor without adding extra sugar. A regular unsweetened cocoa powder from the baking aisle works well; sweetened cocoa drink mix isn’t a direct replacement because it brings sugar and other ingredients into the dough.
- Light brown and granulated sugars — The brown sugar adds moisture and a softer chew, while granulated sugar helps the cookie bake with a more defined edge. Pack the brown sugar as listed, and use ordinary granulated sugar; a specialty sugar won’t improve this dough.
- Unsalted butter — Softened butter creams smoothly with the sugars and lets you control the salt in the dough. The butter doesn’t need to be a premium brand, but it should be soft enough to beat without melting or looking greasy.
- All-purpose flour — This gives the chocolate dough enough structure to wrap around a marshmallow and hold its shape. It’s the right choice for the texture here; swapping in a different flour changes how the dough handles, so use the gluten-free option below only if you need that adaptation.
- Egg and vanilla extract — The egg binds the dough, and vanilla rounds out the cocoa flavor. If you keep imitation vanilla on hand, it can stand in for the extract in the same quantity, with a slightly simpler vanilla aroma.
- Standard-size marshmallows — One standard marshmallow gives each cookie a substantial, soft center that’s still small enough to cover with the dough portion. Use fresh marshmallows that feel pliable rather than dried out; their size matters more than choosing a particular brand.
- Baking soda — This helps the cookies rise as they bake, while the salt keeps the chocolate and sweetness in balance. Measure both evenly so the dough bakes consistently from one sheet to the next.
How to Wrap, Chill, and Bake the Marshmallow Centers
Cream the Butter and Sugars Until Fluffy
Beat the softened butter with both sugars in a large bowl for about 2 minutes, until the mixture looks light and fluffy. Scrape the bowl if sugar is collecting along the sides instead of mixing in. This step should look aerated, not melted or shiny. If the butter is too cold to blend smoothly, give it a little more time to soften before you begin.
Mix the Cocoa Dough Without Overworking It
Beat in the egg and vanilla until combined. In a separate bowl, whisk together the flour, cocoa powder, baking soda, and salt so the leavener doesn’t stay in one concentrated spot. Add the dry mixture to the butter mixture and mix just until no dry streaks remain. Stop there; continuing to beat after the flour disappears can make the cookies tougher.
Enclose Each Marshmallow in a Dough Portion
Divide the dough into 18 portions and flatten each one in your hand. Place a standard-size marshmallow in the center, wrap the dough around it, and pinch the seams closed. Set each cookie seam-side down on a parchment-lined baking sheet, leaving about 2 inches between cookies. Keep the dough around each center intact before chilling so the marshmallow is enclosed on all sides.
Chill, Bake, and Let the Cookies Set
Refrigerate the shaped cookies on the baking sheets for 20 minutes, then heat the oven to 350°F if it isn’t already hot. Bake for 10–12 minutes, until the tops look set and the edges are firm. The centers may still feel soft, so don’t wait for the whole cookie to look hard in the oven. Cool the cookies on the sheets for 10 minutes, then move them to a wire rack to cool completely.
Three Ways to Change the Marshmallow Center or Cookie Format
Make the marshmallow center smaller
Cut each standard-size marshmallow in half and use one half in each dough portion. You’ll still shape 18 cookies, but each will have a smaller, less sweet pocket of marshmallow; the remaining halves can be kept sealed for another use.
Use a gluten-free flour blend
Replace the all-purpose flour with a cup-for-cup gluten-free baking blend formulated for cookies, preferably one that includes xanthan gum. Choose marshmallows labeled gluten-free as well. The dough may feel more delicate when you wrap it, so press any small cracks closed rather than stretching the dough thin.
Bake the dough as plain chocolate cookies
Leave out the marshmallows, divide the dough into 18 portions, and flatten the portions into rounds on the prepared sheets. Bake at 350°F until the tops look set and the edges are firm. These flatter cookies may finish sooner than the stuffed version, so use the visual cues rather than relying on the original baking window.
Storage and Reheating
- Refrigerator: Store cooled cookies in an airtight container for up to 4 days. The chocolate shell will firm up, and the marshmallow center may become chewier.
- Freezer: Freeze completely cooled cookies in an airtight container for up to 2 months, with parchment between layers to keep them from sticking together. Thaw at room temperature.
- Reheating: They’re good at room temperature. For a warm cookie, microwave one for 5 seconds at a time, then let it rest before eating; the marshmallow heats faster than the cookie and can be hot in the center.
Questions That Come Up When Baking Marshmallow Roll Cookies
Marshmallow Roll Cookies
Ingredients
Equipment
Method
- Heat the oven to 350°F.
- Line two baking sheets with parchment paper.
- Beat the butter, brown sugar, and granulated sugar in a large bowl until light and fluffy, about 2 minutes.
- Beat in the egg and vanilla until combined.
- Whisk the flour, cocoa powder, baking soda, and salt in a medium bowl.
- Mix the dry ingredients into the butter mixture just until no dry streaks remain.
- Divide the dough into 18 portions.
- Flatten each portion and place a marshmallow in the center.
- Wrap the dough around each marshmallow, pinching the seams closed.
- Place the cookies seam-side down on the prepared sheets, spacing them about 2 inches apart.
- Refrigerate the shaped cookies on the sheets for 20 minutes.
- Bake for 10–12 minutes, until the cookie tops look set and the edges are firm.
- Cool the cookies on the baking sheets for 10 minutes.
- Transfer the cookies to a wire rack to cool completely.


