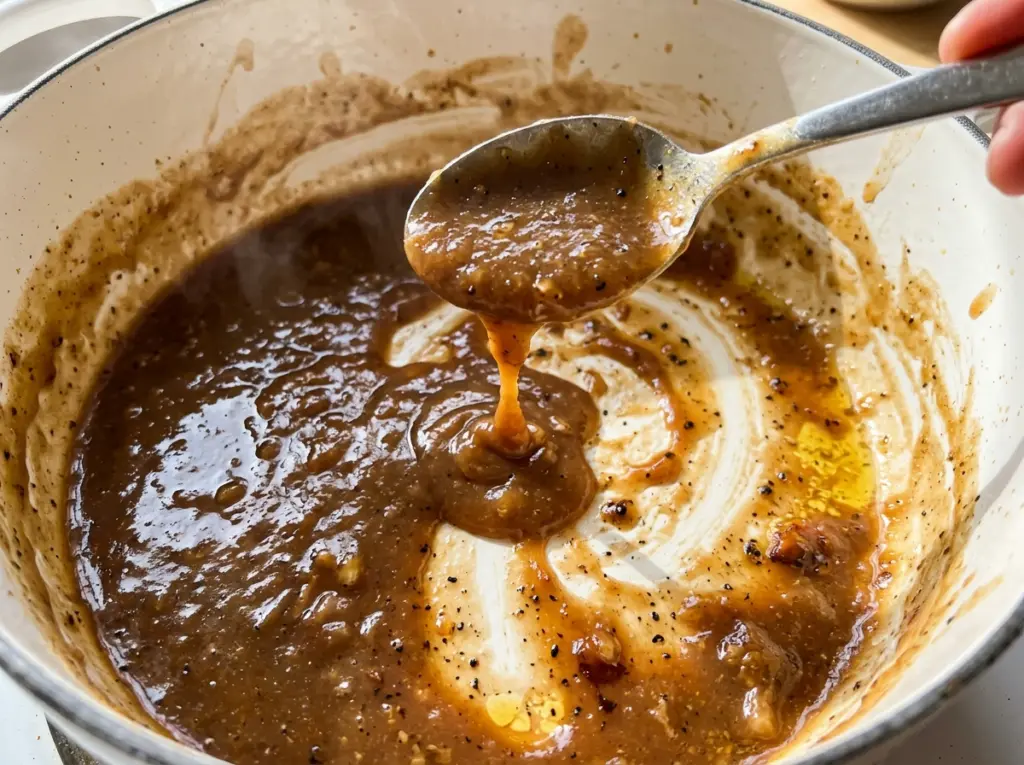
As the butter melts and the flour goes in, gravy starts with a simple choice: give the roux a couple of minutes before adding any liquid. Rush that part and the finished sauce can taste floury; add the stock gradually and it turns into a smooth base for Perfect Turkey Gravy. I like this method because it uses strained turkey pan drippings for roasted flavor, while low-sodium stock gives the gravy enough volume without locking in too much salt.
The pan juices need a little attention before they meet the stock. Straining catches the browned bits, and removing the fat keeps the measured drippings from making the gravy greasy. Once those juices are ready, a butter-and-flour roux thickens the mixture in one saucepan. The result is savory, smooth gravy with enough body to cling to each spoonful.
Kitchen Note
Skim the fat before measuring the pan juices, not after they’re in the saucepan. A thin layer of fat left in the measure can show up later as an oily sheen on top of the gravy.
Save Perfect Turkey Gravy for a smooth, savory finish to your holiday turkey dinner.
Why the Roux Gets Two Minutes Before the Stock
A roux is more than a way to thicken gravy. Cooking the flour in melted butter first gives it a chance to lose its raw, dusty taste before it meets the stock. The flour is dispersed through the butter, so it can blend into the liquid instead of clumping into little pockets of paste.
That short cook also sets the flavor and color. Here, the roux only needs to become smooth and lightly golden, not deeply browned. A darker roux would bring a toastier flavor and less thickening power, which isn’t what this smooth, traditional turkey gravy is aiming for. Keep the whisk moving and use the color as your cue; the two-minute cook gives the flour time to settle into the butter without taking the roux too far.
Once liquid goes in, gradual whisking matters for a different reason: it lets you smooth out each addition before the next one loosens the roux further. A few steady minutes at a simmer finish the thickening. The gravy should coat a spoon rather than run like stock.
What the Drippings and Stock Each Bring to Turkey Gravy

- Turkey pan drippings — These strained juices carry the roasted flavor that makes the gravy taste connected to the turkey. Use the flavorful liquid, not the skimmed fat; the fat isn’t a substitute for the juices.
- Turkey or chicken stock — Either works as the liquid base. Turkey stock gives the gravy a more pronounced turkey character, while chicken stock keeps that flavor a little gentler. Low-sodium stock leaves room to season after the gravy has thickened.
- Unsalted butter — Butter gives the roux its rich, smooth base. Unsalted butter makes the final seasoning easier to control; if you only have salted butter, the FAQ explains how to adjust.
- All-purpose flour — This is what gives the gravy its classic, spoon-coating body. Whisk it into the butter until no dry patches remain before you start adding liquid.
- Kosher salt and black pepper — The salt brings the flavors into focus, and black pepper adds a mild savory bite. Taste after the gravy thickens so you can judge the seasoning in the finished sauce.
Building Smooth Gravy in One Saucepan
Strain and Measure the Pan Juices
Pour the turkey pan drippings through a fine-mesh sieve to catch the browned bits, then skim off the fat. Measure the strained juices and combine them with the stock before you start the roux. Having the liquid mixture ready lets you whisk steadily once it’s time to add it.
Cook the Butter-and-Flour Roux
Melt the butter in a 3-quart saucepan over medium heat. Whisk in the flour and keep whisking for 2 minutes, until the mixture is smooth and lightly golden. If you see dry flour or pale lumps, keep whisking rather than moving on; the roux should look even before any liquid goes in.
Whisk in the Stock Mixture
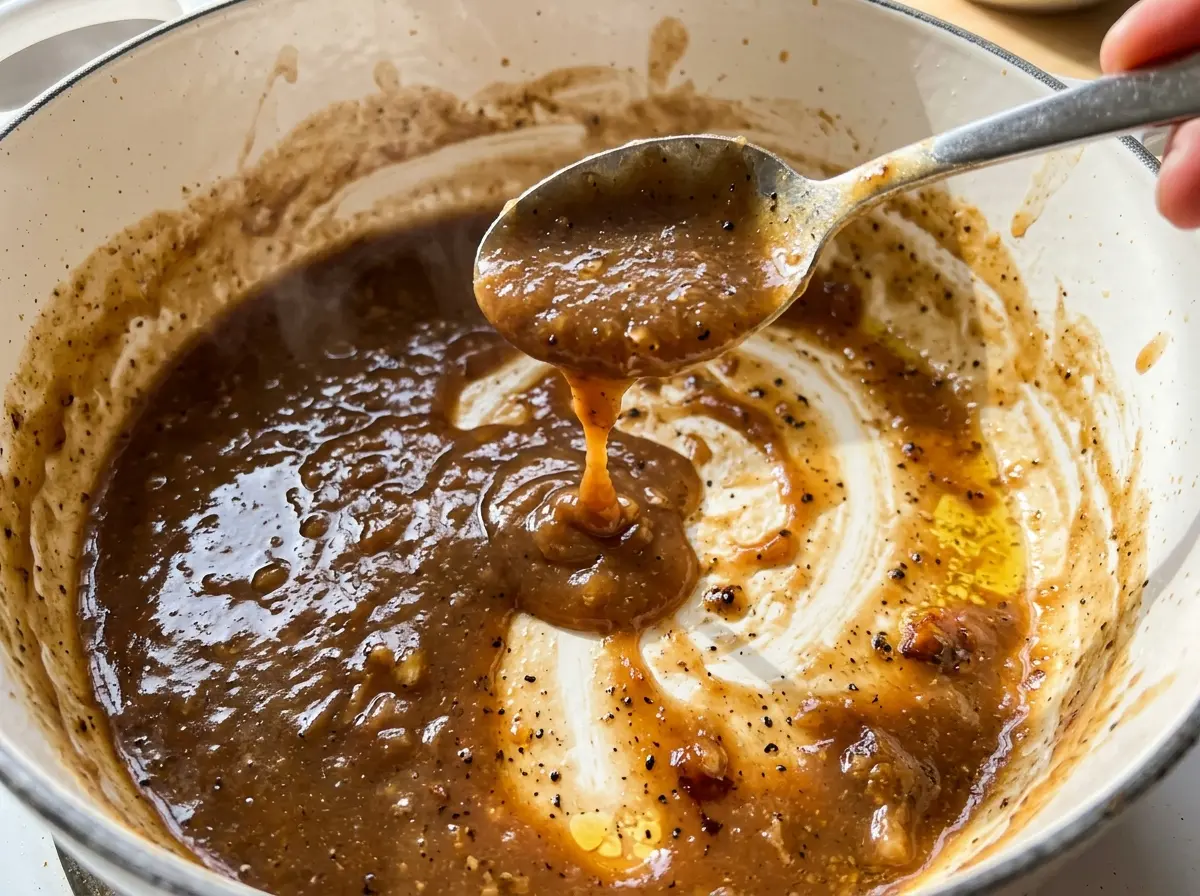
Pour in the drippings and stock mixture gradually, whisking as you go until the sauce looks smooth. Bring it to a simmer, then cook for 5 to 8 minutes, whisking often. Watch for the loose liquid to turn glossy and thick enough to cling to a spoon; if it still looks thin, give it the full simmering time.
Season and Let the Gravy Settle
Stir in the salt and black pepper once the gravy has thickened, then taste and add more salt only if it needs it. Take the saucepan off the heat and let the gravy rest for 2 minutes before serving. That brief pause lets the finished gravy settle after whisking.
Simple Ways to Adapt This Turkey Gravy
Make it more turkey-forward
Choose turkey stock rather than chicken stock for a deeper roasted-turkey taste. The gravy stays smooth and spoonable, but its flavor leans more firmly toward the pan drippings.
Make it gluten-free
Replace the all-purpose flour with an equal amount of a cup-for-cup gluten-free flour blend. Whisk it into the butter as you would the flour; blends vary, so judge the finished gravy by its thickness during the simmer rather than relying on color alone. The texture may be a little less silky than the all-purpose-flour version.
Keep the stock flavor mild
Use chicken stock for a softer, less distinctly turkey-like base. It still pairs with the drippings, but lets their roasted flavor come through without making the whole saucepan taste as intensely of turkey stock.
Storage and Reheating
- Refrigerator: Store covered in the refrigerator for 3 to 4 days. The gravy will thicken as it chills.
- Freezer: Freeze in an airtight container for up to 3 months. The texture may look slightly separated after thawing, but whisking as it reheats brings it back together.
- Reheating: Warm it gently in a saucepan, whisking until smooth and steaming. If it’s too thick, whisk in a little stock; high heat without stirring can make the gravy catch on the bottom.
Questions That Come Up When Making Turkey Gravy
Perfect Turkey Gravy
Ingredients
Equipment
Method
- Strain the turkey pan drippings through a fine-mesh sieve and skim off the fat.
- Measure 1/2 cup of the juices and combine with the stock.
- Melt the butter in a 3-quart saucepan over medium heat.
- Whisk in the flour and cook for 2 minutes, whisking constantly, until smooth and lightly golden.
- Gradually whisk in the drippings and stock mixture until smooth.
- Bring to a simmer and cook for 5 to 8 minutes, whisking often, until thickened.
- Stir in the salt and pepper, taste, and add more salt if needed.
- Let the gravy rest for 2 minutes before serving.


