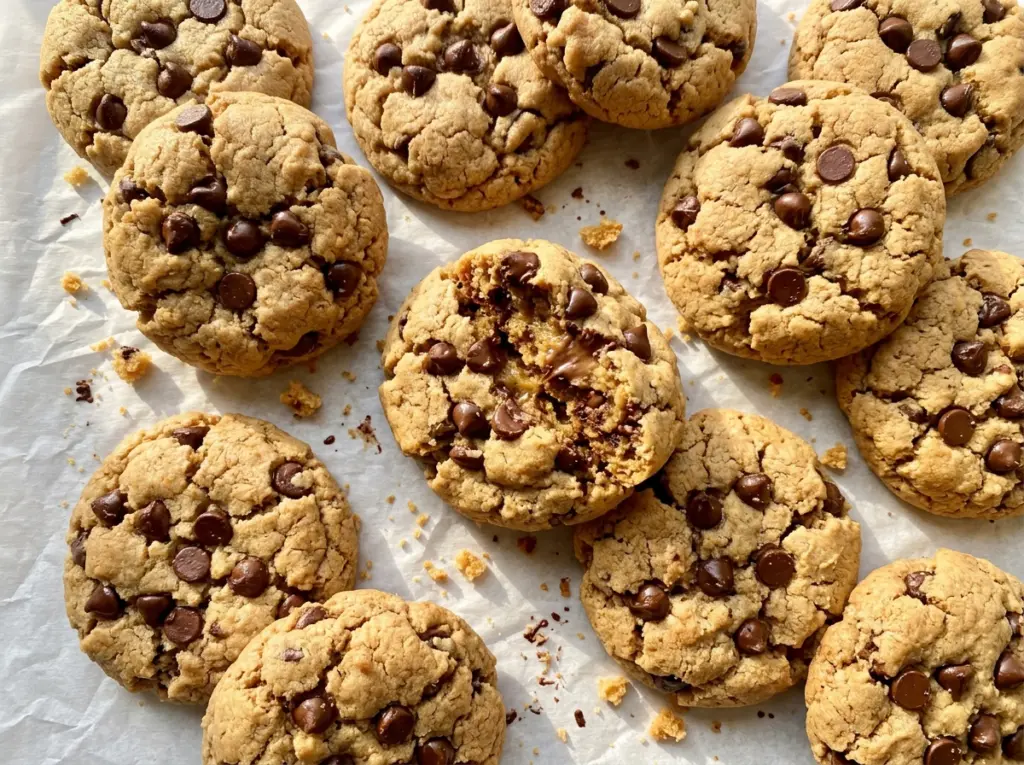
When the edges turn lightly golden, the centers of these cookies can still look a little soft. That’s the moment to pull the tray: they finish setting as they rest, instead of baking until every bite is dry. It’s a small timing cue that matters even more in gluten-free baking, where a cookie can go from tender to crumbly if it stays in the oven too long.
I make these gluten free chocolate chip cookies with a flour blend that already contains xanthan gum, plus one whole egg and an extra yolk. That combination gives the dough enough structure to hold together while keeping the centers tender. A short rest in the refrigerator makes the dough easier to portion, and semisweet chips give you chocolate in every bite. The finished cookies have lightly crisp edges and soft, chocolate-filled centers.
Kitchen Note
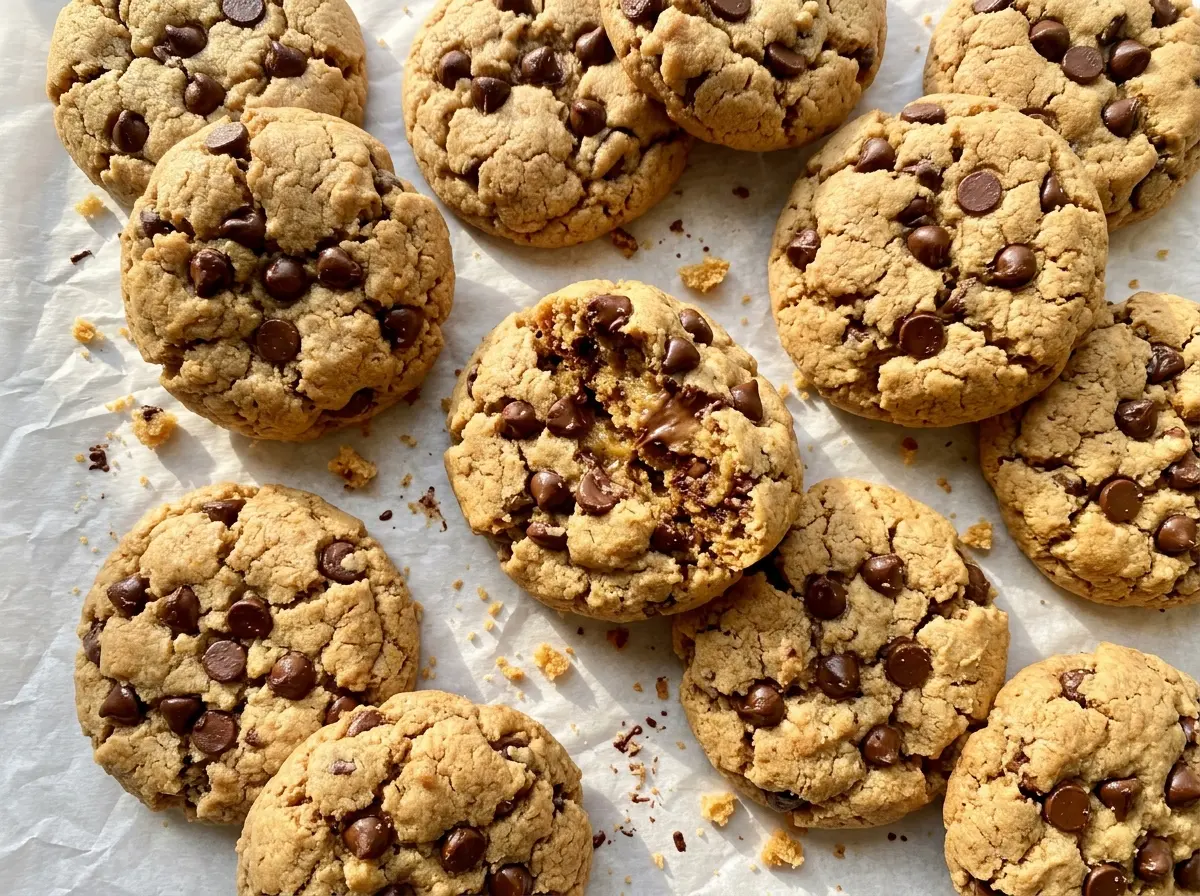
Give the cookies the full five minutes on the baking sheet before moving them. Their centers are still settling when they come out, and transferring them too soon can leave you with a broken cookie.
Save these gluten free chocolate chip cookies for the next time you want tender centers, golden edges, and a reliable cookie that doesn’t need wheat flour.
Why This Dough Uses an Extra Egg Yolk
Gluten-free cookies need a little help holding together, but adding more flour isn’t the answer. The flour blend with xanthan gum provides binding, while the whole egg and extra yolk bring moisture and richness to the dough. The yolk adds fat without adding another egg white, which helps keep the baked centers tender rather than dry or cakey.
That balance is why I wouldn’t treat the yolk as optional or swap the flour blend for a single-ingredient flour. Almond flour and coconut flour absorb liquid differently and don’t behave like a gluten-free all-purpose blend. Use a blend made for baking that includes xanthan gum, then mix only until the dry flour disappears. Once the chocolate chips are stirred in, the dough should hold together when scooped without turning tough from excess mixing.
The Flour Blend, Butter, and Eggs Each Have a Job

- Gluten-free flour blend with xanthan gum — This is the structure of the cookie, so choose an all-purpose blend intended for baking. Xanthan gum helps the dough hold together; almond or coconut flour isn’t a direct swap. A reasonably priced blend works well here, but check that it includes xanthan gum before you start.
- Unsalted butter — Softened butter creams smoothly with the sugars and gives the cookies their rich, tender texture. A standard store-brand butter is fine; it doesn’t need to be a specialty product. For a dairy-free batch, use dairy-free butter sticks in the same quantity, not a soft tub spread, which can have a different water content.
- Light brown sugar and granulated sugar — Brown sugar contributes moisture and a soft chew, while granulated sugar supports the cookie’s edges. Dark brown sugar can replace light brown sugar in the same packed quantity for a deeper molasses note. Replacing all the granulated sugar with brown sugar makes the cookies softer and changes the balance.
- Egg and extra yolk — Bring both to room temperature so they blend into the creamed butter without leaving it looking uneven. The yolk helps enrich the dough; omitting it changes the texture. I don’t recommend trying to replace the eggs with a flax mixture in this particular dough, since it won’t provide the same structure.
- Semisweet chocolate chips — Semisweet chips balance the sweet dough and hold their shape as the cookies bake. A store-brand bag is perfectly suitable. Chopped semisweet chocolate works in the same amount, though it melts into less uniform pockets than chips.
- Vanilla extract — It rounds out the brown sugar and chocolate without taking over. Pure vanilla is lovely, but imitation vanilla works here too; use the same amount and add it with the eggs.
From Creamed Butter to Cookies with Set Centers
Whisk the Dry Ingredients Evenly
Whisk the gluten-free flour blend, baking soda, and salt together in a medium bowl before they meet the wet ingredients. Break up any small flour lumps as you whisk so the baking soda is spread through the mixture. This quick step helps the cookies bake evenly; streaks of unmixed leavener can leave an uneven rise.
Cream the Butter and Sugars
Beat the softened butter with both sugars in a large bowl using a hand mixer for about two minutes, until creamy. If the butter is cold and firm, it won’t blend smoothly with the sugar; if it’s melted, the mixture won’t cream in the same way. Beat in the room-temperature egg and yolk, then the vanilla, stopping when they’re combined.
Mix Gently, Then Chill the Dough
Add the flour mixture and mix on low just until no dry flour remains. Scrape in the chocolate chips and stir them through; continuing to beat after the flour disappears can make the cookies less tender. Cover the dough and refrigerate it for 30 minutes. During that rest, heat the oven to 350°F and line an 18×13-inch baking sheet with parchment paper.
Bake in Two Batches and Let Them Set
Scoop 12 rounded tablespoons of dough onto the prepared sheet, spacing them about two inches apart, and keep the remaining dough refrigerated while the first batch bakes. Bake for 10 to 12 minutes, watching for lightly golden edges and centers that look just set. Cool the cookies on the baking sheet for five minutes, then transfer them to a wire rack. Repeat with the chilled dough.
Easy Changes That Still Respect the Dough
Make the Cookies Dairy-Free
Replace the unsalted butter with the same quantity of dairy-free butter sticks. Choose a stick-style product rather than a soft tub spread so the dough has a similar consistency. The cookies will still be tender, though the butter’s flavor may be less pronounced.
Give Them a Deeper Brown-Sugar Note
Use packed dark brown sugar instead of light brown sugar, keeping the quantity the same. The extra molasses flavor pairs naturally with semisweet chocolate, and the cookies may bake up a little darker with a softer bite.
Storage and Reheating
- Refrigerator: Refrigeration isn’t needed for baked cookies. Keep them in an airtight container at room temperature for up to 4 days; chilling can make them firm.
- Freezer: Freeze fully cooled cookies in an airtight container or freezer bag for up to 2 months. Thaw them at room temperature before serving.
- Reheating: Warm a cookie in a 300°F oven for about 3 minutes. Leaving it in longer can dry out the edges.
Questions That Come Up While Baking These Cookies
Gluten Free Chocolate Chip Cookies
Ingredients
Equipment
Method
- Whisk the gluten-free flour, baking soda, and salt together in a medium bowl.
- Beat the softened butter, brown sugar, and granulated sugar with a hand mixer in a large bowl until creamy, about 2 minutes.
- Beat in the egg and egg yolk, then the vanilla, until combined.
- Add the flour mixture and mix on low just until no dry flour remains.
- Stir in the chocolate chips.
- Cover the dough and refrigerate for 30 minutes.
- Heat the oven to 350°F.
- Line an 18x13-inch baking sheet with parchment paper.
- Scoop 12 rounded tablespoons of dough onto the prepared baking sheet, spacing them about 2 inches apart.
- Keep the remaining dough refrigerated while the first batch bakes.
- Bake for 10 to 12 minutes, until the edges are lightly golden and the centers look just set.
- Cool the cookies on the baking sheet for 5 minutes.
- Transfer the cookies to a wire rack.
- Repeat with the remaining dough.


