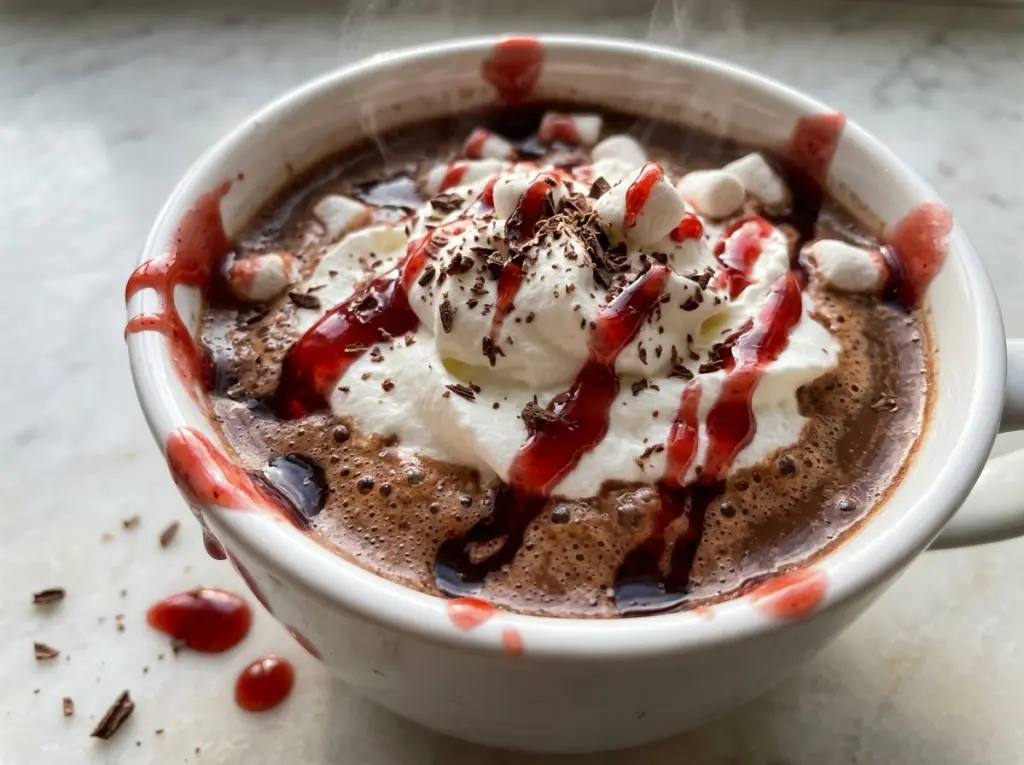
The first wisps of steam are your cue to slow down: milk that’s bubbling hard is already hotter than this drink needs. I keep an eye on the surface as the milk warms, then let the white chocolate melt gently into it. That small bit of patience gives Vampire Hot Chocolate its smooth, bright-red finish instead of a scorched-milk taste or little flecks of unmelted chocolate.
White chocolate makes this cup different from cocoa-based hot chocolate. It brings the sweetness and creamy body itself, while red gel food coloring gives the drink its dramatic color without changing its flavor. I whisk in the vanilla and coloring after taking the pan off the heat, and serve the drink while it’s still hot and silky.
Kitchen Note
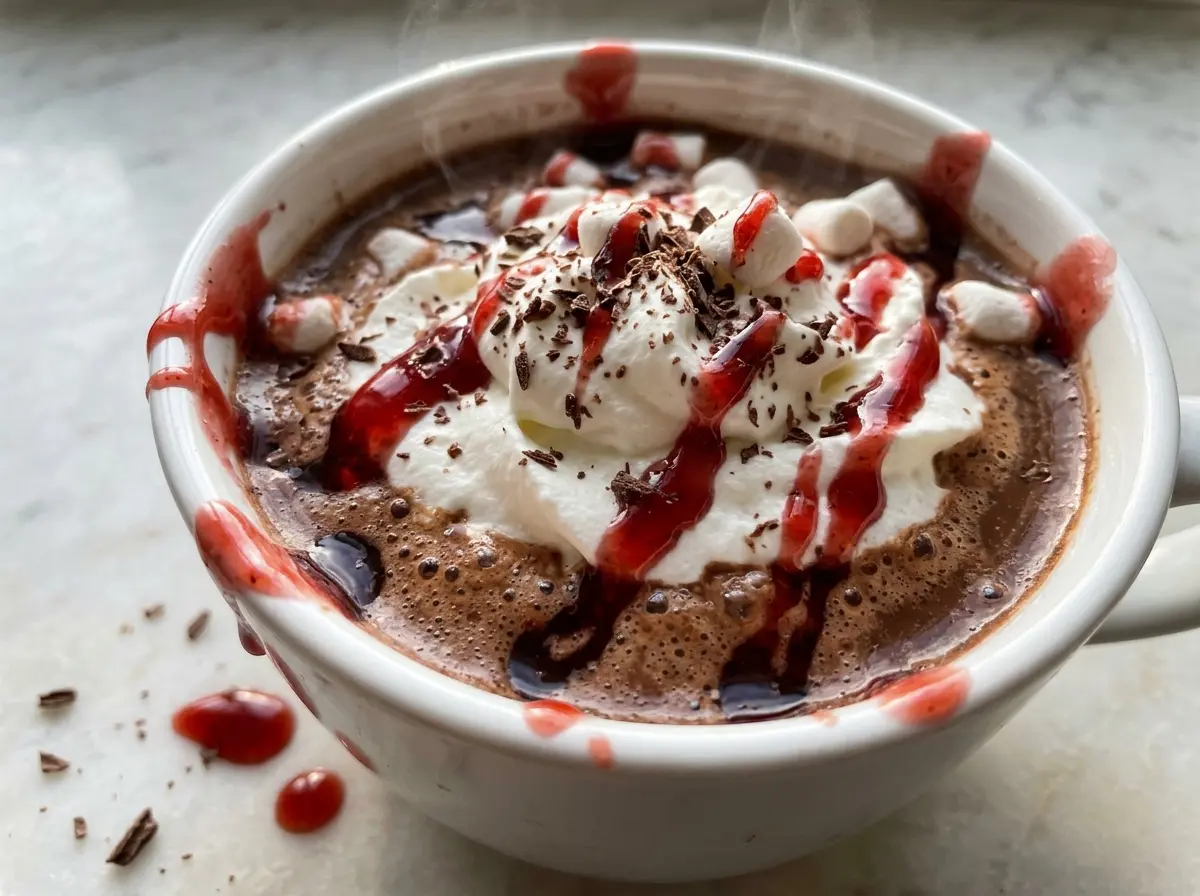
That pinch of kosher salt is small, but it keeps the white chocolate from tasting one-note sweet. I add it with the milk so it dissolves evenly before the chocolate goes in.
Save Vampire Hot Chocolate for a bright-red, creamy cup made with melted white chocolate and a gentle vanilla finish.
Why White Chocolate Needs a Gentler Melt Than Cocoa Powder
Hot chocolate made with cocoa powder starts with a dry ingredient that disperses through the milk. White chocolate behaves differently: it contains cocoa butter and sugar, so the pieces need to melt into the warm milk rather than simply dissolve. If the milk gets too hot, the chocolate can turn grainy or oily instead of blending into a smooth drink. That’s why I warm the milk only until steam rises, then melt the chocolate over low heat.
This gentle approach also gives you a clear visual cue. Before the chocolate goes in, the milk should look hot and steamy but not have bubbles breaking across the surface. Once the chocolate is added, steady whisking helps it disappear into the milk without leaving pieces on the bottom of the pan. The drink should look evenly creamy before the coloring and vanilla go in. It isn’t a complicated technique, but the temperature matters more here than it does in a cocoa-powder version.
What the Milk, White Chocolate, and Red Gel Each Bring
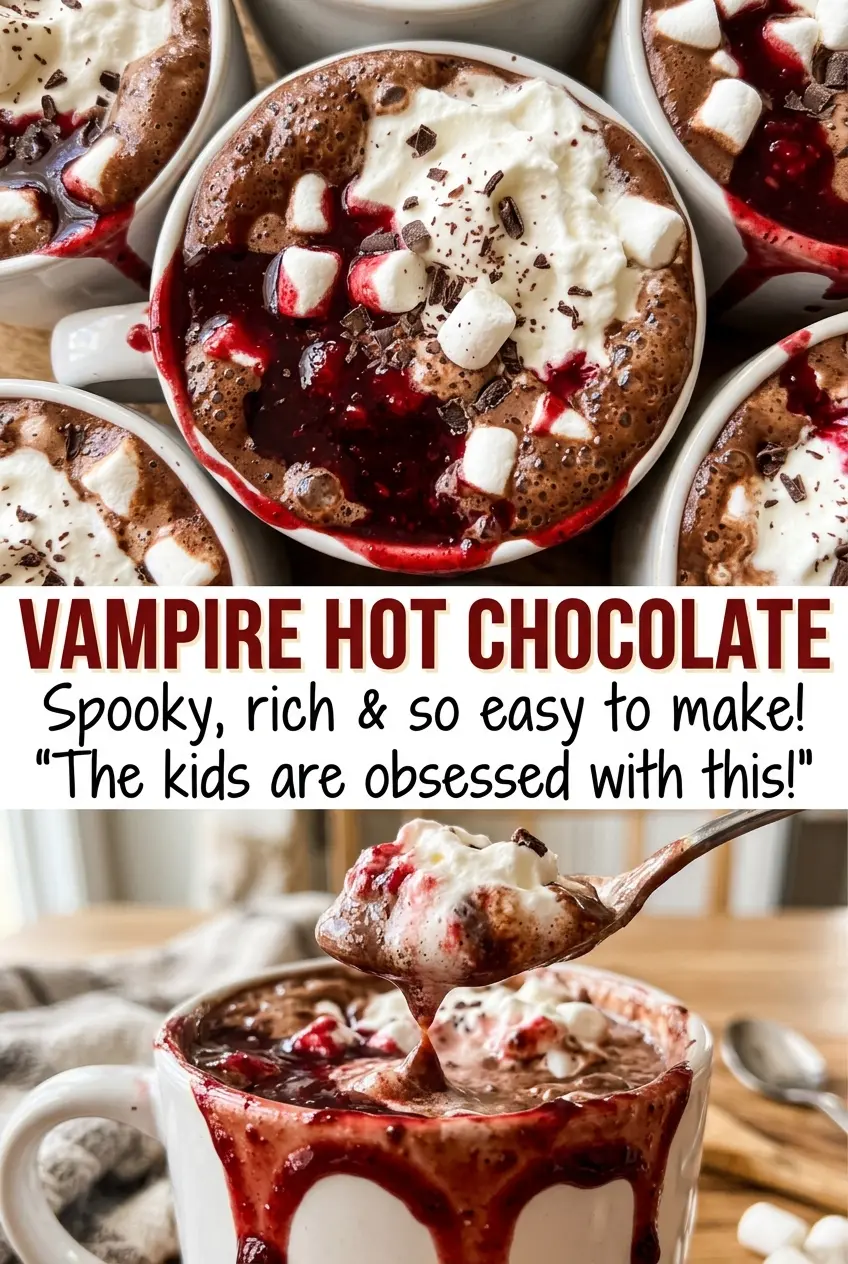
- Whole milk — It gives the drink a full, creamy base that supports the melted chocolate. I use whole milk for the richest texture; a lower-fat milk will make a thinner cup, so it isn’t a one-for-one swap if you want the same body.
- White chocolate — Choose white chocolate you enjoy eating on its own, since its sweetness and cocoa-butter richness carry the drink. Finely chopped chocolate melts readily, while white chocolate chips are a handy option when you don’t want to chop; either form should be whisked over low heat until smooth.
- Red gel food coloring — Gel coloring creates the vivid red hue without adding much liquid. Use gel rather than assuming liquid food coloring will give the same strength; a different type can produce a paler color and alter the balance of liquid in the cup.
- Vanilla extract — Vanilla rounds out the sweetness and gives the finished drink a familiar hot-chocolate aroma. A standard bottle of pure or imitation vanilla extract works; there’s no need to seek out a specialty extract for this recipe.
Warm the Milk First, Then Melt the Chocolate Smooth
Bring the Milk to Steaming
Combine the whole milk and kosher salt in a medium saucepan, then warm them over medium heat for 5 to 7 minutes. Watch for steam rising from the surface; the milk should be hot but not simmering. If bubbles start breaking around the edges or across the surface, lower the heat so the milk doesn’t boil. This gradual warm-up gives the chocolate a hot base without pushing it into a harsh, overheated pan.
Whisk in the White Chocolate
Add the white chocolate and turn the heat to low. Whisk continuously for about 2 minutes, keeping the chocolate moving so it melts evenly rather than settling on the bottom. The mixture is ready when it looks uniform and no solid pieces remain. If you still see bits of chocolate, keep whisking over low heat; turning the burner higher isn’t a shortcut worth taking.
Finish with Red and Vanilla
Take the saucepan off the heat before whisking in the red gel food coloring and vanilla extract. Keep whisking until the color looks evenly bright, with no darker streaks clinging to the sides or surface. The red gel can look concentrated at first, so give it a few steady strokes to disperse through the creamy base. Serve the drink hot once the color is even.
Two Ways to Change the Look Without Changing the Base
Use Chips for a No-Chop Version
Swap the finely chopped white chocolate for white chocolate chips, which are already listed as an option. They save a prep step, though their shape and formulation can make them melt a little differently from chopped chocolate; keep the heat low and whisk until the drink is completely smooth.
Make It a White Chocolate Cup
Leave out the red gel food coloring for an ivory-colored version. The milk, white chocolate, salt, and vanilla stay the same, so the flavor remains creamy and sweet; you simply lose the vivid vampire-red color.
Storage and Reheating
- Refrigerator: Transfer leftovers to a covered container and refrigerate within 2 hours. Use within 3 to 4 days; the drink may thicken as it chills.
- Freezer: Freezing isn’t recommended. The milk and white chocolate can separate after thawing, leaving the drink grainy.
- Reheating: Warm gently in a saucepan over low heat, whisking as it heats until smooth. Avoid bringing it to a boil, which can make the texture less creamy.
Questions That Come Up with Vampire Hot Chocolate
Vampire Hot Chocolate
Ingredients
Method
- Combine the milk and salt in a medium saucepan.
- Warm over medium heat for 5 to 7 minutes, until steaming but not simmering.
- Add the white chocolate and whisk over low heat until completely melted and smooth, about 2 minutes.
- Remove the saucepan from the heat.
- Whisk in the red gel food coloring and vanilla extract until evenly bright red.
- Serve hot.


