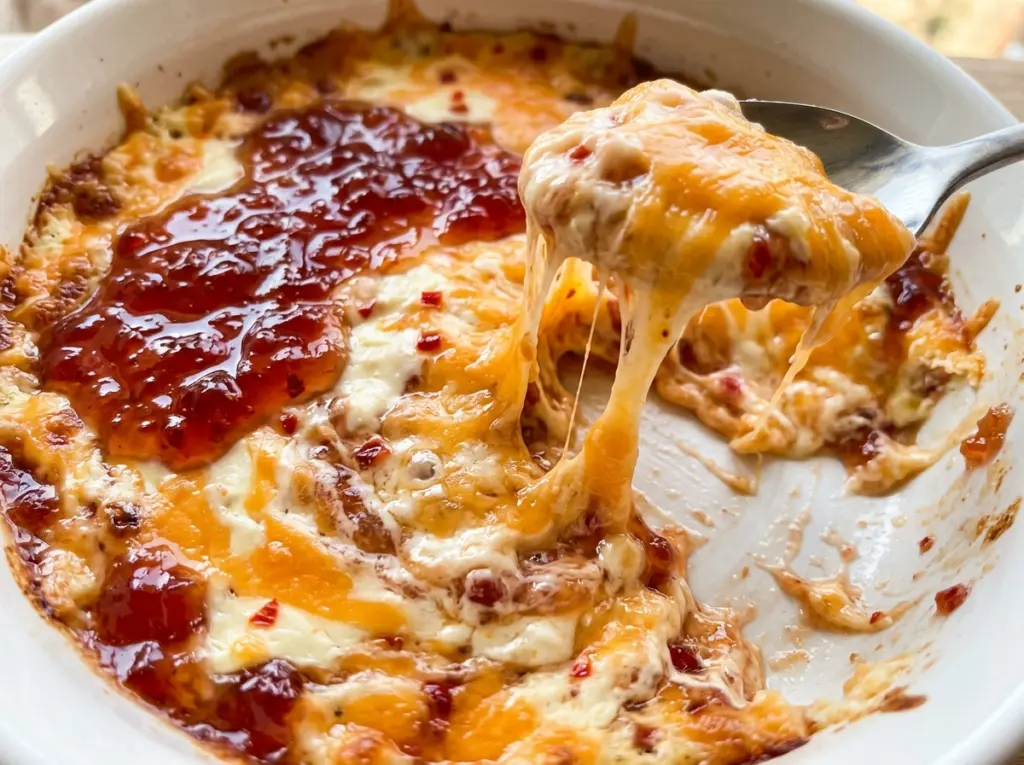
The first spoonful cuts through a soft, savory layer of baked cheese, then picks up a bright hit of sweet pepper jelly. That contrast is what makes Pepper Jelly Cheese Dip more interesting than a plain cheese spread, and it comes together without a long ingredient list or a complicated method.
I like this dip for the way its creamy base and glossy topping stay distinct on the plate. Sharp cheddar gives the cheese layer a little bite, while sour cream keeps it from feeling too dense. Served warm, it’s easy to scoop and has enough sweetness and peppery heat to keep each bite balanced.
Kitchen Note
Let the cream cheese soften before you mix the base. When it’s pliable, it blends evenly with the sour cream instead of leaving stubborn little lumps.
Save Pepper Jelly Cheese Dip for your next snack spread—a warm, creamy cheese base finished with a glossy sweet-pepper topping.
Why the Pepper Jelly Goes on After the Cheese Dip Bakes
It’s worth keeping the sweet topping separate from the cheese base until the last minute. The cheese mixture needs the oven to turn hot and bubbly, but pepper jelly only needs a short warm-up to loosen and become easy to spoon. Heating them on their own gives each layer the texture it needs.
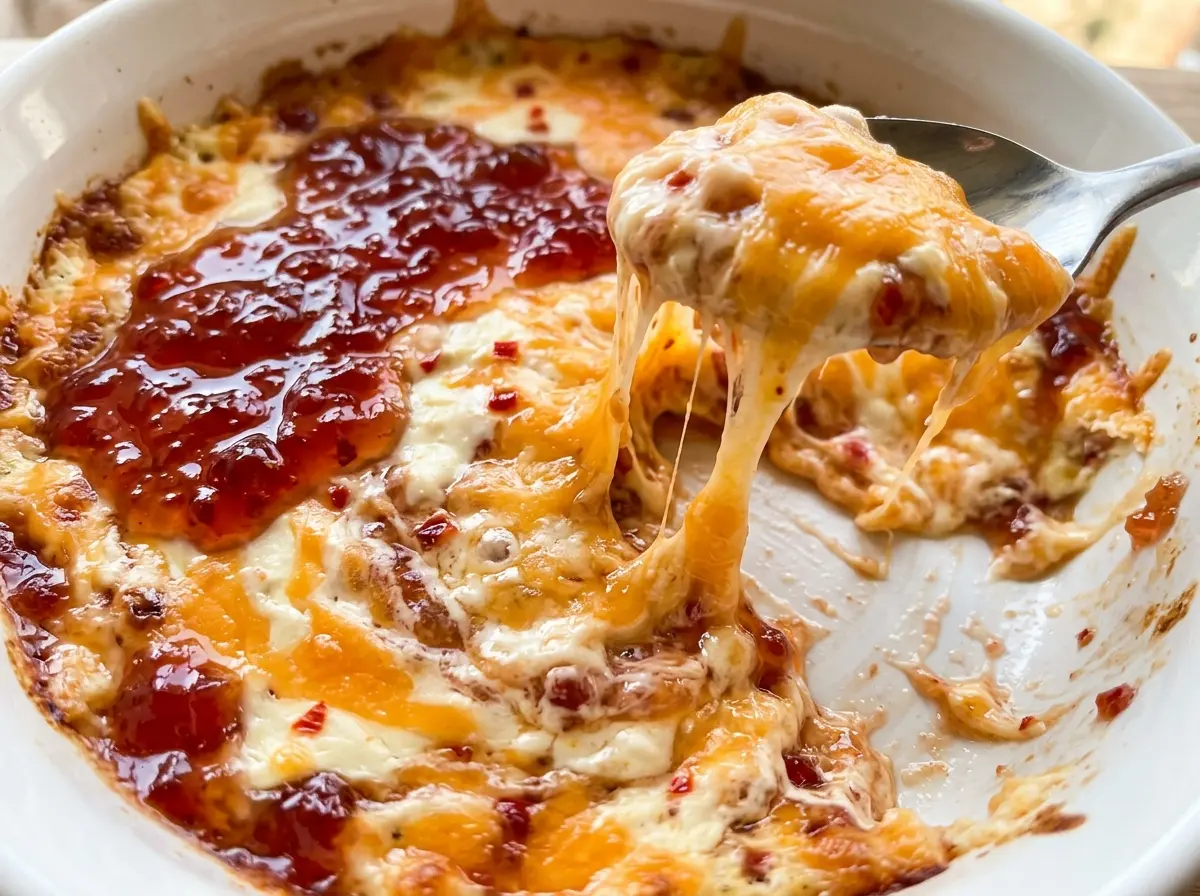
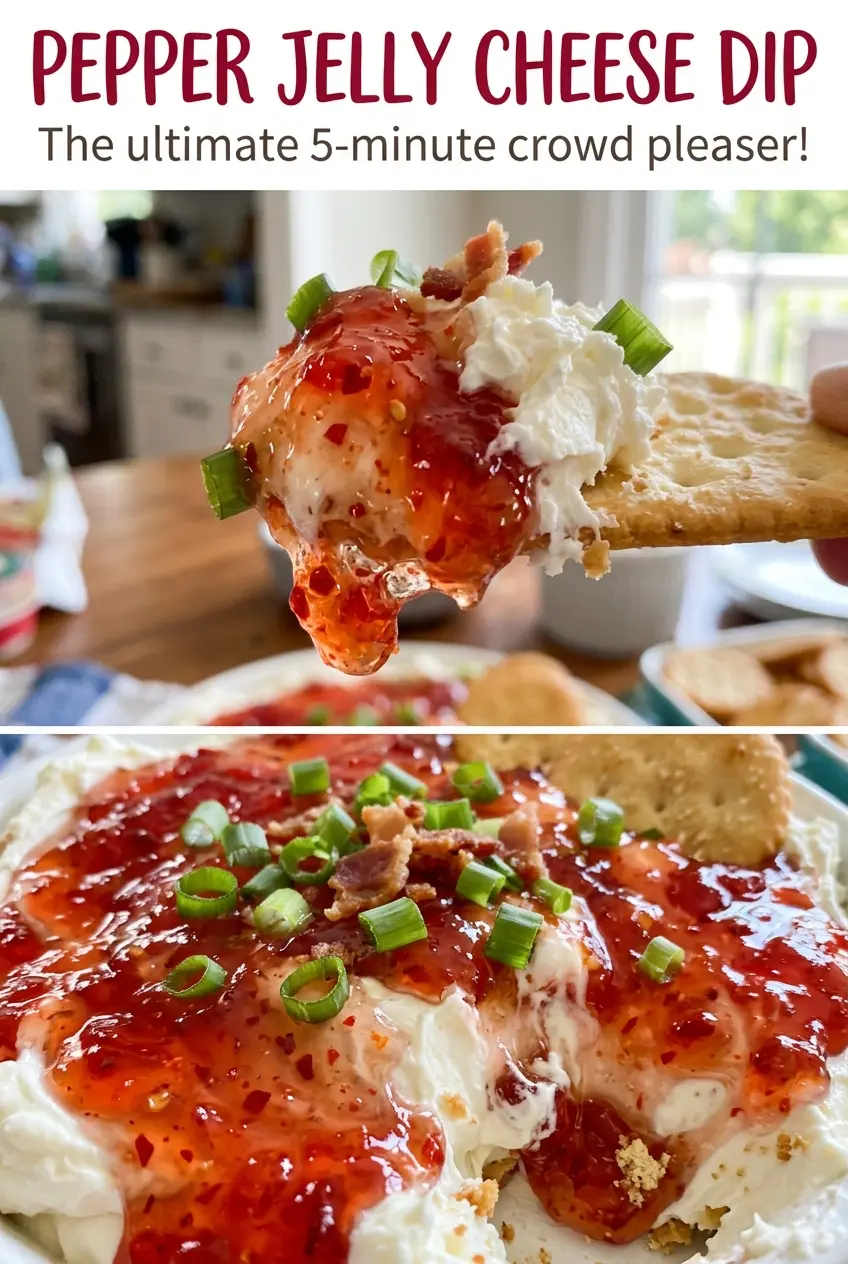
Once the dip comes out, spoon the smooth, warmed jelly over the top. It settles into a shiny layer instead of disappearing into the cheese, so the sweet pepper flavor comes through clearly in every scoop. If the jelly is cold when it goes on, it’ll be thicker and harder to spread neatly over the hot surface. This quick finish is what gives the dip its distinct sweet-and-savory contrast.
What the Cheese, Cream, and Jelly Each Bring to the Dip
- Cream cheese — This is the rich, sturdy base that holds the dip together. A block of full-fat cream cheese gives the smoothest, most substantial result; Neufchâtel works as a lighter swap, though the finished dip will be less rich and may feel a little softer.
- Sour cream — Its gentle tang cuts through the cream cheese and loosens the mixture enough to spread easily. Plain Greek yogurt can stand in at the same amount for a tangier finish, though it may make the base slightly thicker.
- Sharp cheddar — The sharper flavor keeps the cheese layer from tasting flat beneath the sweet topping. Freshly shredded cheese melts smoothly; Monterey Jack is a workable swap if you’d rather have a milder, softer-tasting base.
- Garlic powder and black pepper — These season the savory layer without adding moisture or changing its creamy texture. Garlic powder disperses evenly through the mixture, so there’s no need to cook it first.
- Pepper jelly — Choose a jelly you enjoy tasting on its own, since its sweetness and pepper heat are easy to notice in the finished dip. A smooth, spoonable jelly is simplest to spread; a firmer one loosens when warmed.
Building the Bubbly Cheese Base and Finishing It Smoothly
Mix and Spread the Cheese Layer
Heat the oven to 350°F and lightly grease a 1-quart baking dish. In a medium bowl, stir the cream cheese, sour cream, shredded sharp cheddar, garlic powder, and black pepper until evenly combined. Spread the mixture across the dish so it bakes in an even layer. Uneven patches can heat at different rates, so smooth the surface before it goes into the oven.
Bake Until the Edges Bubble
Bake the cheese mixture for 20 to 25 minutes, until it’s hot and bubbling around the edges. The edge bubbles are the clearest cue that the center has warmed through; the top doesn’t need to brown. Check near the shorter end of the baking window, since a longer bake can make the cheese layer lose some of its creamy texture. Use oven mitts when you lift out the hot dish.
Warm the Jelly and Add the Finish
While the cheese dip bakes, put the pepper jelly in a microwave-safe bowl and microwave it for 20 to 30 seconds. Stir until it looks smooth and loose enough to spoon. If it still seems firm, stir well before deciding whether it needs more warming; the jelly can soften as it’s mixed. Spoon it over the baked dip and serve warm.
Easy Ways to Change the Heat or Make a Dairy-Free Version
Turn Up the Pepper Heat
Choose a hot pepper jelly instead of a mild one. The cheese base stays the same, while each bite gets a more pronounced pepper kick; the exact heat depends on the jelly you use.
Give It a Smokier Cheese Note
Swap the sharp cheddar for smoked cheddar in the same amount. You’ll get a deeper, woodsy cheese flavor under the pepper jelly, with less of cheddar’s sharp tang.
Make a Dairy-Free Dip
Use plant-based cream cheese, plant-based sour cream, and dairy-free cheddar-style shreds in the same measured amounts as the dairy ingredients. The flavor will be less rich, and the shreds may not melt as smoothly, but the pepper jelly still gives the warm dip its sweet finish.
Storage and Reheating
- Refrigerator: Refrigerate leftovers within two hours, covered, and use them within 3 to 4 days. The cheese layer firms as it chills.
- Freezer: Freezing isn’t recommended; cream cheese and sour cream can separate and turn grainy when thawed.
- Reheating: Warm leftovers in the microwave in short bursts, stirring gently between them, until hot throughout. Avoid a long, high-powered blast, which can make the cheese oily at the edges.
Questions That Come Up When Making Pepper Jelly Cheese Dip
Pepper Jelly Cheese Dip
Ingredients
Equipment
Method
- Heat the oven to 350°F.
- Lightly grease a 1-quart baking dish.
- In a medium bowl, stir together the cream cheese, sour cream, cheddar, garlic powder, and black pepper until evenly combined.
- Spread the mixture in the prepared dish.
- Bake for 20 to 25 minutes, until hot and bubbling around the edges.
- While the dip bakes, microwave the pepper jelly in a microwave-safe bowl for 20 to 30 seconds.
- Stir until smooth.
- Spoon the warm pepper jelly over the baked cheese dip.
- Serve warm.


