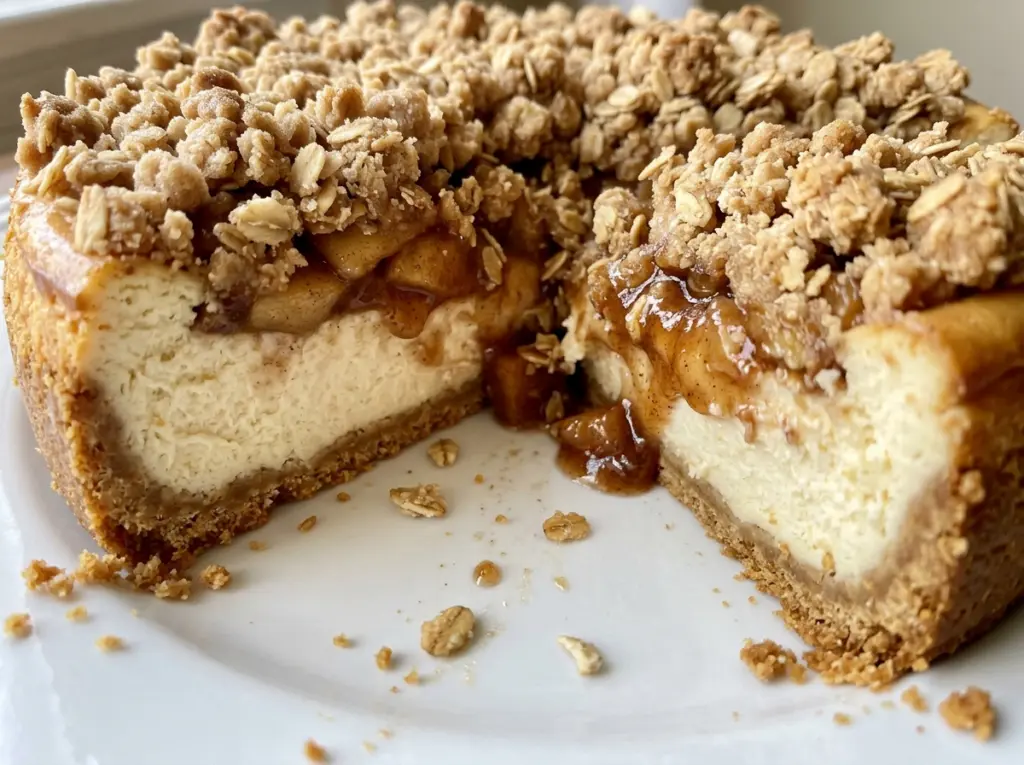
The cheesecake should come out of the oven with a little movement in the center, not a firm, cake-like top. That small wobble used to make me want to keep baking, but it settles as the cheesecake cools and chills. For this Apple Crisp Cheesecake, I let the filling set slowly, then keep the apple topping and oat crisp separate until serving.
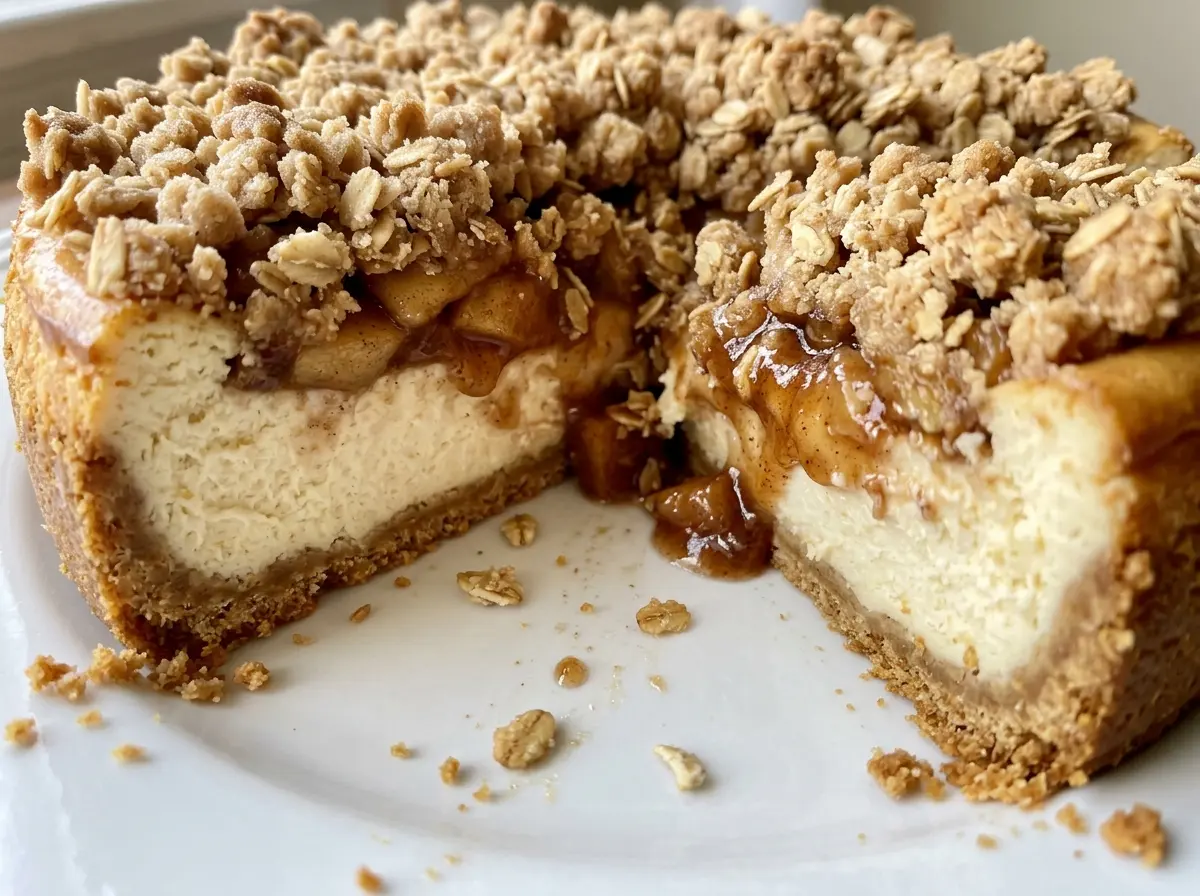
That separation is what gives each layer its own texture: a buttery graham cracker base, smooth cheesecake, tender cinnamon apples, and crisp crumbs on top. I cook the apples just until they soften but still hold their shape, then thicken their juices before chilling them. The result is a cool, creamy slice with bright apples and a crunchy finish.
Kitchen Note
Let the cream cheese soften before you start mixing. Cold cream cheese can leave small lumps that are hard to smooth out once the eggs are in, so beat it until creamy first.
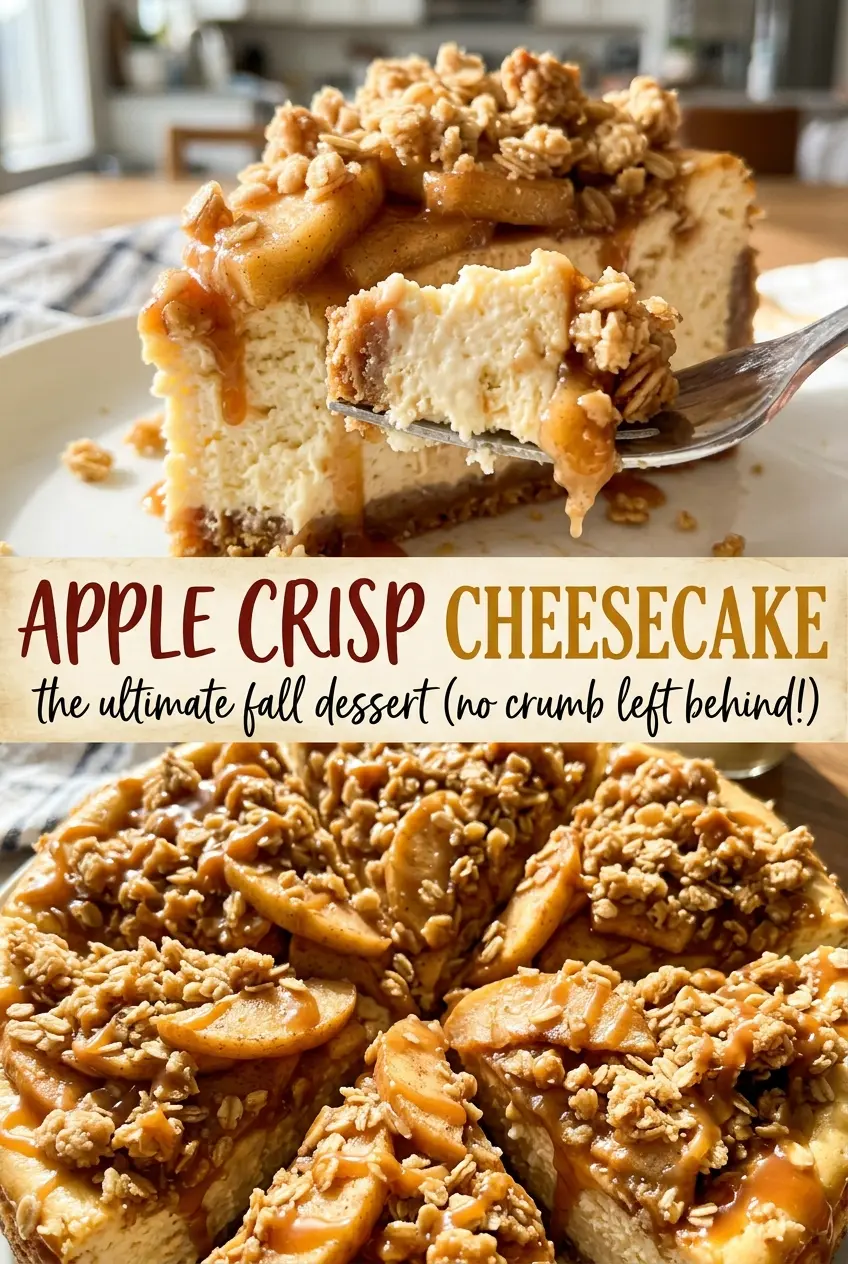
Save this Apple Crisp Cheesecake for a make-ahead dessert with chilled cinnamon apples and crisp oat topping added just before serving.
Why the Oat Crisp Goes on After the Apples Are Chilled
The crisp topping and the apples need different treatment, even though they end up together on the cheesecake. The oat mixture gets toasted in a skillet until golden and crisp, while the apples cook separately with butter, cinnamon, brown sugar, and lemon juice. Keeping them apart lets the topping stay crumbly instead of soaking up the apple juices.
Cooling matters just as much as the separate cooking. Warm apples can soften the cheesecake’s surface, and warm topping can lose its crunch when it meets moisture. I cool both components completely, chill the apples, and scatter the crisp over the top right before serving. That way, each bite still has the contrast you want: creamy filling, soft apple pieces, and crisp oats.
The cheesecake itself also needs its own unhurried chill. The oven cooling period and refrigerator time give the filling time to finish setting, so the slices hold together beneath the fruit instead of slumping under it.
Why Granny Smith Apples and Old-Fashioned Oats Matter Here
- Granny Smith apples — Their tartness balances the sweet filling, and their firm flesh stays in pieces during the skillet cook. Choose apples that feel firm with unbruised skin. Firm Honeycrisp apples work as a swap, though the topping will taste sweeter and less tart.
- Old-fashioned rolled oats — These give the crisp topping its distinct, chewy-crunchy texture. Quick oats make a finer, softer crumb, so they won’t give quite the same rustic topping. There’s no need for premium oats; a standard grocery-store container works well.
- Cream cheese and sour cream — Brick-style cream cheese gives the filling structure, while sour cream brings a gentle tang and keeps the texture smooth. Plain, full-fat Greek yogurt can stand in for the sour cream; expect a slightly tangier, denser filling. Skip whipped or spreadable tub cream cheese, which has a different texture.
- Graham cracker crumbs — Fine, even crumbs press into a compact base. If you’re starting with whole graham crackers, crush them until no large pieces remain. A basic store-brand graham cracker works just as well as a more expensive one.
- Unsalted butter — The melted portion binds the crust, the cold portion makes coarse crisp crumbs, and the remaining butter cooks the apples. Use cold butter for the oat mixture; softened butter blends in too readily and won’t leave the same coarse crumbs.
From a Firm Crust to a Center That Still Wobbles
Press and prebake the graham base
Heat the oven to 325°F, grease the sides of a 9-inch springform pan, and line its bottom with parchment. Stir the graham cracker crumbs with the melted butter, then press the mixture firmly and evenly across the pan bottom. Bake the crust for 10 minutes and set it aside to cool. A loose, lightly pressed crust is more likely to crumble when you cut the chilled cheesecake.
Mix the filling gently, then bake to the right cue
Beat the softened cream cheese until smooth, then mix in the granulated sugar, filling portion of the flour, and salt. Mix in the sour cream and vanilla, then add the room-temperature eggs one at a time on low speed. Pour the filling over the cooled crust and bake at 325°F for 65 to 80 minutes; look for set edges and a center that jiggles slightly, and check that the center reaches 160°F on an instant-read thermometer.
Cool the cheesecake gradually
Turn off the oven, prop the door open, and leave the cheesecake inside for 1 hour. Run a thin knife around the edge, then cool the cheesecake completely on a rack before covering the pan and refrigerating it for at least 6 hours or overnight. Don’t rush the cooling by releasing the pan while the filling is still warm; the gradual change in temperature helps the cheesecake settle evenly.
Toast the crisp and cook the apples separately
Combine the oats, crisp-topping flour, brown sugar, and cinnamon, then work in the cold butter until coarse crumbs form. Toast the mixture in a 10-inch skillet over medium-low heat for 8 to 10 minutes, stirring often, until golden and crisp; transfer it to a plate to cool completely. In the same skillet, melt the apple portion of the butter over medium heat, add the apples, brown sugar, cinnamon, and lemon juice, and cook for 6 to 8 minutes, stirring, until tender but still holding their shape. Stir the cornstarch and cold water until smooth, add the slurry, and cook for 1 minute until the juices thicken; cool the apples completely, then refrigerate until chilled.
How to Change the Apples, Crisp, or Flour Without Losing the Balance
Use Honeycrisp for a sweeter apple layer
Swap firm Honeycrisp apples for the Granny Smith apples, keeping the pieces the same size. They hold up well in the skillet but bring less tartness, so the finished cheesecake tastes sweeter and more mellow.
Make the crust and crisp gluten-free
Use gluten-free graham cracker crumbs, a cup-for-cup gluten-free flour blend in both the filling and topping, and certified gluten-free rolled oats. Choose a blend intended for one-to-one baking; the crisp may come out a little more delicate, but it still toasts into a crumbly topping.
Use dark brown sugar for deeper molasses notes
Replace the light brown sugar with dark brown sugar in both the apple topping and crisp, using the same amounts. The apples and oat crumbs will taste richer and more molasses-forward, with a slightly darker color.
Storage and Serving
- Refrigerator: Keep the cheesecake covered for up to 4 days. The crisp topping softens if it sits on the apples, so store it separately when possible.
- Freezer: Freeze the plain cheesecake, without apples or crisp, tightly wrapped for up to 2 months. Thaw it overnight in the refrigerator; the texture may be a little less creamy.
- Serving: Keep the cheesecake and apple topping chilled. Spoon on the apples and scatter the crisp over the top just before serving; don’t warm the whole cheesecake, since the filling will soften.
Questions That Come Up While Making Apple Crisp Cheesecake
Apple Crisp Cheesecake
Ingredients
Equipment
Method
- Heat the oven to 325°F.
- Grease the sides of a 9-inch springform pan and line the bottom with parchment paper.
- Stir the graham cracker crumbs with 5 tablespoons melted butter.
- Press the crumb mixture firmly into the pan bottom.
- Bake for 10 minutes, then set aside to cool.
- Beat the cream cheese until smooth.
- Beat in the granulated sugar, 2 tablespoons flour, and salt.
- Mix in the sour cream and vanilla.
- Beat in the eggs one at a time on low speed.
- Pour the filling over the crust.
- Bake at 325°F for 65 to 80 minutes, until the edges are set, the center jiggles slightly, and an instant-read thermometer inserted in the center reads 160°F.
- Turn off the oven, prop the door open, and let the cheesecake cool in the oven for 1 hour.
- Run a thin knife around the edge.
- Cool completely on a rack.
- Cover the pan and refrigerate for at least 6 hours, or overnight.
- Combine the oats, 1/2 cup flour, 6 tablespoons brown sugar, and 1/2 teaspoon cinnamon.
- Work in 5 tablespoons cold butter until the mixture forms coarse crumbs.
- Toast the mixture in a 10-inch skillet over medium-low heat for 8 to 10 minutes, stirring often, until golden and crisp.
- Transfer to a plate and cool completely.
- Melt the remaining 2 tablespoons butter in the skillet over medium heat.
- Add the apples, 2 tablespoons brown sugar, 1 teaspoon cinnamon, and lemon juice.
- Cook for 6 to 8 minutes, stirring, until the apples are tender but still hold their shape.
- Stir the cornstarch with the cold water until smooth.
- Add the cornstarch mixture to the skillet and cook for 1 minute until the juices thicken.
- Transfer the apples to a bowl and cool completely, then refrigerate until chilled.
- Release the springform pan.
- Transfer the cheesecake to a serving plate.
- Spoon the chilled apples over the top and scatter on the crisp topping just before serving.


