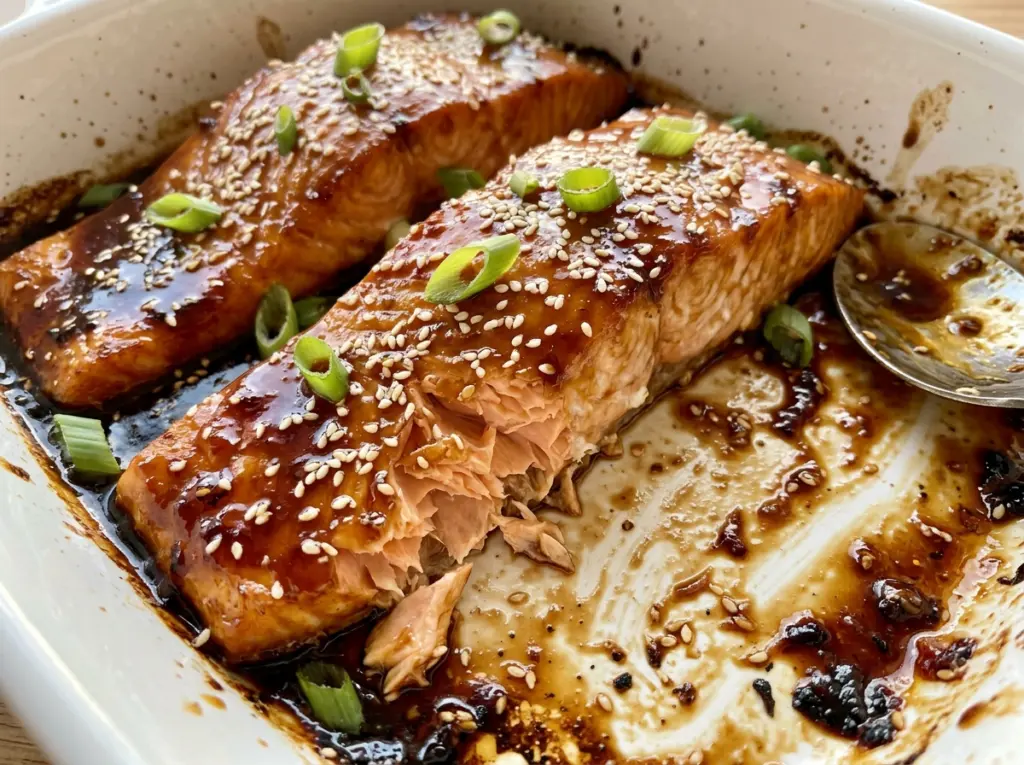
The sauce starts to smell like ginger and garlic before it even thickens, and that’s when I know this salmon is close to becoming dinner. I used to brush on a thin sauce and wonder why it slid right off the fish. Now I let the teriyaki simmer until it turns glossy first, so it clings to the fillets instead of running straight onto the pan. These baked teriyaki salmon fillets come together with a short list of ingredients and one saucepan.
I like this method because the salmon bakes skin-side down while the sauce does the sweet, savory work on top. The fish stays tender, and a little sauce saved before brushing gives you a clean, bright finish at the table. Keep an eye on the thickest part of each fillet near the end; salmon can move from just right to overdone quickly. You’ll have flaky fish with a shiny ginger-soy glaze and extra sauce for every plate.
Kitchen Note
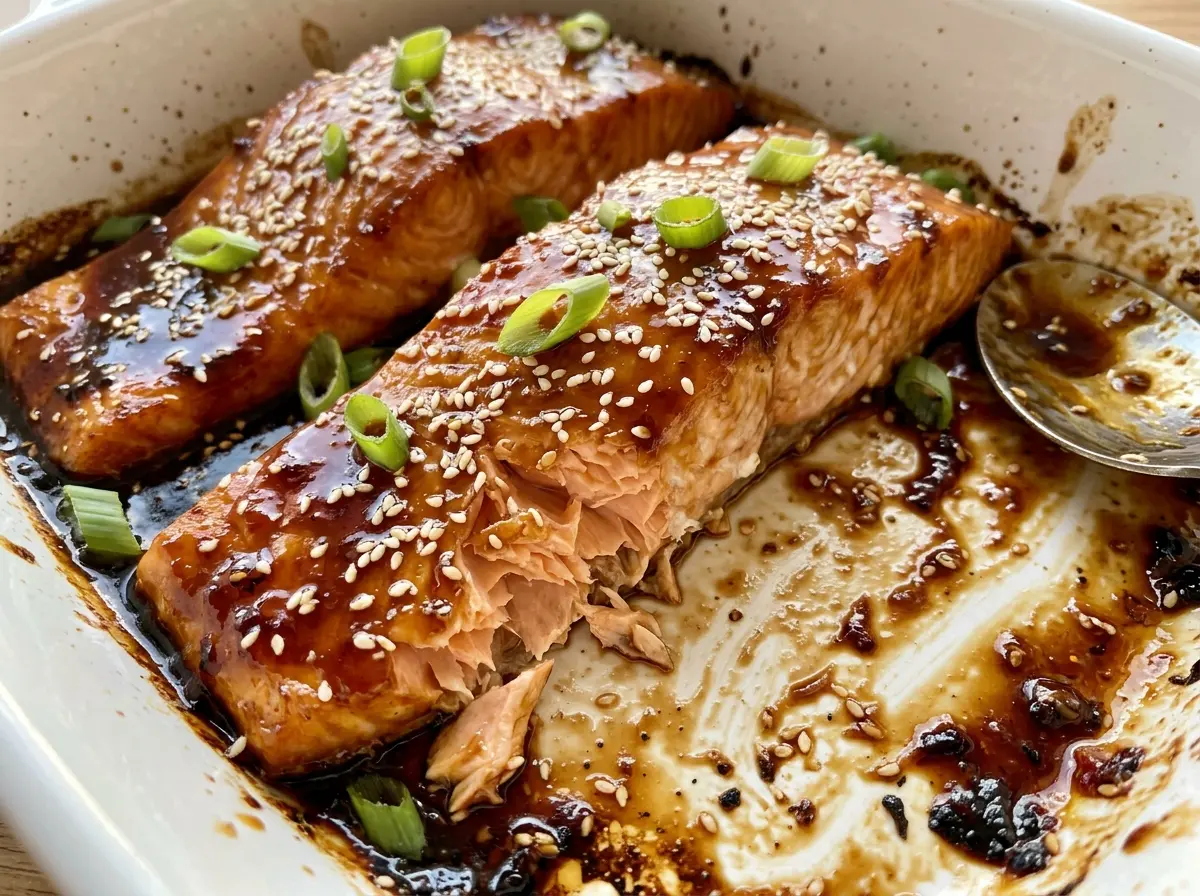
Pat the salmon dry before brushing on the sauce. A dry surface gives the glaze a better chance to cling, while a wet fillet can leave it sliding around before it reaches the oven.
Save this baked teriyaki salmon for a weeknight dinner with flaky fish, a glossy ginger-soy glaze, and extra sauce for serving.
Why This Teriyaki Glaze Needs to Thicken Before It Meets the Salmon
A thin, watery glaze tends to run off the fish and collect on the parchment. Here, a small cornstarch slurry gives the soy, mirin, sugar, ginger, and garlic enough body to coat the salmon in an even layer. The sauce should look glossy and slightly thickened, not stiff or pasty. That texture matters: it stays in place long enough to bake onto the surface, rather than disappearing under the fillets.
The slurry also needs to be mixed separately with cold water before it goes into the hot saucepan. Cornstarch added dry can form little lumps that are difficult to whisk smooth. Once the sauce simmers, whisk in the slurry and give it a minute or two to work. You’ll see the change as the sauce turns shiny and leaves a light coating on a spoon. It will thicken a bit more as it cools, so stop when it’s pourable and glossy instead of cooking it down until it feels like paste.
One small detail makes serving easier: keep the portion for the table separate from the sauce that touches raw salmon. That leaves you with a clean spoonable finish, rather than having to decide whether fish-brushed sauce is safe to reuse.
Mirin, Brown Sugar, and Ginger: How This Sauce Gets Its Balance

- Low-sodium soy sauce — It brings the savory, salty base without crowding out the other flavors. A less expensive bottle works well here; regular soy sauce can replace it in the same amount, though the glaze will taste saltier. For a gluten-free version, use the same amount of gluten-free tamari.
- Mirin — This sweet rice wine adds gentle sweetness and a rounded, mellow note. If it’s not in your pantry, replace it with the same amount of sake or dry sherry and add one extra tablespoon of packed brown sugar to the sauce.
- Light brown sugar — It sweetens the sauce and helps it take on a lacquered look. Dark brown sugar works in the same amount, with a deeper molasses taste; pack either kind into the measuring spoon.
- Fresh ginger and garlic — Fresh aromatics give the sauce its lively, fragrant edge. Grate the ginger finely and mince the garlic small so neither leaves large bites in the glaze. In a pinch, use 1/4 teaspoon ground ginger for each teaspoon of fresh ginger and 1/8 teaspoon garlic powder for the clove.
- Skin-on salmon — Choose evenly sized fillets when you can, so they finish at about the same time. The skin helps protect the underside as the fish bakes; pin bones should be removed and the fillets patted dry before glazing.
From a Glossy Sauce to Salmon That Still Flakes Cleanly
Simmer the Aromatics Together
Whisk the soy sauce, mirin, brown sugar, ginger, and garlic together in a small saucepan. Bring the mixture to a simmer over medium heat, stirring as the sugar dissolves. Keep it at a simmer rather than a hard boil; the goal is to warm the ingredients together without rapidly reducing the liquid. The ginger and garlic should smell fragrant, and the sugar shouldn’t be sitting in a gritty layer at the bottom.
Thicken Until the Sauce Turns Shiny
In a small bowl, whisk the cornstarch with cold water until smooth. Whisk that mixture into the simmering sauce and cook for 1–2 minutes. Watch for a glossy finish and a slight thickening; the sauce should still brush easily. If lumps appear, keep whisking while the sauce simmers rather than trying to mash them against the pan later.
Set Up the Pan and Glaze
Heat the oven to 400°F and line a rimmed baking sheet with parchment paper. Set aside 1/4 cup of sauce for serving before you brush the rest over the fish. Arrange the salmon skin-side down, then coat the tops with the remaining sauce. Keep the fillets spaced apart so each one sits flat on the pan.
Bake Until the Thickest Part Is Done
Bake for 12–16 minutes, checking the thickest part of a fillet as the end of that window approaches. The salmon should flake easily and reach 145°F at its thickest point. Thinner pieces may finish before thicker ones, so check each fillet rather than assuming they’ll all need the same minute. Serve with the sauce you set aside.
Two Ways to Shift the Teriyaki Without Losing Its Balance
Make the glaze gluten-free
Swap in the same amount of gluten-free tamari for the low-sodium soy sauce. The sauce keeps its savory backbone, though the exact saltiness varies by brand, so taste the finished glaze before brushing it on.
Give it a gentle chili kick
Whisk a pinch of red pepper flakes into the sauce before it simmers. The heat will spread through the glaze without changing the way it coats the salmon; add more only if you want the pepper to stand out against the brown sugar.
Storage and Reheating
- Refrigerator: Store cooled salmon in an airtight container for 3–4 days. The fish will be a little firmer after chilling.
- Freezer: Freeze cooled fillets individually in airtight wrapping for up to 2 months for best quality. Thaw them overnight in the refrigerator.
- Reheating: Warm covered in the microwave in short bursts, or in a low oven, until leftovers reach 165°F. Long, high-heat reheating dries salmon out, so stop as soon as it’s heated through.
Questions That Come Up Before the Salmon Goes in the Oven
Baked Teriyaki Salmon
Ingredients
Equipment
Method
- In a small saucepan, whisk together the soy sauce, mirin, brown sugar, ginger, and garlic.
- Bring the sauce to a simmer over medium heat.
- In a small bowl, whisk the cornstarch with the cold water.
- Whisk the cornstarch mixture into the simmering sauce and cook for 1–2 minutes, until glossy and slightly thickened.
- Heat the oven to 400°F.
- Line a rimmed baking sheet with parchment paper.
- Set aside 1/4 cup of the sauce for serving.
- Place the salmon skin-side down on the baking sheet.
- Brush the fillets with the remaining sauce.
- Bake for 12–16 minutes, until the salmon flakes easily and reaches 145°F at the thickest part.
- Serve with the reserved sauce.


