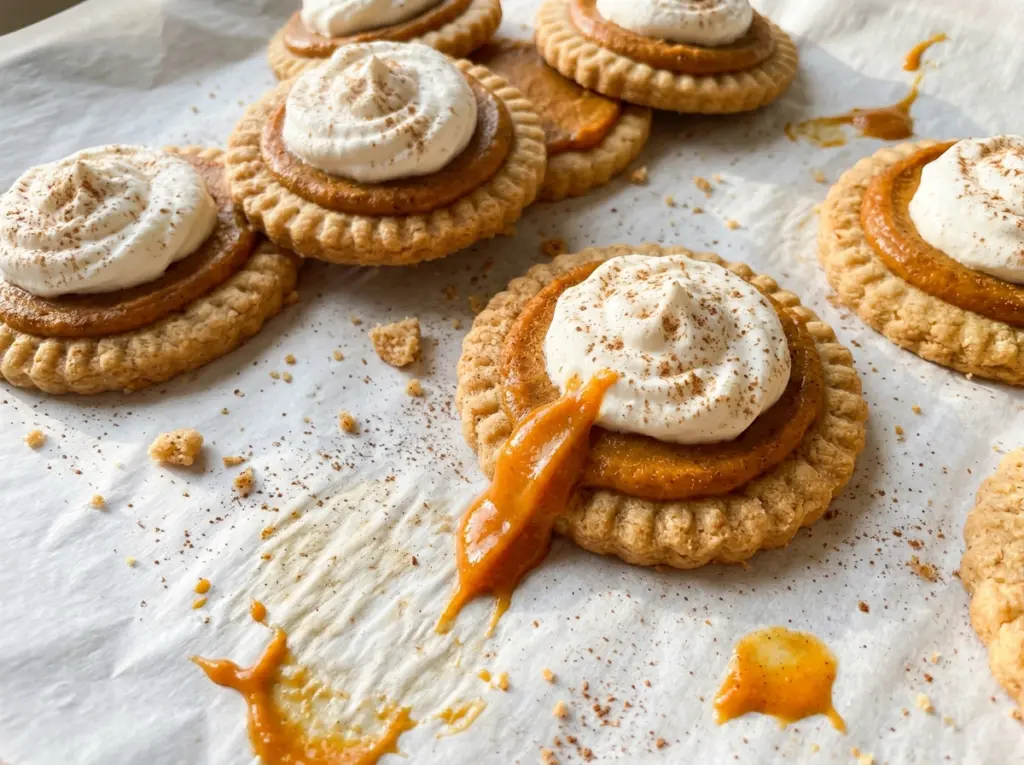
At the 8-minute mark, these cookies are only partly baked, and that’s exactly when I press a deep well into each center. Waiting until the dough has started to hold its shape gives the pumpkin filling a place to sit instead of letting it run across the baking sheet. That little pause is what turns a thick sugar cookie into a Crumbl Pumpkin Pie Cookie with a tender cookie edge and a proper spoonful of pumpkin pie filling.
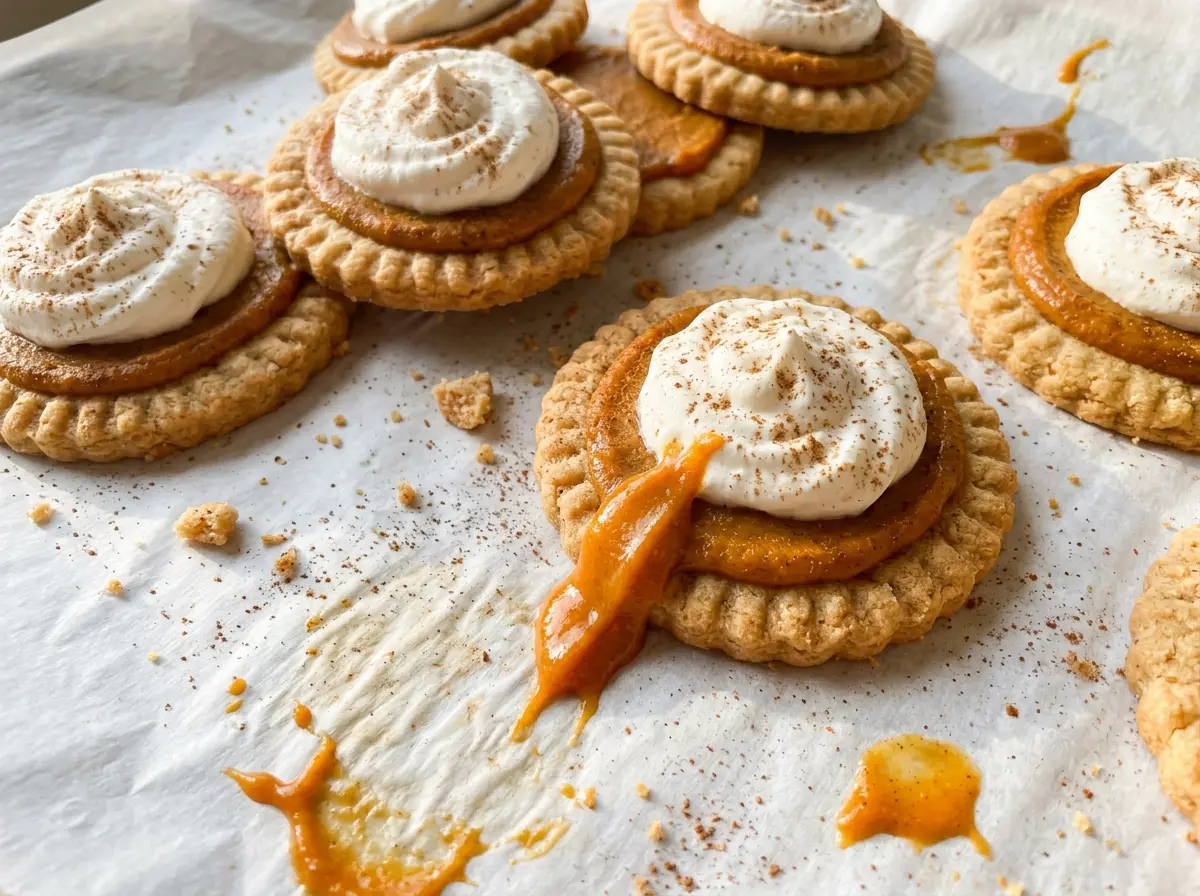
I keep the filling simple: pumpkin puree, sweetened condensed milk, an egg, and pumpkin pie spice whisked until smooth. It bakes right in the cookie, so there’s no separate pie crust to make and no extra pan to wash. Once the cookies are completely cool, a ring of lightly sweetened whipped cream gives each one the look of a little pumpkin pie, with a soft, buttery cookie underneath.
Kitchen Note
Give the flattened dough its full 20-minute chill before it goes in the oven. The butter firms up, so the cookies hold their shape while the centers bake into wells for the filling.
Save these Crumbl Pumpkin Pie Cookies for a bake when you want pumpkin pie filling tucked into a soft, buttery cookie.
Why These Pumpkin Cookies Get Their Wells After the First Bake
Pressing the centers before baking sounds easier, but soft dough can puff and spread around an unbaked indentation. Giving the cookies an 8-minute head start changes the job: the outside has begun to set, while the middle is still soft enough to press without cracking the whole cookie. The spoon makes a clean hollow, and the dough around it is sturdy enough to hold a generous spoonful of filling.
The two-stage bake also lets the cookie and its pumpkin center finish together. The first bake gives the cookie a head start; the second cooks the filling in place until it sets. Keep the well deep, but leave a visible border of dough around it. If the filling reaches the edge, it can bake onto the parchment and make the cookie harder to lift cleanly. These are substantial cookies, so a little border also gives you a buttery edge to pick up after the whipped cream is added.
It’s worth spooning the filling into the wells rather than pouring it from the bowl. That gives you control over where it lands and helps keep the tops neat. The finished cookie should read as a cookie first, with a soft pumpkin-pie center—not a thin layer of filling spread over the whole top.
What Gives the Cookie Base and Pumpkin Filling Their Texture

- Unsalted butter — Softened butter creams smoothly with the sugar and gives the cookie its rich, tender bite. Let it soften until it yields when pressed, but don’t use melted butter; that changes the dough’s texture. Unsalted butter also lets the fine salt stay in balance.
- Granulated sugar — It helps the butter mixture become light and creamy and gives the edges a little color as they bake. Stick with granulated sugar here; brown sugar would add moisture and a more molasses-forward flavor to the cookie base.
- Eggs — One egg binds the cookie dough, while the other helps the pumpkin filling set in the oven. Keep them divided as you prep; mixing the second egg into the dough leaves the filling without the ingredient that helps it firm.
- All-purpose flour — This gives the dough enough structure to support the filling. For a gluten-free adaptation, use a measure-for-measure gluten-free baking blend made for cookies; the finished edge may be more delicate than with wheat flour.
- Pumpkin puree — Use plain pumpkin puree, not pumpkin pie filling, which already contains sweetener and spices and would throw off the filling. Canned puree is a dependable choice; if using homemade puree, it should be thick rather than watery.
- Sweetened condensed milk — This brings sweetness and a concentrated creamy texture to the pumpkin center. Evaporated milk isn’t an equal swap: it isn’t sweetened or thick in the same way, so keep condensed milk for the filling to set as intended.
- Heavy cream — Cold heavy cream whips into a topping that holds its shape around the cookie. Half-and-half doesn’t have enough fat to make the same stable peaks, so use heavy cream for piping or spooning the finish.
How to Bake the Cookie Shell Before Filling It
Cream the Butter and Build the Dough
Heat the oven to 350°F and line two baking sheets with parchment paper. Beat the softened butter and granulated sugar until the mixture looks light and creamy, about 2 minutes, then beat in one egg and the vanilla until combined. Mix in the flour, baking powder, and salt just until a soft dough forms; stop once the dry ingredients disappear so the cookies don’t turn dense. Divide the dough into 10 portions, about 1/3 cup each, put five on each sheet, flatten them slightly, and chill for 20 minutes.
Whisk the Pumpkin Filling Smooth
While the dough chills, whisk the pumpkin puree, sweetened condensed milk, the remaining egg, and pumpkin pie spice in a medium bowl. Keep whisking until the mixture looks uniform, with no visible streaks of egg or condensed milk. If you see a few small pumpkin fibers, that’s fine; what matters is that the filling is evenly blended. Set the bowl aside while the first part of the cookies bakes.
Press the Wells and Finish Baking
Bake the cookies for 8 minutes, then take the sheets out and press a deep well into the center of each one with the back of a tablespoon. The dough will be hot, so work carefully and press straight down rather than dragging the spoon across the surface. Spoon about 2 tablespoons of filling into each well, then return the sheets to the oven and switch their positions halfway through. Bake for 10–14 minutes, until the edges are set and lightly golden and the filling is set and reaches 160°F.
Cool Completely Before Adding the Cream
Leave the cookies on their baking sheets for 10 minutes, then transfer them to a wire rack to cool completely. The filling is soft when warm, so moving the cookies too early can break the edges around the well. Beat the cold heavy cream and powdered sugar in a chilled bowl until stiff peaks form, about 2–3 minutes. Pipe or spoon the cream around the edge of each cooled cookie, leaving the pumpkin center visible.
Three Ways to Change the Finish Without Losing the Pumpkin-Pie Feel
Make the cookie base gluten-free
Replace the all-purpose flour with a measure-for-measure gluten-free baking blend formulated for cookies. It keeps the recipe’s structure close to the original, though the edges may be a little more fragile when you transfer them to the rack.
Turn up the pumpkin spice
For a stronger spiced center, add a little extra pumpkin pie spice to the filling. The pumpkin flavor will taste warmer and more pronounced; add it gradually so the spice doesn’t overpower the sweetened condensed milk.
Spread the cream over the center
Instead of piping a ring around each cookie, spoon the whipped cream over the pumpkin center and spread it gently. You’ll get a more covered, pie-like top, with less of the pumpkin filling visible in each bite.
Storage and Reheating
- Refrigerator: Cover and refrigerate within 2 hours; enjoy within 3 days. The cream softens over time, and the cookie may absorb a little moisture from the filling.
- Freezer: Freeze the cooled cookies without whipped cream, wrapped individually, for up to 2 months. Thaw them in the refrigerator and add freshly whipped cream before serving.
- Reheating: These are best chilled or briefly brought to room temperature, not reheated. Microwaving a topped cookie melts the cream and can warm the pumpkin center unevenly.
Questions That Come Up While Baking These Pumpkin Cookies
Crumbl Pumpkin Pie Cookies
Ingredients
Equipment
Method
- Heat the oven to 350°F.
- Line two baking sheets with parchment paper.
- Beat the softened unsalted butter and granulated sugar in a large bowl until light and creamy, about 2 minutes.
- Beat in 1 egg and the vanilla extract until combined.
- Mix in the all-purpose flour, baking powder, and fine salt just until a soft dough forms.
- Divide the dough into 10 portions, about 1/3 cup each.
- Place 5 portions on each baking sheet and flatten each portion slightly.
- Chill the dough for 20 minutes.
- Whisk the pumpkin puree, sweetened condensed milk, remaining egg, and pumpkin pie spice in a medium bowl until smooth.
- Bake the cookies for 8 minutes.
- Remove the sheets from the oven and press a deep well into the center of each cookie with the back of a tablespoon.
- Spoon about 2 tablespoons of filling into each well.
- Return the sheets to the oven, switching their positions halfway through, and bake until the edges are set and lightly golden and the filling is set and reaches 160°F, 10–14 minutes.
- Cool the cookies on the sheets for 10 minutes.
- Transfer the cookies to a wire rack and cool completely.
- Beat the cold heavy cream and powdered sugar in a chilled bowl until stiff peaks form, about 2–3 minutes.
- Pipe or spoon whipped cream around the edge of each cooled cookie.


