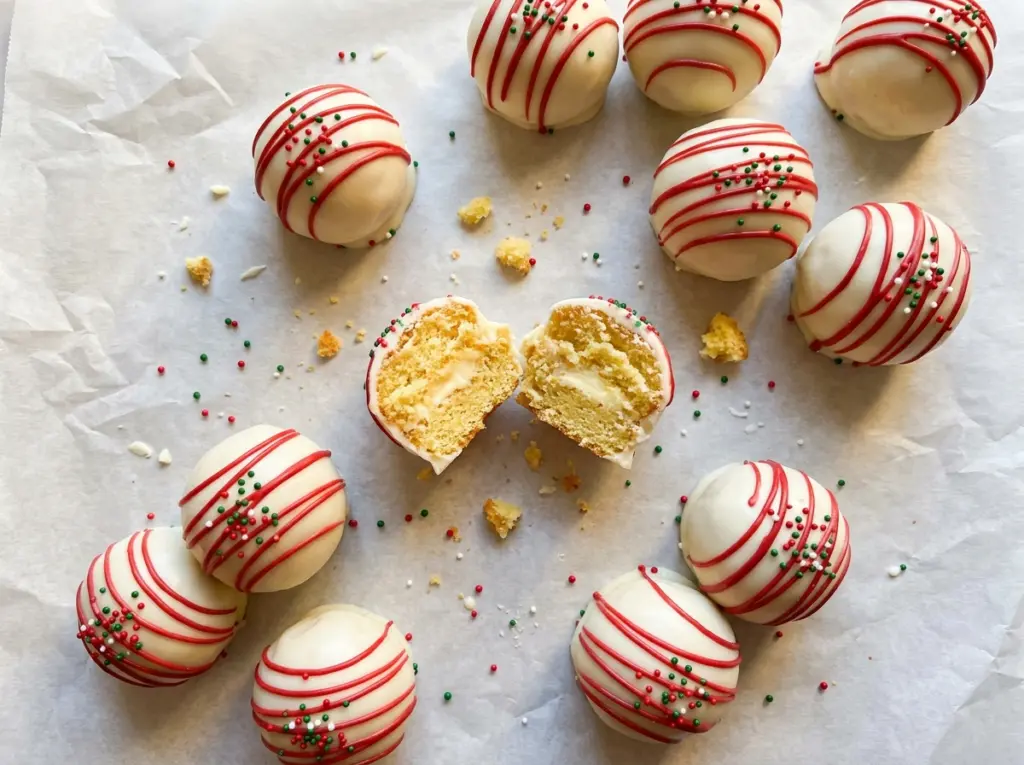
The first dip is where cake balls can get messy: a chilled ball meets coating that’s too shallow to cover it cleanly, and the fork leaves a thick puddle underneath. These Little Debbie Christmas Cake Balls are easier to coat when the melted wafers sit deep enough in the measuring cup for each ball to dip without a lot of turning.
Crumbling the cakes and working in softened cream cheese gives you a mixture that holds together when pressed, so the balls keep their shape as you roll and dip them. I scoop the mixture into even portions before chilling; it’s much easier to get a consistent batch when the mixture is still soft.
White chocolate wafers make the smooth shell, while red candy melts and green sanding sugar give each one a festive finish. Once the coating sets, the centers are soft and cake-like under a crisp white shell.
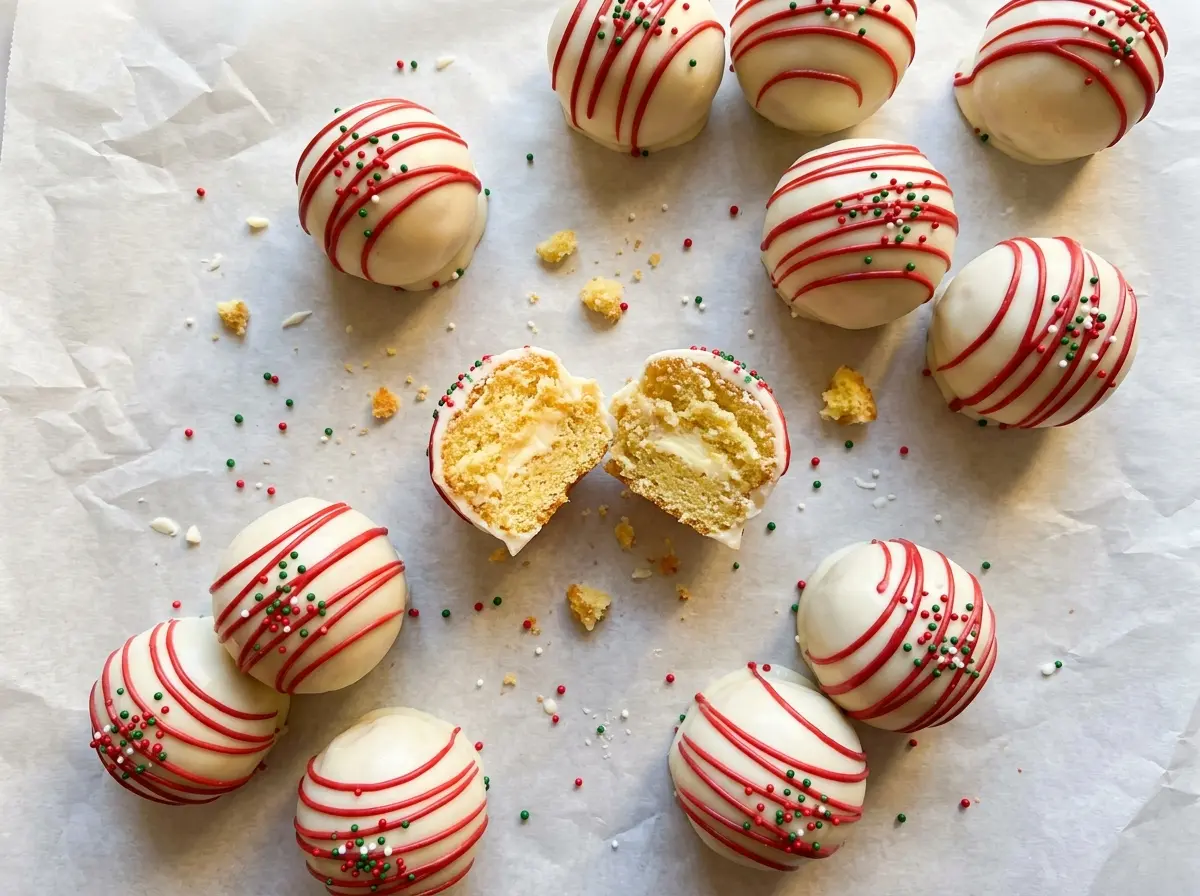
Kitchen Note
Sprinkle on the green sanding sugar as soon as the red drizzle goes on. If you wait until the candy melts have set, the sugar won’t cling to the decoration.
Save these Little Debbie Christmas Cake Balls for a festive dessert tray: soft cake centers, a white chocolate shell, and a red-and-green finish.
Why the Measuring Cup Makes a Cleaner White Chocolate Coating
A wide, shallow bowl can make dipping awkward: the coating spreads out, so you have to roll each ball around to cover its sides. That extra handling can leave streaks or uneven patches. Melting the wafers in a microwave-safe 2-cup measuring cup keeps the coating in a deeper pool, which gives you room to lower a cake ball in and lift it out with a fork.
The cup also gives you a useful place to pause between dips. Stir the wafers until smooth, then work one chilled ball at a time and tap the fork against the edge to let extra coating fall away. If a ball drags along the bottom, lift it gently rather than scraping; the goal is a complete shell without a heavy skirt of chocolate underneath. The shape of the vessel does some of the work, so you can focus on a light, even finish instead of trying to spread the coating across a plate.
Keep the melted coating smooth and fluid as you go. Short microwave bursts with a stir between them help warm it gradually, while the measuring cup’s depth lets you dip without needing to add more coating.
What Each Cake Ball Ingredient Brings to the Center and Shell

- Little Debbie Christmas Tree Cakes — These make up the cake-ball center and bring the sweetness and built-in holiday decoration. Crumble them into the bowl rather than leaving large pieces; a consistent crumb makes it easier to work the cream cheese through evenly. Use the specified Christmas Tree Cakes for the intended flavor and color.
- Cream cheese — Softened cream cheese binds the cake crumbs so the mixture holds when you press it together. Let it soften before mixing; cold cream cheese is harder to blend evenly and can leave small firm pockets in the mixture. Standard cream cheese is the right choice here; whipped or spreadable versions can make the mixture looser.
- White chocolate melting wafers — Wafers are made to melt into a coating that’s smooth enough for dipping and sets into a shell. Use melting wafers rather than assuming regular white chocolate chips will behave the same way; chips can be thicker when melted and harder to use for an even dip.
- Red candy melts and green sanding sugar — The red melts give you a contrasting drizzle, and the sanding sugar adds the green finish. Candy melts are useful here because they melt into a drizzle without changing the white shell underneath. Keep the sanding sugar ready beside the bowl before you start decorating.
How to Shape, Chill, Dip, and Decorate the Cake Balls
Mix the Crumbs Until They Hold Together
Line a rimmed baking sheet with parchment paper before you start shaping. Crumble the cakes into a large bowl, then add the softened cream cheese and mix until the mixture looks even throughout. Press a small amount between your fingers; it should hold together instead of falling back into loose crumbs. If you still see dry cake pieces, keep mixing so the cream cheese is distributed through the bowl.
Roll Even Portions
Scoop the mixture into 20 portions, about 1 tablespoon each. Roll each portion between your palms to make a ball, then set it on the lined baking sheet. Try to keep the portions close in size so they chill and coat at a similar pace. If the mixture sticks to your hands, pause briefly and wash or wipe them before continuing.
Chill Until Firm Enough to Dip
Refrigerate the shaped balls for 30 to 45 minutes, until firm. This chill gives the soft cake mixture enough structure to handle a dip in warm coating. A ball that still feels loose when lifted is more likely to lose its shape in the melted wafers. Keep the tray level in the refrigerator so the balls stay round.
Dip and Drain the White Chocolate
Microwave the white chocolate wafers in a microwave-safe 2-cup measuring cup in 20-second bursts, stirring after each burst, until smooth. Dip each chilled ball into the melted wafers, then lift it out with a fork. Tap the fork to shed the excess coating before returning the ball to the parchment-lined sheet. If the wafers aren’t smooth yet, keep using short bursts and stirring rather than heating them continuously.
Add the Red Drizzle and Let the Shell Set
Microwave the red candy melts in a small microwave-safe bowl in 20-second bursts, stirring each time, until smooth. Drizzle them over the coated balls, then add the green sanding sugar while the drizzle is still unset. Refrigerate the finished cake balls for 20 to 30 minutes, until the coating has set. Once firm, transfer them to an airtight container and keep them refrigerated.
Two Simple Ways to Change the Look or Size
Keep the Finish Plain and White
For a simpler truffle-style finish, leave off the red candy-melt drizzle and green sanding sugar. The white chocolate shell stays the same, but the cakes’ own decoration is easier to see through the clean, white exterior.
Make Smaller Cake Bites
Scoop portions smaller than the standard tablespoon size for more, petite bites. Each one has a little more white shell in proportion to its cake center, which works nicely when you’re arranging several sweets on a dessert tray. The batch will make more than 20 pieces.
Storage and Reheating
- Refrigerator: Store in an airtight container for 3 to 4 days. The coating stays firm, while the centers soften slightly over time.
- Freezer: Freeze in an airtight container for up to 1 month. Thaw in the refrigerator while still covered; condensation can dull the coating if the container is opened while the cake balls are cold.
- Reheating: These are served chilled, so don’t reheat them. Heat can soften or melt the white chocolate shell.
Questions That Come Up When Making These Cake Balls
Little Debbie Christmas Cake Balls
Ingredients
Equipment
Method
- Line a rimmed baking sheet with parchment paper.
- Crumble the cakes into a large bowl.
- Mix in the cream cheese until the mixture is evenly combined and holds together when pressed.
- Scoop the mixture into 20 portions, about 1 tablespoon each.
- Roll the portions into balls and arrange them on the prepared baking sheet.
- Refrigerate the balls for 30 to 45 minutes, until firm.
- Microwave the white chocolate wafers in a microwave-safe 2-cup measuring cup in 20-second bursts, stirring each time, until smooth.
- Dip each chilled ball in the melted wafers.
- Lift each ball out with a fork and tap off the excess.
- Return the coated balls to the lined sheet.
- Microwave the red candy melts in a small microwave-safe bowl in 20-second bursts, stirring each time, until smooth.
- Drizzle the red candy melts over the coated balls.
- Immediately sprinkle the balls with the sanding sugar.
- Refrigerate for 20 to 30 minutes, until the coating is set.
- Store the cake balls in an airtight container in the refrigerator.


