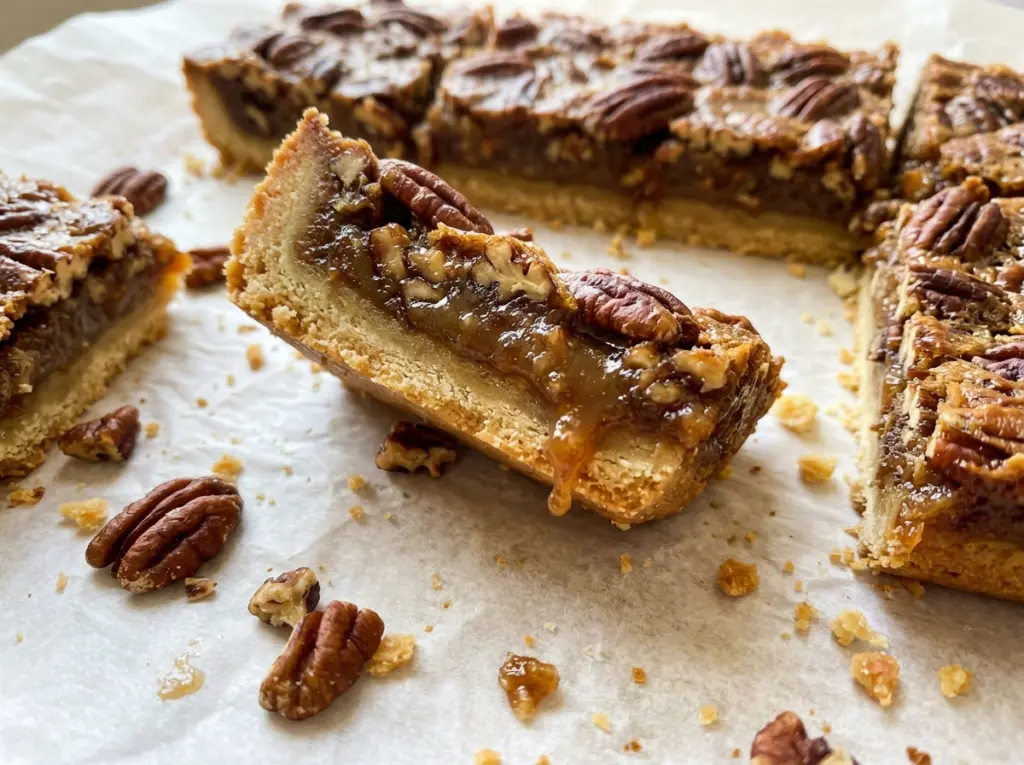
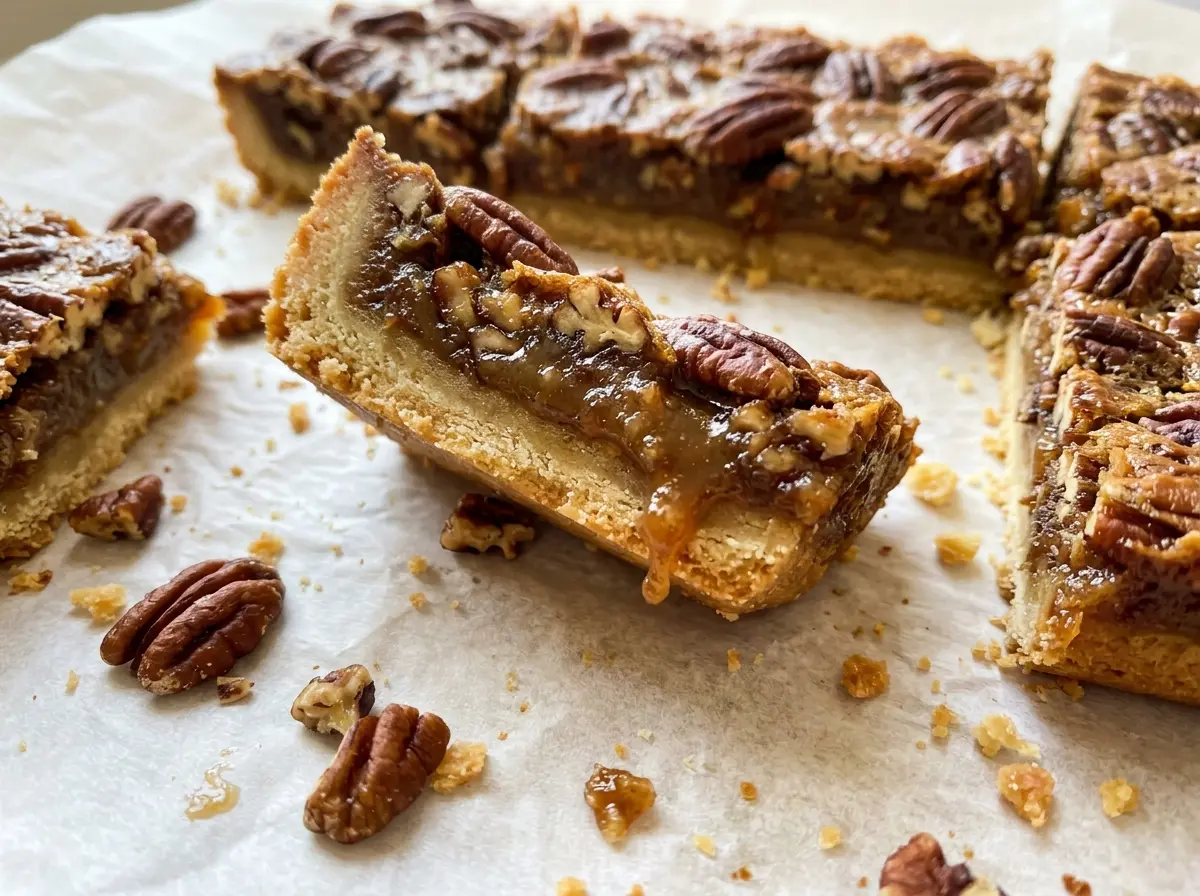
When you nudge the pan, the filling should hold its shape but still give a small jiggle in the middle. That soft center is what keeps pecan pie bars from turning into a firm, overly chewy slab once they cool. The crust underneath bakes into a tender, buttery base, so each square has the same familiar contrast as a slice of pecan pie without needing a fork.
I use chilled butter cut into the flour for the crust, then melted butter in the filling. Those two textures do different jobs: the cold butter makes a crumbly mixture that presses into a sturdy base, while the melted butter whisks smoothly into the sweet filling. Coarsely chopped pecans give every bite plenty of nutty crunch, and the bars lift right out of the pan for easy cutting.
Kitchen Note
Stop cutting in the chilled butter when the flour looks like coarse crumbs, not a smooth dough. Press those crumbs evenly into the pan; a firmly packed, level crust bakes into a base that won’t fall apart when you lift out the bars.
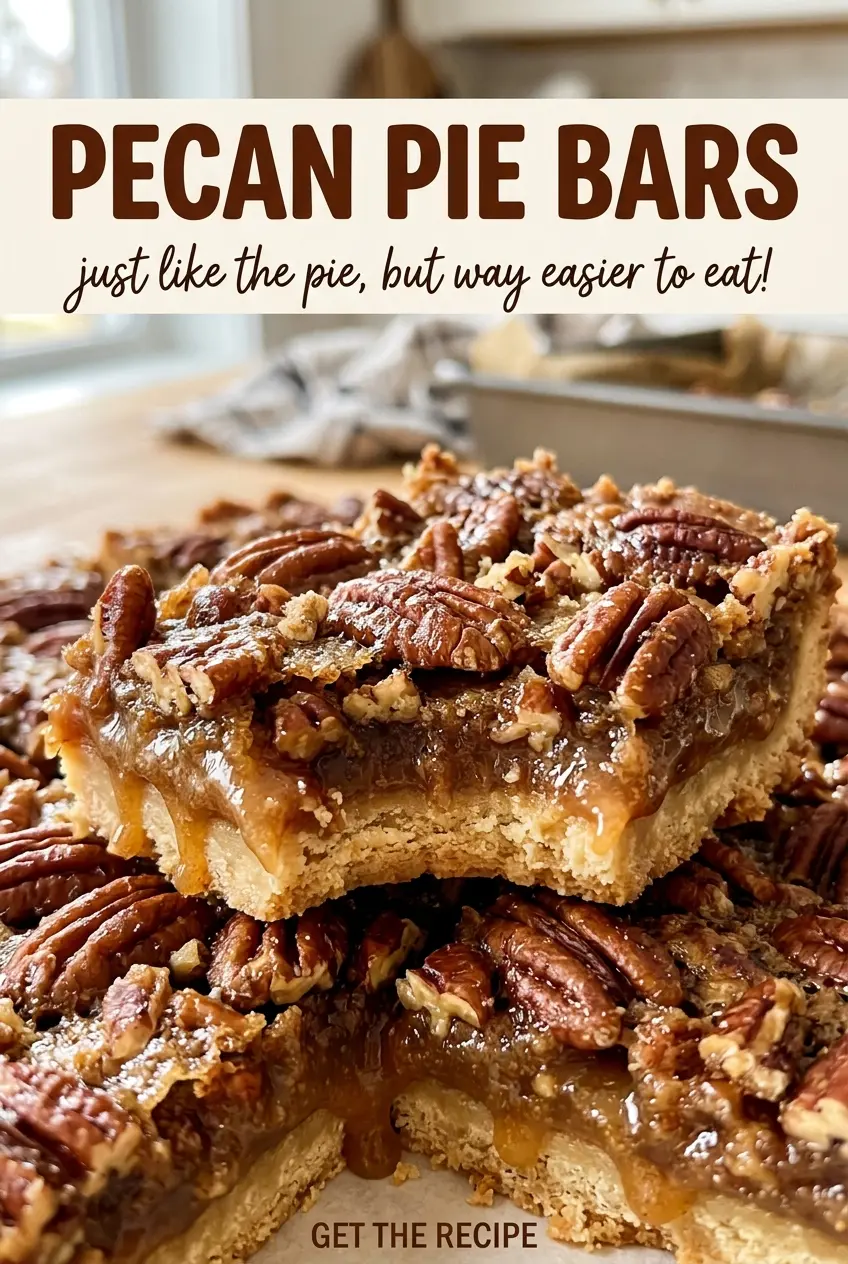
Save these Pecan Pie Bars for a bake sale or a make-ahead dessert: buttery crust, pecan-studded filling, and neat slices that travel well.
Why the Center Should Still Jiggle When You Take the Pan Out
Pecan filling doesn’t turn firm the instant it leaves the oven. The eggs help it set, but the warm center continues to settle as the whole pan cools. For that reason, a slight jiggle in the middle is a better cue than waiting for the filling to look completely rigid. If you keep baking until the center feels solid, the edges can become too firm by the time the bars are cool enough to cut.
Look for a center that appears set rather than liquid, with just a small wobble when you gently nudge the pan. The surface shouldn’t slosh, and the edges shouldn’t look loose. Once the pan is out, leave the bars in place to cool completely; cutting while the filling is warm can leave you with messy, soft-sided pieces. That gradual cooling gives the filling time to hold a clean slice while keeping its tender texture.
What Each Ingredient Does in the Crust and Filling
- All-purpose flour — It gives the crust its structure and helps the filling set without making it cake-like. Standard all-purpose flour works well here; a specialty high-protein flour isn’t needed. For a gluten-free adaptation, use a cup-for-cup gluten-free baking blend in both the crust and filling. The crust may be a little more delicate, so lift it out carefully by the parchment.
- Unsalted butter — Chilled butter is what creates a crumbly crust mixture, while melted butter blends into the filling. Unsalted butter keeps the measured salt in control. Use a fresh, ordinary grocery-store butter; there’s no need for a premium cultured butter in this sweet, nutty bar.
- Light corn syrup — This gives the filling its smooth, glossy consistency and helps it set around the pecans. Light corn syrup keeps the flavor mild, letting the brown sugar and nuts come through. Honey or maple syrup isn’t a like-for-like swap here; each changes both the flavor and how the filling behaves.
- Light brown sugar — Its molasses notes give the filling a warmer, deeper sweetness than granulated sugar alone. Break up any firm lumps before whisking so the mixture turns smooth rather than leaving sugary pockets.
- Eggs — They bind the filling and give it the structure that lets the bars hold together after cooling. Whisk until the mixture is smooth, but there’s no need to beat it until foamy; extra air isn’t useful in this dense filling.
- Pecans — Coarsely chopped nuts make the filling easy to portion and give the bars a satisfying crunch. Fresh pecans matter more than an expensive brand: stale nuts can taste flat or paint-like, so taste one before adding them. If you start with whole pecans, chop them into uneven bite-size pieces rather than turning them into fine crumbs.
- Vanilla extract — It rounds out the caramel-like notes from the brown sugar. A basic pure or imitation vanilla both work; the nuts and brown sugar are the dominant flavors.
Build the Crust First, Then Bake the Filling Until It Just Sets
Press an Even Crumb Crust
Heat the oven to 350°F and line a 9×13-inch baking pan with parchment, leaving an overhang on the long sides. Whisk the flour, granulated sugar, and salt in a large bowl, then cut in the chilled, cubed butter until coarse crumbs form. Press the mixture into an even layer across the bottom of the pan, paying attention to the corners so the crust isn’t thick on one side and thin on the other. Bake for 20 to 25 minutes, until the edges are lightly golden.
Whisk a Smooth Pecan Filling
While the crust bakes, whisk the eggs, brown sugar, corn syrup, flour, vanilla, salt, and melted, slightly cooled butter in a medium bowl. Keep whisking until the sugar is dispersed and the mixture looks smooth, without streaks of egg or butter. Fold in the coarsely chopped pecans so they’re spread through the filling instead of clumped in one spot. Pour the filling over the hot crust as soon as it comes out of the oven.
Bake to a Gentle Jiggle, Then Cool Fully
Return the pan to the oven and bake for 30 to 35 minutes. The filling should look set across the surface, with a slight jiggle in the center when you nudge the pan; a liquid-looking middle needs more time. Let the pan cool completely, at least 3 hours, before using the parchment overhang to lift the slab out. Cut into bars only after the filling has had time to firm up.
Simple Ways to Change the Texture or Shape
Make the pecans finer for smaller bites
Chop the pecans more finely before folding them into the filling. You’ll get a more even, less chunky texture in each bar, though you lose some of the big crunchy pieces that make a classic pecan pie filling distinctive.
Cut narrow fingers for a dessert tray
Once the slab is completely cool, cut it into long, narrow pieces instead of wider bars. The smaller portions are easier to pick up from a dessert tray, and each still has a good balance of crust and pecan filling.
Use a gluten-free baking blend
Replace the all-purpose flour in both layers with a cup-for-cup gluten-free blend made for baking. The texture can be a little more tender and crumbly than the wheat-flour version, so let the crust cool fully and handle the cut bars gently.
Storage and Reheating
- Refrigerator: Keep the cooled bars in an airtight container for up to 4 days. The crust softens slightly as it sits with the filling.
- Freezer: Freeze the cut bars in a single layer until firm, then wrap them well and store in an airtight container for up to 2 months. Thaw in the refrigerator.
- Reheating: These bars don’t need reheating; serve them chilled or let them lose the refrigerator chill before eating. Microwaving can soften the filling unevenly.
Questions That Come Up When Baking Pecan Pie Bars
Pecan Pie Bars
Ingredients
Equipment
Method
- Preheat the oven to 350°F and line a 9x13-inch baking pan with parchment paper, leaving an overhang on the long sides.
- Whisk the flour, granulated sugar, and 1/4 teaspoon salt in a large bowl.
- Cut in 1 cup chilled butter until the mixture forms coarse crumbs.
- Press the mixture evenly into the prepared pan.
- Bake for 20 to 25 minutes, until the edges are lightly golden.
- Whisk the eggs, brown sugar, corn syrup, flour, vanilla, 1/2 teaspoon salt, and 1/4 cup melted butter in a medium bowl until smooth.
- Fold in the pecans.
- Pour the filling over the hot crust.
- Bake for 30 to 35 minutes, until the center looks set and only jiggles slightly when the pan is nudged.
- Cool completely in the pan, at least 3 hours.
- Lift the bars out using the parchment.
- Cut into bars.


