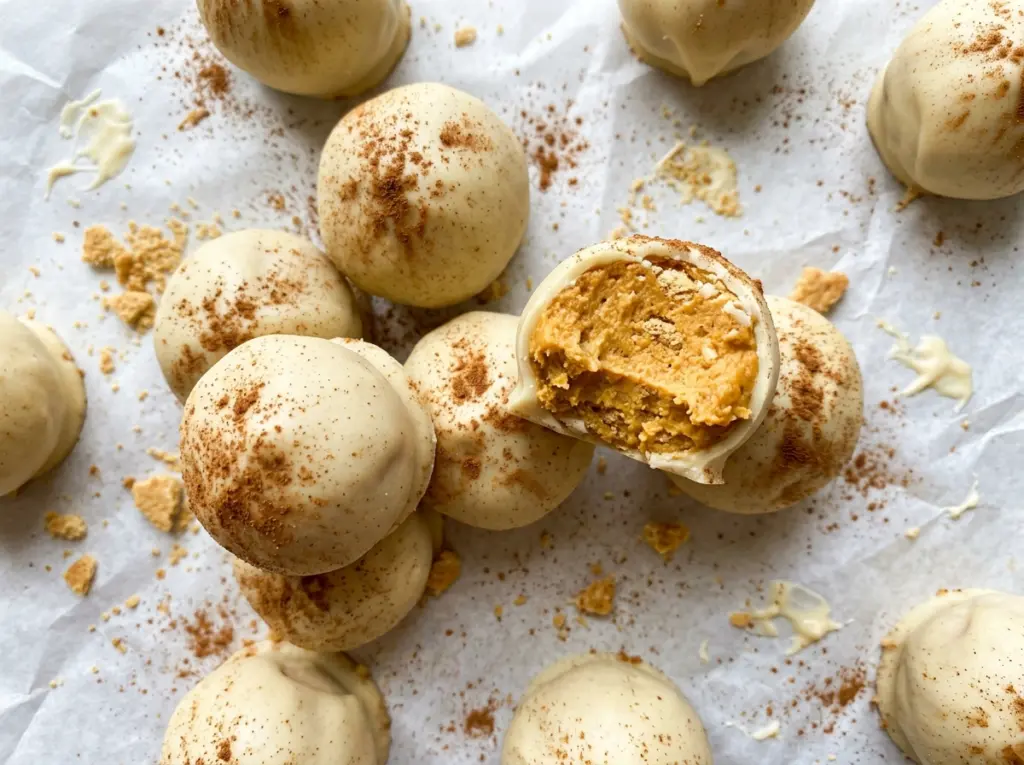
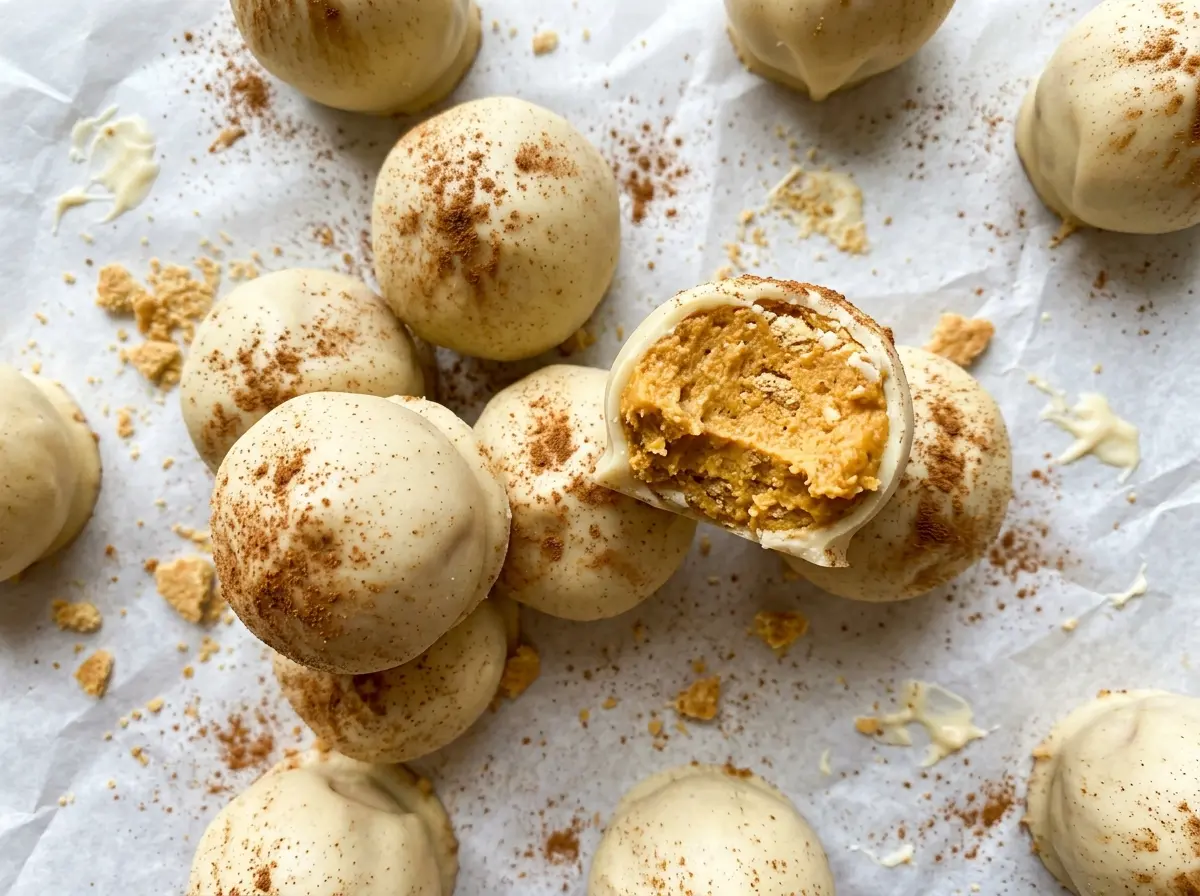
The first thing you notice is how soft the pumpkin-cheesecake mixture feels before it gets a chance to chill. I used to think it needed more crumbs, but a proper rest in the refrigerator firms it up without turning the centers dry. These pumpkin cheesecake truffles have a creamy, spiced middle and a smooth white chocolate shell, with graham cracker crumbs giving each bite a little familiar crunch.
They’re no-bake, but there’s still a useful rhythm to follow: chill the mixture until it rolls cleanly, then firm the shaped centers before dipping. That second chill helps the soft centers keep their shape in the melted coating. I also use pure pumpkin puree rather than pumpkin pie filling, so the pumpkin flavor stays balanced instead of bringing extra sweetness and spice. Once the coating sets, each truffle is easy to pick up and satisfyingly creamy inside.
Kitchen Note
A deep microwave-safe bowl gives you room to dip each center without scraping it along the sides. Stir the wafers between short bursts; they often look partly solid until a few good stirs bring them together smoothly.
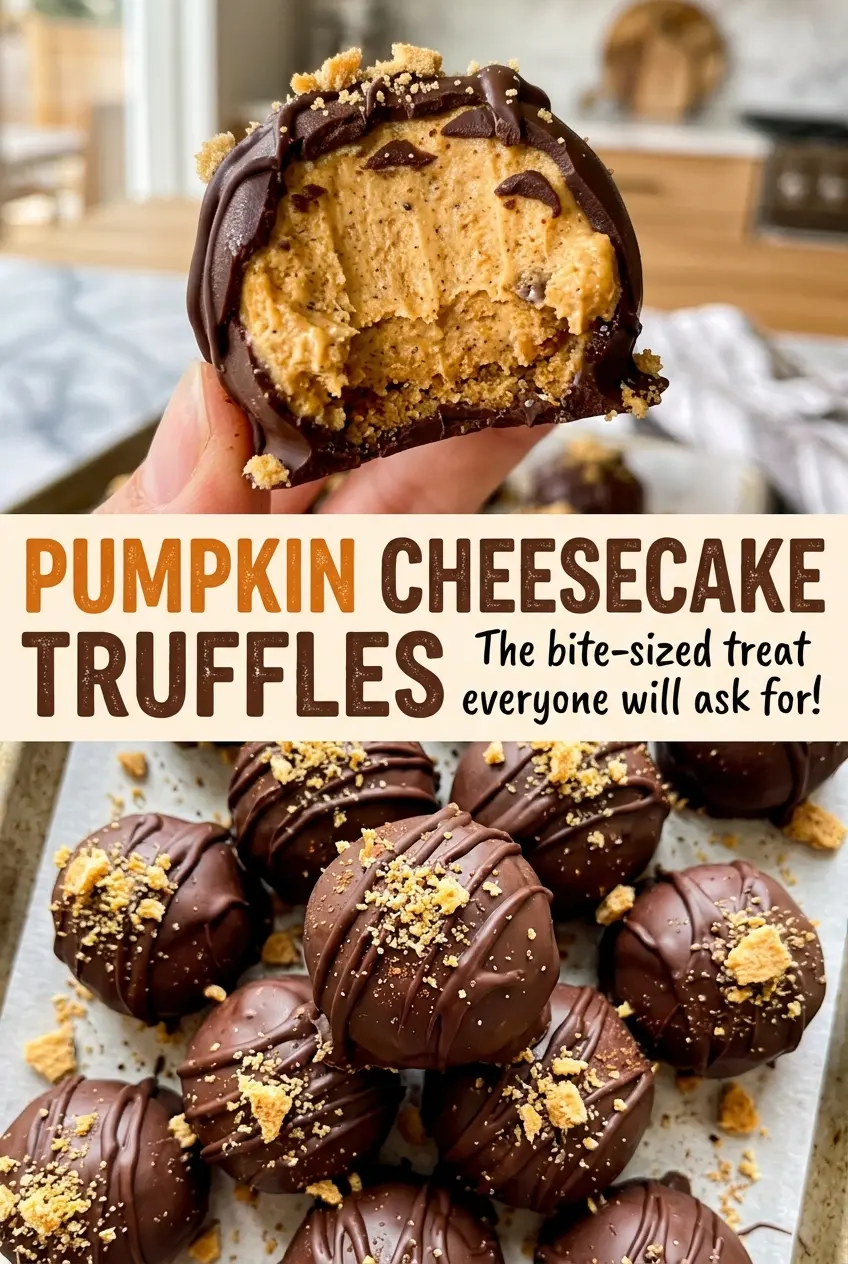
Save these pumpkin cheesecake truffles for a make-ahead treat with creamy spiced centers and a crisp white chocolate shell.
Why Pumpkin Pie Filling Throws Off These Truffles
Pure pumpkin puree brings pumpkin flavor without extra sweetener or seasoning. Pumpkin pie filling is already sweetened and spiced, so using it changes the balance of the cheesecake center before you’ve even added powdered sugar and pumpkin pie spice. The coating is sweet, too; keeping the pumpkin itself plain lets the cream cheese stay noticeable instead of getting buried under sweetness.
There’s a texture difference to keep in mind as well. This mixture needs to become firm enough to scoop and roll, and a can of pie filling can bring a different amount of moisture and seasoning than plain puree. Stick with pumpkin puree for the intended soft, tangy center. If you open a can and see liquid sitting on top, stir the puree before measuring so the portion going into the bowl is evenly mixed.
What Gives the Center Its Pumpkin-Cheesecake Texture
- Cream cheese — It gives the centers their cheesecake tang and creamy body. Let it soften before mixing so it blends smoothly; a block-style dairy-free cream cheese is the most useful swap for a dairy-free batch, though the finished centers may feel a little softer.
- Pumpkin puree — Plain puree brings the defining pumpkin flavor and moisture. Canned puree is convenient and consistent; thick homemade puree also works, but drain off excess liquid first so the mixture isn’t loose.
- Graham cracker crumbs — Fine crumbs help the centers hold together and add a gentle toasted note. Crush them finely so the mixture rolls without rough edges. Vanilla wafer crumbs can replace them in the same amount, with a sweeter, less toasty result.
- Powdered sugar and pumpkin pie spice — Powdered sugar dissolves into the creamy mixture without the grit granulated sugar would leave, while the spice makes the pumpkin taste warm and rounded. There isn’t a direct swap for powdered sugar that keeps this same smooth texture; for a milder spice note, use cinnamon in place of the pumpkin pie spice.
- White chocolate melting wafers — Wafers melt into a fluid coating that sets around the chilled centers. Choose wafers made for dipping rather than chips, which tend to make a thicker, less even shell. Dairy-free white melting wafers are a practical option if you’re adapting the coating.
From Soft Cheesecake Mixture to Set White Chocolate Shell
Beat the Cream Cheese Base Until Smooth
Beat the softened cream cheese with the pumpkin puree and vanilla extract in a large bowl. Stop when the mixture looks even and creamy, with no visible cream cheese lumps clinging to the bowl. If the cream cheese is still cold and firm, lumps are harder to work out at this stage. A smooth base makes it easier for the crumbs and sugar to mix in evenly.
Mix in the Crumbs, Sugar, and Spice
Add the graham cracker crumbs, powdered sugar, and pumpkin pie spice, then mix until the dry ingredients disappear into the base. Scrape around the bowl so no pockets of plain crumbs or spice remain. The mixture will be thick and soft rather than pourable. Cover the bowl and refrigerate it for 45 to 60 minutes, until it’s firm enough to roll.
Shape the Centers and Firm Them in the Freezer
Line a rimmed baking sheet with parchment paper, then scoop the mixture into 1-tablespoon portions and roll each one into a ball. Set the balls on the sheet with a little space between them so they’re easy to pick up later. Freeze the centers for 20 to 30 minutes, until firm. If they still feel squishy when lifted, give them more time before dipping.
Melt the Wafers Gently
Put the white chocolate melting wafers in a deep microwave-safe bowl. Heat them at 50% power in 30-second intervals, stirring between each interval until smooth. White coating can scorch if it gets too hot, so don’t rush longer bursts even when some wafers still hold their shape. Stirring helps the remaining pieces melt in the warmth of the bowl.
Dip and Let the Coating Set
Dip each firm center in the melted wafers and let the extra coating drip back into the bowl. Return each truffle to the parchment-lined sheet as you finish it. Refrigerate the truffles for about 15 minutes, until the coating is set. The shell should feel firm rather than tacky when you lift one from the paper.
Easy Ways to Change the Flavor or Fit a Dietary Need
Make the Centers with Ginger Cookie Crumbs
Replace the graham cracker crumbs with finely crushed ginger snaps in the same amount. The centers will have a sharper ginger bite and a sweeter, more spiced finish, so this version tastes bolder than the mellow graham-cracker original.
Use Gluten-Free Graham-Style Crumbs
For a gluten-free version, use finely crushed gluten-free graham-style crackers in place of the regular crumbs, keeping the same amount. The texture stays close to the original as long as the crumbs are fine; coarse pieces can make the centers harder to roll neatly.
Make a Dairy-Free Batch
Use block-style dairy-free cream cheese and dairy-free white chocolate melting wafers in place of their dairy counterparts. The centers may be softer depending on the cream cheese brand, so chill until they’re firm enough to scoop and freeze the shaped balls until firm before dipping.
Storage and Reheating
- Refrigerator: Store in an airtight container for 3 to 4 days. The centers stay creamy, though the coating may lose a little of its crisp snap.
- Freezer: Freeze the set truffles in a single layer, then transfer them to an airtight container for up to 1 month. Thaw them in the refrigerator before serving.
- Reheating: Not needed; serve chilled. Avoid warming them, which softens the coating and makes the cream cheese centers lose their shape.
Questions That Come Up When Making Pumpkin Cheesecake Truffles
Pumpkin Cheesecake Truffles
Ingredients
Equipment
Method
- Beat the cream cheese, pumpkin puree, and vanilla extract in a large bowl until smooth.
- Add the graham cracker crumbs, powdered sugar, and pumpkin pie spice, and mix until evenly combined.
- Cover the bowl and refrigerate the mixture for 45 to 60 minutes, until firm enough to roll.
- Line a rimmed baking sheet with parchment paper.
- Scoop the mixture into 1-tablespoon portions, roll into balls, and arrange them on the sheet.
- Freeze the centers for 20 to 30 minutes, until firm.
- Melt the white chocolate wafers in a deep microwave-safe bowl at 50% power in 30-second intervals, stirring between intervals until smooth.
- Dip each center in the melted wafers, letting excess coating drip back into the bowl, then return it to the parchment-lined sheet.
- Refrigerate the truffles for about 15 minutes, until the coating is set.
- Store the truffles in an airtight container in the refrigerator.


