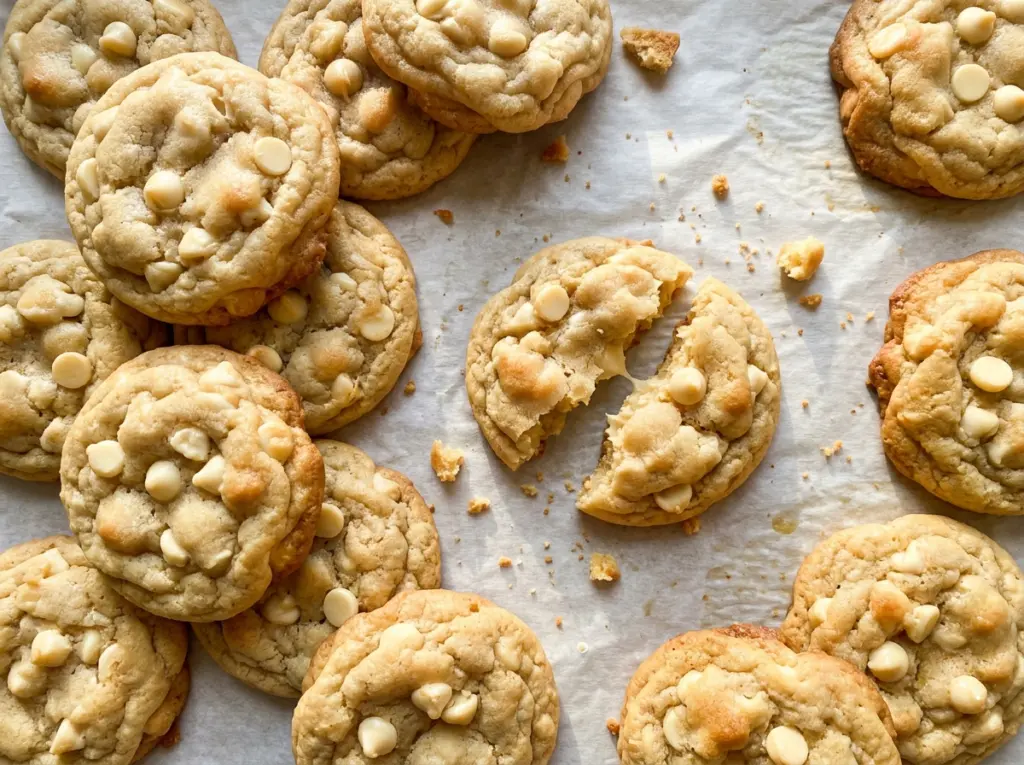
The first tray tells you whether the dough was ready: cookies that rush outward can end up thin before their edges have time to turn golden. I chill the scooped dough right on the baking sheets, which gives these white chocolate chip cookies a little time to firm up before they hit the oven.
There’s also an extra egg yolk in the dough, not just a whole egg. That extra richness helps give the centers a tender, chewy bite, while the light brown sugar brings moisture and a gentle caramel note. Pull the cookies when the edges are lightly golden and the centers still look a touch soft, and you’ll have a batch with plenty of white chocolate in every bite.
Kitchen Note
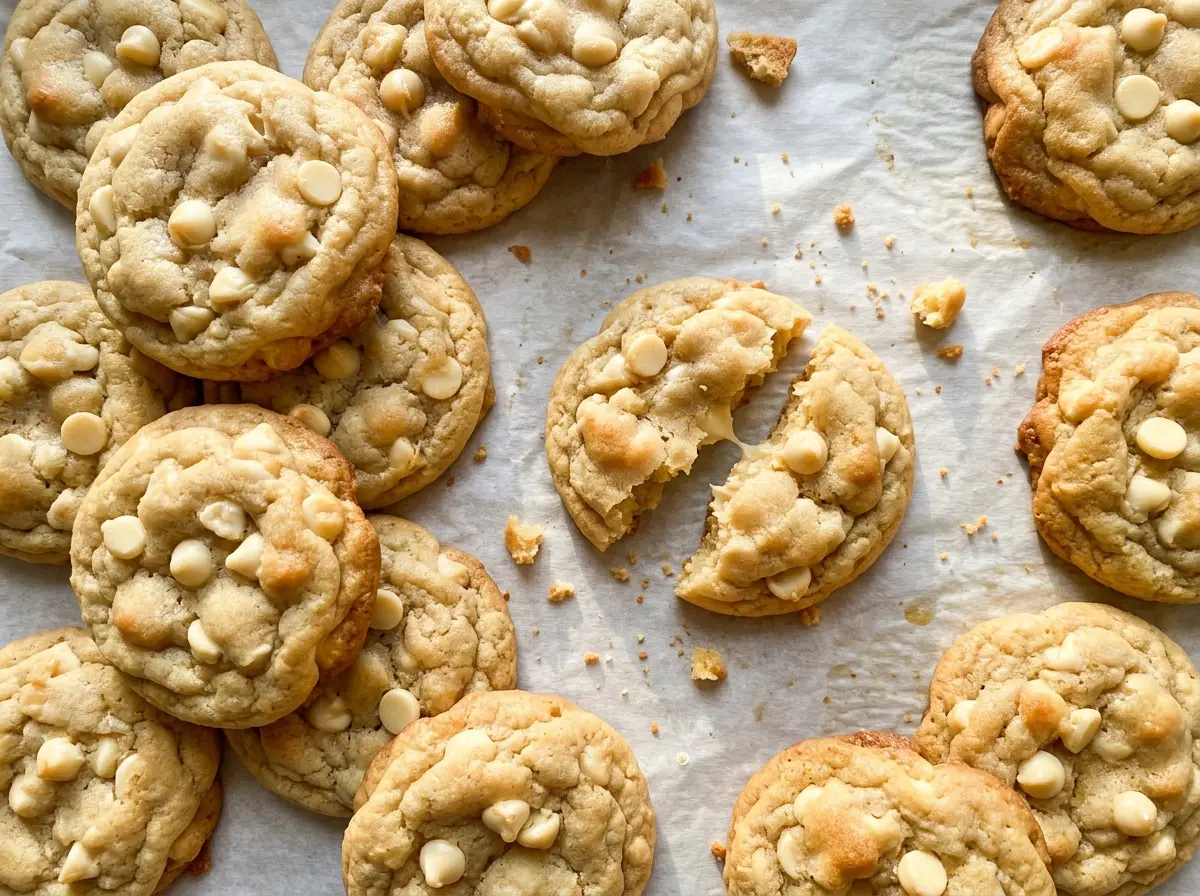
Watch the edges, not the clock alone. When they’re lightly golden and the centers still look a little soft, take the sheet out; the cookies keep setting as they cool.
Save these white chocolate chip cookies for a bake day when you want soft centers, golden edges, and a generous scatter of creamy chips.
Why These Cookies Need a Chill After They’re Scooped
Softened butter is easy to cream with the sugars, but it also means the dough starts out pliable. If you put freshly scooped portions straight into a hot oven, the butter melts quickly and the cookies can spread before their edges have a chance to set. A short chill firms the butter back up and gives the flour time to hydrate, so the portions hold their shape longer in the oven.
Chilling the dough after portioning also makes the process more reliable: each cookie gets the same rest, and the portions are already spaced on the parchment-lined sheets. Keep them about two inches apart so they have room to spread without merging. The dough doesn’t need to be frozen or rock-hard; the 30-minute refrigerator rest is enough to take the slack out of it while keeping the centers tender after baking.
What the Extra Yolk and Brown Sugar Bring to the Dough

- Butter — Softened butter creams smoothly with the sugars and gives the cookies their rich base. Let it soften until it yields when pressed but still holds its shape; melted or greasy butter won’t cream in the same way.
- Light brown sugar — Its molasses content adds moisture and a warm caramel note alongside the granulated sugar. Dark brown sugar works as a direct swap if you want a deeper molasses flavor, though the cookies will taste less delicate.
- Egg and egg yolk — The whole egg helps bind the dough, while the additional yolk adds richness and tenderness. Keep the yolk; replacing it with another whole egg changes the balance and can make the cookies puffier and less chewy.
- All-purpose flour — Flour gives the dough structure, so measuring it loosely matters. Fluff it in its container, spoon it into the measuring cup, and level the top instead of packing the cup; too much flour can leave the cookies dry and thick.
- White chocolate chips — Chips keep distinct creamy pockets throughout the cookies. Choose a brand you enjoy eating, since the sweetness comes through clearly; chopped white chocolate also works, with softer, more irregular melted spots.
- Vanilla extract — Vanilla rounds out the sweetness and gives the dough a familiar bakery aroma. Pure vanilla is lovely, but a standard good-quality extract works well here because it’s supporting the white chocolate rather than carrying the whole flavor.
From Creaming to Cooling: The Stages That Shape the Cookies
Get the pans and dry ingredients ready
Heat the oven to 350°F and line two rimmed baking sheets with parchment paper. Whisk the flour, baking soda, and kosher salt together in a medium bowl so the leavener is spread evenly through the flour. This small step helps avoid a salty or soda-heavy bite in one spot. Set the bowl aside while you cream the butter and sugars.
Cream the butter and sugars until fluffy
Beat the softened butter with both sugars in a large bowl using an electric mixer on medium speed for about 2 minutes. The mixture should look lighter and fluffy, not merely stirred together; scrape down the bowl so no dense butter is hiding at the bottom or along the sides. Beat in the egg, egg yolk, and vanilla until combined, scraping again if needed. If the mixture looks a little uneven before the flour goes in, a thorough scrape usually brings it together.
Bring the dough together without overmixing
Add the flour mixture on low speed and stop as soon as no dry streaks remain. Mixing longer than necessary can develop the flour and make the finished cookies tougher. Fold in the white chocolate chips by hand so they’re spread through the dough without crushing or smearing them. The dough should be thick enough to hold a rounded scoop.
Scoop and chill the portions
Scoop the dough into 24 portions, about 2 tablespoons each, onto the prepared sheets. Leave about 2 inches between portions; crowded cookies can bake into one another as they spread. Refrigerate the sheets for 30 minutes before baking. If a portion gets misshapen while you’re scooping, nudge it back into a rounded mound before chilling.
Bake one sheet, then let the cookies set
Bake one sheet at a time for 10 to 12 minutes, until the edges are lightly golden and the centers still look slightly soft. The centers may not look fully set when the cookies come out, but they firm up as they rest. Leave the cookies on the baking sheet for 5 minutes, then transfer them to a wire rack to cool completely. Moving them sooner can break the warm, tender centers.
Three Easy Ways to Change the Chocolate or Flour
Use chopped white chocolate for uneven pockets
Swap the chips for the same amount of chopped white chocolate. The pieces melt into larger, less uniform pockets, and some edges may spread into thin, crisp bits across the cookie.
Trade white chocolate for semisweet chips
Use the same amount of semisweet chocolate chips in place of the white chocolate. The cookies will taste less sweet, with a more pronounced cocoa flavor, while the dough and baking method stay the same.
Make them gluten-free with a cup-for-cup blend
Replace the all-purpose flour with a 1:1 gluten-free baking blend formulated for cookies, ideally one that already contains xanthan gum. The texture may be a little more delicate, so mix only until the dry streaks disappear and let the cookies cool fully before lifting them.
Storage and Reheating
- Room temperature: Keep completely cooled cookies in an airtight container for up to 4 days. They’ll soften a little as they sit, especially where the white chocolate is warm and creamy.
- Freezer: Freeze cooled cookies in a sealed freezer-safe container for up to 2 months, with parchment between layers to prevent sticking. Thaw at room temperature before serving.
- Reheating: For a warm cookie, microwave one for about 8 seconds, then check it and add a few seconds if needed. Longer heating can make the white chocolate scorchingly hot before the cookie itself feels warm.
Questions That Come Up While Baking White Chocolate Chip Cookies
White Chocolate Chip Cookies
Ingredients
Equipment
Method
- Heat the oven to 350°F and line two rimmed baking sheets with parchment paper.
- Whisk the flour, baking soda, and salt together in a medium bowl.
- Beat the butter, granulated sugar, and brown sugar in a large bowl with an electric mixer on medium speed until light and fluffy, about 2 minutes.
- Beat in the egg, egg yolk, and vanilla until combined, scraping down the bowl as needed.
- Mix in the flour mixture on low speed just until no dry streaks remain.
- Fold in the white chocolate chips.
- Scoop the dough into 24 portions, about 2 tablespoons each, onto the prepared sheets, spacing them about 2 inches apart.
- Refrigerate the sheets for 30 minutes.
- Bake one sheet at a time for 10 to 12 minutes, until the edges are lightly golden and the centers still look slightly soft.
- Let the cookies cool on the baking sheet for 5 minutes.
- Transfer the cookies to a wire rack to cool completely.


